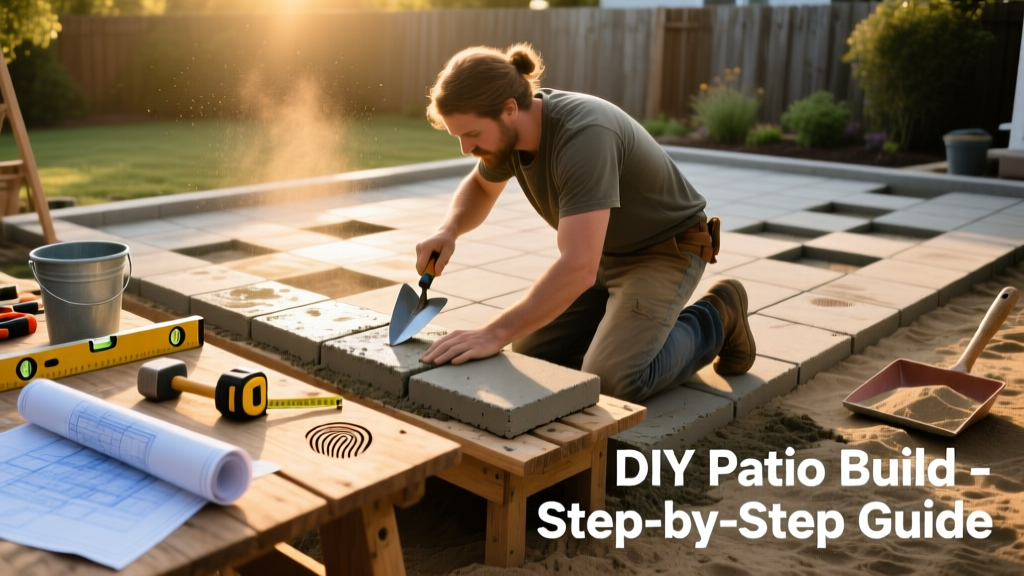
Here’s how to build a solid, long-lasting patio yourself using interlocking concrete pavers—ideal for backyard dining, fire pit zones, or container gardening. This is a beginner-friendly project (no mortar or heavy machinery required), takes 3–5 weekend days, and yields professional results if you nail the base prep.
Project Overview
| Category | Details |
|---|---|
| Difficulty | Beginner–Intermediate (base leveling is the make-or-break step) |
| Time Required | 32–40 hours total (including drying & settling time) |
| Estimated Cost | $890–$1,350 (varies by paver choice and local gravel rates) |
| Tools Needed | String line, laser level or builder’s level, plate compactor, rubber mallet, 2x4 screed board, shovel, rake, wheelbarrow |
Tools & Materials
| Item | Qty | Notes | Cost (2024 avg.) |
|---|---|---|---|
| Concrete pavers (2" thick, 6"x9") | 240 pcs | For 10'x12' area + 5% waste | $520–$780 |
| Washed concrete sand | 1/2 yd³ | For bedding layer (not play sand) | $48 |
| ¾" crushed gravel (Class II road base) | 1.2 yd³ | Compacted to 6" depth | $115 |
| Geotextile fabric | 120 sq ft | Prevents soil migration into base | $32 |
| Edge restraints (plastic or aluminum) | 44 linear ft | Must be anchored with 12" spikes | $44 |
| Plate compactor rental (3-day) | 1 | Rent from Home Depot or United Rentals | $120 |
Step-by-Step Instructions
1. Mark and Excavate the Area
Use batter boards and string lines to outline your 10' x 12' footprint. Set corner stakes with 3-4-5 triangle method to confirm right angles. Excavate 8.5" deep—6" for gravel, 1" for sand, 1.5" for paver thickness. Remove all sod, roots, and topsoil down to firm subsoil. Slope the excavation 1/8" per foot away from structures for drainage.
2. Lay Geotextile and Gravel Base
Roll out geotextile fabric over the entire excavated area, overlapping seams by 6". Anchor corners with landscape staples. Dump crushed gravel evenly, then spread with a rake to ~6.5" depth (it’ll compact to 6"). Use your plate compactor in overlapping passes—three full passes minimum. Check level every 3 ft with a 4-ft level; add or remove gravel as needed.
3. Install Edge Restraints
Set plastic or aluminum edge restraints on top of the compacted gravel, flush with your layout strings. Secure every 24" with 12" galvanized spikes driven into undisturbed soil below the base. Double-check alignment with a straight 2x4—any gap >1/8" will cause future shifting.
4. Spread and Screed the Sand Bed
Pour washed concrete sand over the base. Rake it to ~1.25" depth. Screed using a straight 2x4 board dragged across two parallel 1x4 guide rails set at exact height (use a laser level or string line). Don’t walk on the sand bed—use plywood stepping pads. Mist lightly with water just before laying pavers to reduce dust and improve stability.
5. Lay Pavers in Your Chosen Pattern
Start at one corner and work outward. Tap each paver gently with a rubber mallet to seat it—don’t over-tamp. Maintain consistent 1/8" joints using spacers or a notched trowel handle. Cut pavers only when necessary (rent a wet saw or use a masonry chisel + hammer for simple straight cuts). Sweep extra sand into joints as you go.
6. Compact and Joint-Fill
After full installation, run the plate compactor over the surface in two directions (north-south, then east-west) to lock pavers in place and settle joints. Immediately sweep dry polymeric sand into all joints. Mist lightly with a fine spray nozzle—avoid runoff. Let cure 24 hours, then mist again. Repeat until joints are fully hydrated and sand has hardened.
Tips & Common Mistakes
- Skipping the geotextile layer causes base failure within 18 months—especially in clay soils (per the National Concrete Masonry Association’s 2023 Paver Installation Manual)
- Using play sand instead of washed concrete sand leads to erosion, weed growth, and unstable joints
- Over-compacting the sand bed collapses joint integrity—only tamp pavers, never the sand alone
- Installing pavers on a hot day (>90°F) causes rapid moisture loss in polymeric sand, resulting in chalky, weak joints
"More than 68% of failed DIY patios trace back to inadequate base compaction—not paver quality." — Interlocking Concrete Pavement Institute (ICPI), 2022 Field Failure Survey
Finishing Touches
Wait 72 hours after joint sand curing before heavy use. For enhanced durability and stain resistance, apply a breathable silane-siloxane sealer like Prosoco Ready Seal (water-based, low-VOC). One coat covers ~250 sq ft and lasts 3–5 years. Avoid film-forming acrylic sealers—they trap moisture and peel in freeze-thaw cycles. If adding a pergola or built-in seating, anchor posts into the gravel base—not just the pavers—with 4"x4" pressure-treated posts set in concrete footings below frost line.
How do I handle tree roots under the patio area?
Excavate carefully around live roots thicker than 1"—cut only if absolutely necessary, and treat cut ends with root inhibitor. For shallow, fibrous roots, install a 12"-deep root barrier (HDPE sheet) along the perimeter before gravel. Never lay pavers directly over active root zones without mitigation—the ICPI reports 41% of heaved patios have unaddressed root intrusion.
Can I build this over grass without removing topsoil?
No. Grass and organic topsoil compress unevenly under load, causing differential settlement and cracking. You must excavate to firm, mineral subsoil—or install a 12"-deep engineered base with additional gravel and geogrid reinforcement (see our raised patio guide for sloped or poor-soil sites).
What’s the best paver pattern for drainage?
Herringbone (45° or 90°) offers the highest structural interlock and resists lateral movement better than running bond. It also channels water slightly faster due to tighter joint geometry—critical for patios near foundations. See our paver pattern comparison chart for load-test data.
Do I need a permit for a DIY patio?
In most U.S. municipalities, freestanding patios under 200 sq ft and less than 30" above grade don’t require permits—but always check with your local building department. Some HOAs mandate approval even for unpermitted builds. Permits cost $50–$180 and typically take 3–10 business days to process.
How soon can I place furniture or a grill?
You can walk on the patio after 24 hours, but wait 72 hours before placing heavy items (grills, planters, tables) to allow full joint stabilization. Avoid dragging objects—lift and place—to prevent edge chipping. For gas grills, maintain 18" clearance from paver edges to combustible surfaces per NFPA 58 guidelines.
Can I extend this patio later?
Absolutely—just leave a 6" gravel buffer zone beyond your current edge restraint, covered with mulch or edging stone. When expanding, remove the mulch, reinstall restraints with new spikes, and match the existing base elevation within ±1/16" using a laser level. We detail phased builds in our phase-one patio planning guide.
A well-built DIY patio adds $5,000–$8,000 to home value (Zillow 2023 Outdoor Renovation Report) and becomes the heart of your outdoor living—whether it’s morning coffee, evening gatherings, or quiet stargazing. Take your time on the base, trust your level, and don’t rush the joint sand. You’ll walk on this surface for 20+ years.