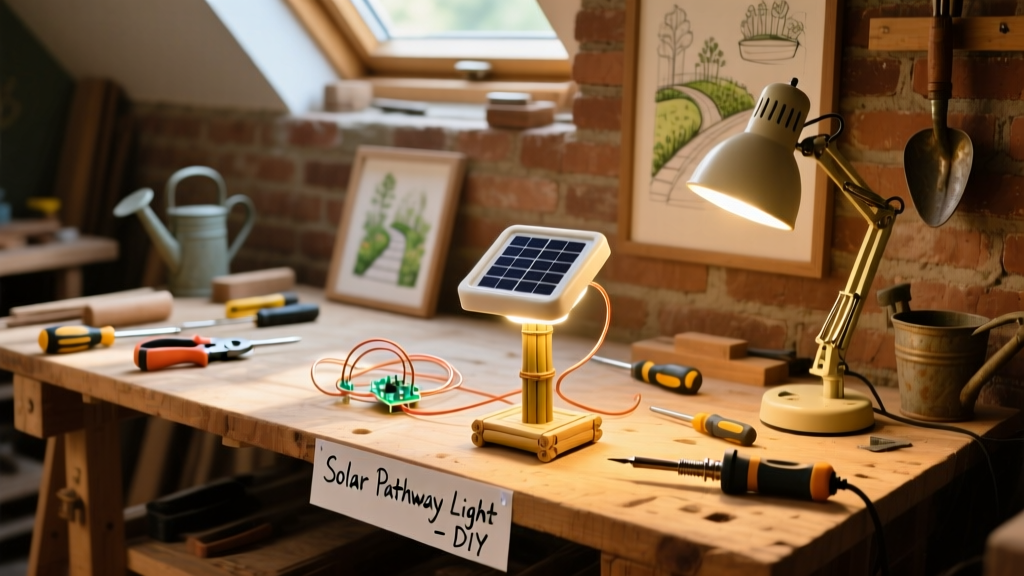
Building your own pathway lighting adds safety, curb appeal, and nighttime usability to walkways, garden edges, or driveway borders. This project suits beginners with basic digging and wiring skills—and takes just one weekend (or two evenings for larger runs). You’ll choose between plug-and-play solar stakes or a more permanent low-voltage system—both covered here.
Project Overview
| Category | Details |
|---|---|
| Difficulty | Beginner (solar) / Intermediate (low-voltage) |
| Time Required | 4–8 hours (solar); 6–12 hours (low-voltage, including trenching) |
| Estimated Cost | $45–$180 (solar); $90–$320 (low-voltage, depending on length) |
| Tools Needed | Tape measure, string line, spade, wire cutters, voltage tester, drill (for mounting) |
Tools & Materials
| Item | Quantity | Notes | Cost (USD) |
|---|---|---|---|
| Solar pathway lights (LED, IP65+) | 10–15 units | Look for lithium-ion batteries & auto-dimming | $22–$75 |
| 12V landscape transformer (60W) | 1 | UL-listed; includes timer/dimmer | $48–$85 |
| 12-gauge direct-burial landscape wire | 100 ft | Must be rated for underground use (e.g., UF-B or XLP) | $32–$44 |
| Low-voltage path lights (brass or aluminum) | 10–12 units | Match voltage (12V), check lumen output (80–150 lm each) | $55–$210 |
| Wire connectors (gel-filled, waterproof) | 10–15 | Required for all low-voltage splices | $12–$18 |
| Path light stakes or mounting bases | 10–12 | Stainless steel preferred for longevity | $14–$26 |
| Hand trowel & trenching shovel | 1 each | Rent if you don’t own—trench depth must be 6" minimum | $0–$15 rental |
Step-by-Step Instructions
1. Plan Your Layout and Mark the Route
Use string line and wooden stakes to outline your path’s centerline. Space lights 4–6 feet apart for even illumination—closer for sharp turns or high-traffic zones. Avoid placing lights directly in lawn mower paths or where snowplows operate. Sketch your plan on graph paper or use a free app like Landscape Designer Lite to test spacing before digging.
2. Dig Trenches (Low-Voltage Only)
Dig a continuous 6-inch-deep, 3-inch-wide trench along your marked line using a flat-edged spade. Keep trench bottom level—even minor dips cause water pooling. For curved sections, dig slightly wider trenches to accommodate wire bends without kinking. According to the National Electrical Code (NEC Article 411), low-voltage landscape wiring must be buried at least 6 inches deep unless protected by conduit.
3. Lay and Connect Wiring
Uncoil wire fully before burying to prevent twists. Run main feeder wire from transformer location to first light, then daisy-chain to remaining fixtures using the “home run” method (each light connects back to the main line) for consistent voltage. Use a multimeter to verify continuity before backfilling. Always leave 12 inches of slack at each fixture connection point.
4. Install Fixtures and Secure Connections
Insert stake-mounted lights into soil or mount surface fixtures with corrosion-resistant screws. Strip ½ inch of insulation from wire ends, twist together matching conductors (black-to-black, red-to-red), and seal each splice with a gel-filled connector—no electrical tape alone. Double-check polarity: reversed wires dim or kill LED output.
5. Test, Adjust, and Backfill
Turn on transformer and test all lights. Walk the line—look for dark spots (voltage drop), flickering (loose connection), or uneven beam angles. Adjust fixture height and direction while powered. Once verified, backfill trenches with native soil, tamping lightly every 2 inches. For solar lights, skip trenching—but still stake them firmly in level ground with south-facing panels unobstructed.
Tips & Common Mistakes
- Never mix bulb types (e.g., halogen + LED) on the same low-voltage circuit—they draw different wattages and cause overloading.
- Avoid running wire under driveways or patios without rigid PVC conduit—it’s required by NEC 300.5(D)(2) for protection.
- Don’t place solar lights under dense tree canopies: they need 6+ hours of direct sun daily to charge fully, per the U.S. Department of Energy’s 2023 Solar Lighting Guide.
- Skipping a transformer timer means lights burn all night—even when no one’s outside. That wastes battery life and increases glare.
"Most landscape lighting failures trace back to poor splice protection—not bad bulbs. Gel-filled connectors last 3–5x longer than standard wire nuts in damp soil." — Greg Larkin, Certified Outdoor Lighting Professional (IALD, 2022)
Finishing Touches
For metal fixtures, apply a clear matte acrylic sealer annually to prevent verdigris on copper or white rust on zinc-coated housings. Wooden post-mounted lights? Use an exterior-grade spar urethane—two coats, sanded lightly between. Avoid painting lenses or diffusers; it cuts light output by up to 40%, per UL 1838 testing standards. Finally, label your transformer’s circuit breaker or fuse with “PATH LIGHTS” using waterproof tape—helpful during future maintenance.
How deep should I bury low-voltage wire?
The NEC requires 6 inches of burial depth for direct-burial landscape wire. If crossing under a walkway or patio, increase to 18 inches—or use Schedule 40 PVC conduit for mechanical protection. Deeper isn’t always better: below 12 inches, frost heave becomes less of a concern, but locating repairs gets harder.
Can I mix solar and wired lights on the same path?
Yes—but avoid aligning them visually. Solar units often sit lower and emit cooler, bluer light; wired fixtures offer warmer tones and brighter output. Use solar only for accent or secondary zones (e.g., flower beds beside a main wired path). Don’t rely on solar alone for critical safety lighting near steps or grade changes.
Why do my low-voltage lights dim toward the end of the run?
This is voltage drop—caused by wire resistance over distance. Fix it by shortening the run (<80 ft total), upsizing to 10-gauge wire, or switching to a “loop” wiring pattern (feed both ends of the line). The Illuminating Engineering Society recommends max 3% voltage loss for optimal LED performance.
Do I need a GFCI outlet for the transformer?
Yes—if plugging into an outdoor receptacle. NEC 210.8(A)(3) mandates GFCI protection for all 125V, 15- and 20-amp outdoor outlets. Hardwired transformers bypass this, but most residential installs use plug-in models. Test GFCI monthly—it degrades after ~5 years.
How often should I clean solar panels?
Every 3 months in dusty or pollen-heavy areas; semi-annually elsewhere. Wipe gently with microfiber cloth and distilled water—never abrasive cleaners or vinegar, which etch anti-reflective coatings. A 2022 study by the National Renewable Energy Laboratory found dirty panels lose 12–25% output in just 6 weeks.
What’s the best way to aim path lights?
Set fixtures so light pools 3–4 feet ahead and slightly to the side—not straight down. This reduces glare and highlights texture. For step lighting, position lights at the top tread, angled downward at 30°. Use a carpenter’s level to ensure even pitch across all units.
With your new pathway lighting installed, you’ll gain safer evening navigation, stronger nighttime curb appeal, and a subtle sense of arrival every time you pull into the driveway. Whether you went solar for simplicity or wired for control, you’ve added lasting value—one beam at a time. Consider pairing your lights with a stone or metal garden edging project next, or upgrade to smart controls with Wi-Fi-enabled timers for full remote management.