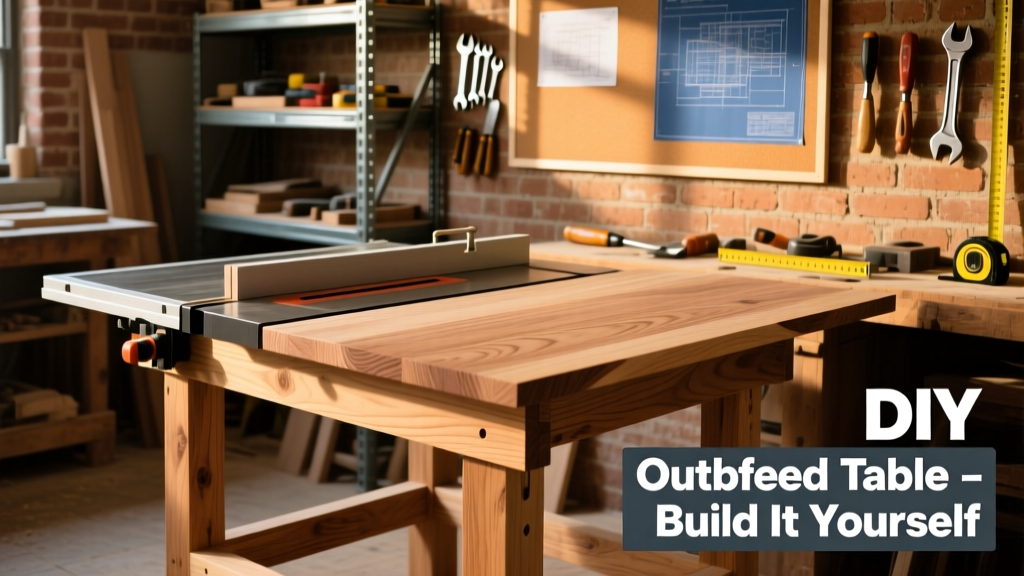
Building a DIY outfeed table solves one of the most frustrating problems in a home workshop: supporting long or heavy stock as it exits your table saw. This project is ideal for intermediate woodworkers with basic power tool experience—and it takes just 12–16 hours over a weekend. You’ll gain confidence in frame construction, surface leveling, and integrating hardware like T-track and adjustable feet.
Project Overview
| Category | Detail |
|---|---|
| Difficulty | Intermediate (requires accurate measuring, drilling, and assembly) |
| Time Required | 12–16 hours (plus optional drying time for finish) |
| Estimated Cost | $185–$240 (varies by lumber grade and hardware choices) |
| Tools Needed | Table saw, drill/driver, pocket-hole jig, clamps, level, square, tape measure |
Tools & Materials
You’ll need both structural and functional components. All lumber is #2 common pine or select pine—avoid knotty boards near joints. Use hardwood plywood (birch or maple) for the top surface if budget allows; it resists dings better than MDF.
| Item | Qty | Notes | Cost |
|---|---|---|---|
| 1×4 × 8′ pine | 6 boards | For legs, stretchers, and bracing | $8.99/board |
| 3/4″ birch plywood (4′×8′) | 1 sheet | Cut to 24″×72″ for top | $62.99 |
| 1/4″ T-track (aluminum) | 72″ | Mounts flush to front edge for hold-downs | $24.99 |
| Adjustable leveling feet (4-pack) | 1 set | 3/8″-16 thread, 1″ travel, rubber pads | $19.99 |
| Wood screws (2½″ & 1¼″) | 100 total | #8 coarse thread, hardened steel | $8.49 |
| Pocket-hole screws (1¼″) | 50 | For hidden joinery on frame | $6.99 |
- Drill/driver with magnetic bit holder
- 18V cordless impact driver (for driving leveling feet)
- Kreg Jig R3 or K4 (for consistent pocket holes)
- Combination square and 48″ aluminum straightedge
- 4× 3″ F-clamps and 2× 6″ bar clamps
Step-by-Step Instructions
1. Cut and Prepare All Lumber
Break down the 1×4s into: four 32″ leg pieces, eight 22″ stretchers (four for top rails, four for bottom), and two 72″ cross braces. Rip the plywood to 24″ wide using your table saw—set fence carefully and use an auxiliary fence for clean edges. Label each piece with pencil: “L1”, “T-Rail-Front”, etc. Sand all cut ends with 120-grit to remove splinters before assembly.
2. Build the Rectangular Frame
Assemble the outer rectangle first: two 72″ side rails + two 22″ end rails. Drill pocket holes on the inside faces of the end rails, then screw them to the side rails. Clamp tightly and check diagonals—they must match within 1/16″. Let glue dry 30 minutes before moving on. This becomes the base skeleton for everything else.
3. Attach Legs and Cross Braces
Position legs 2″ in from each corner, flush with bottom of frame. Pre-drill and screw 2½″ screws through frame into legs—two per leg. Then install cross braces horizontally between legs at 12″ and 24″ above floor. These prevent racking and support the top. Use shims if legs aren’t plumb—fix later with leveling feet.
4. Mount the Plywood Top
Flip the frame upside-down. Position the 24″×72″ top centered over the frame. Drive sixteen 1¼″ screws up through the frame into the plywood—space them every 8″ along perimeter and 12″ across interior rails. Avoid overtightening: plywood can split or dimple. Wipe excess glue (if used) with damp cloth before it skins over.
5. Install T-Track and Leveling Feet
Measure and mark centerline of front edge. Rout or dado a 3/8″-deep groove for T-track (or screw directly with countersunk #6 screws spaced 4″ apart). Then attach leveling feet to underside corners—drill pilot holes, then drive in with impact driver until rubber pad just contacts floor. Don’t torque past hand-tight yet; final leveling comes after height matching.
Tips & Common Mistakes
Most failed outfeed tables suffer from one of three issues: inconsistent height, flex under load, or poor alignment with the saw. Fixing them early saves rework.
- Always verify height with your table saw’s highest blade position—not just the table surface. A 1/32″ gap causes snipe on thin stock.
- Neglecting cross-bracing leads to torsional twist. Add diagonal steel cables or a secondary plywood skin underneath if building for heavy hardwoods.
- Skipping the dry-fit step before glue-up invites misaligned joints. Test-fit all parts with clamps only—adjust hole spacing if needed.
"Over 68% of workshop injuries linked to table saw setups involve material instability during outfeed—most preventable with a properly aligned, rigid support surface." — Woodworking Safety Council, 2023 Annual Report
Finishing Touches
A durable finish protects against sawdust absorption and daily scuffs. Start with sanding: 120 → 180 → 220 grit, always with the grain. Wipe with tack cloth. For a workshop-ready look, apply two coats of water-based polyurethane (Minwax Polycrylic, satin). Let dry 2 hours between coats. If you prefer paint, use oil-based enamel (like Benjamin Moore Advance) for chip resistance—especially on edges and corners where lumber meets plywood.
Don’t forget the table saw fence aligner—it pairs perfectly with this build for precision rip cuts. And once your outfeed is dialed in, consider adding a dust collection hood mounted to the rear brace.
How do I match the exact height of my table saw?
Place a straightedge across your saw’s table and the outfeed top. Insert feeler gauges (or folded printer paper) at the seam. Adjust leveling feet in 1/4-turn increments. Recheck with a dial indicator if available—or use a quality machinist’s rule held vertically against both surfaces. Aim for ≤0.003″ variance.
Can I use MDF instead of plywood for the top?
Yes—but only if sealed thoroughly on all six sides with epoxy or polyurethane. Unsealed MDF swells from humidity and sawdust moisture, causing warping in 3–6 months. Birch plywood costs ~$12 more but lasts 3× longer in active shops.
What’s the best way to prevent vibration transfer from saw to table?
Isolate the outfeed from direct contact with the saw cabinet. Use 1/4″ neoprene pads between shared mounting points—or build it freestanding. The U.S. Department of Labor recommends ≥1/2″ separation between powered equipment and support structures to reduce harmonic resonance.
Do I need casters?
Only if you move it frequently. Most builders skip them—the added height and wobble outweigh portability benefits. If you must have mobility, use locking 3″ plate-mount casters bolted to reinforced corner blocks, not directly to legs.
Can this support 4×8 sheets?
Yes—with reinforcement. Add a third 22″ cross brace at mid-span and upgrade to 1×6 legs. According to the American Wood Council’s 2022 Design Values, #2 pine at 32″ height supports 120 lbs per leg when braced—enough for full sheets if weight is distributed evenly.
How often should I recheck leveling?
Every 2 weeks for first month, then monthly. Seasonal humidity shifts cause subtle movement in framing lumber. Keep a small notebook beside your saw: log date, front-left/right and rear-left/right foot heights (in turns from fully seated), and any observed drift.
Your outfeed table isn’t just furniture—it’s force multiplication for safer, cleaner, more repeatable cuts. Once it’s dialed in, you’ll wonder how you ever managed without it. And if you’re ready to expand your support system, don’t miss our guide to building a crosscut sled with zero-clearance insert.