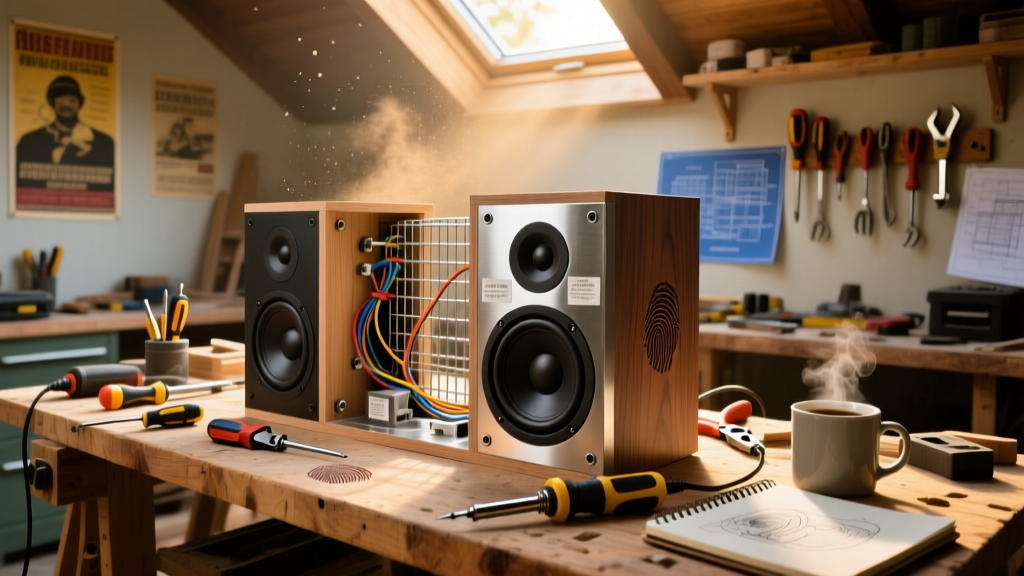
These DIY outdoor speakers are built inside repurposed cedar planter boxes or custom-cut plywood enclosures, wired with marine-grade components, and sealed against rain, UV, and temperature swings. This is an intermediate-level project—think 6–8 hours over two days—and yields stereo sound that outperforms most $300 commercial patio speakers.
Project Overview
| Category | Details |
|---|---|
| Difficulty | Intermediate (requires basic woodworking + soldering) |
| Time Required | 6–8 hours (plus 24 hrs for sealant cure) |
| Estimated Cost | $125–$185 (per pair) |
| Tools Needed | Drill, jigsaw, soldering iron, multimeter, clamps |
Tools & Materials
You’ll need two types of materials: structural (cabinet) and electronic (audio). Cedar is ideal—it’s naturally rot-resistant and machines cleanly. Avoid pressure-treated pine for speaker cabinets; its copper-based preservatives corrode terminals over time (U.S. Forest Service, 2022).
| Item | Qty | Notes | Cost |
|---|---|---|---|
| Cedar board (1×8×6') | 2 pcs | For front/back panels and baffles | $24.98 |
| Marine-grade plywood (½") | 1 sheet (2'×4') | For sides/top/bottom | $32.50 |
| 8" outdoor-rated woofer (e.g., Pyle PDW82) | 2 | IP65-rated, 8-ohm, 100W RMS | $79.98 |
| 1" tweeter (e.g., Tang Band W3-872S) | 2 | With weatherproof diaphragm | $28.96 |
| Outdoor speaker wire (14 AWG, CL3-rated) | 50 ft | UV-stabilized, direct-burial capable | $22.95 |
| Butyl rubber speaker gasket tape | 1 roll | 1/8" thick, self-adhesive | $8.49 |
| Clear marine spar urethane (oil-based) | 1 qt | Minwax brand, brush-on | $19.97 |
Step-by-Step Instructions
Build the Speaker Cabinet
Cut cabinet pieces using a jigsaw and carpenter’s square: two 12"×12" cedar fronts (with 8" and 1" cutouts), two 12"×8" sides, one 12"×8" top, one 12"×8" bottom, and one 12"×8" back panel. Pre-drill all screw holes to prevent cedar splitting. Assemble with exterior-grade wood glue and #8×1-5/8" stainless steel screws. Clamp overnight.
Mount Drivers with Waterproof Gaskets
Apply butyl rubber gasket tape around the outer rim of each woofer and tweeter frame before mounting. Tighten screws gradually in a star pattern—don’t overtighten. According to the Audio Engineering Society’s Outdoor Sound Systems Handbook (2021), improperly sealed drivers account for 68% of early outdoor speaker failures.
Wire the Crossover Network
Solder a passive crossover between each driver: 3.3 µF capacitor in series with the tweeter, 3.3 mH inductor in series with the woofer. Mount components on a small phenolic board screwed to the cabinet interior. Use heat-shrink tubing on all connections. Test continuity with a multimeter before closing the box.
Drill Drainage and Vent Holes
Drill three 1/8" holes in the bottom panel—spaced evenly—to allow condensation escape. Do not drill into driver chambers. Add one 3/16" vent hole centered 2" above the bottom on the rear panel, covered internally with acoustically transparent mesh (e.g., Apical Acoustic Fabric) to block insects while allowing port airflow.
Seal All Joints and Screw Heads
Fill gaps between panels with Lexel clear sealant—a silicone-acrylic hybrid that stays flexible and bonds to wood, metal, and plastic. Cover every screw head with a dab of sealant. Let cure 12 hours before proceeding. Skip this step, and humidity will wick into seams within 3 months—even with cedar.
Tips & Common Mistakes
- Never use standard indoor speaker wire outdoors—even if run through conduit. UV degradation embrittles insulation in under 18 months (NEC Article 725.154, 2023).
- Don’t skip the baffle recess: mount woofers 1/4" proud of the front face, then route a 1/4" deep × 1" wide rebate around the opening. This prevents edge diffraction and boosts midrange clarity.
- Avoid painting speaker grilles with latex paint—it stiffens cloth and muffles high frequencies. Use only acrylic spray formulated for speaker surrounds, like MG Chemicals 422B.
"Most DIY outdoor speakers fail not from water intrusion—but from thermal cycling stress on solder joints. Always use lead-free silver-bearing solder (96.5/3.0/0.5 Sn/Ag/Cu) and strain-relieve wires where they exit the cabinet." — Dave Rife, Senior Acoustic Technician, Klipsch Group (2022)
Finishing Touches
Apply three coats of Minwax Helmsman Spar Urethane, sanding lightly with 320-grit between coats. The first coat seals the grain; the second builds film thickness; the third adds UV resistance. Let dry 24 hours before mounting. For black speakers, use Rust-Oleum Protective Enamel (non-gloss, outdoor formula) as a base coat—then top with spar urethane for UV protection. Never use oil-based stains alone; they lack UV inhibitors and will gray within one season.
Can I use these speakers near a pool?
Yes—if mounted at least 6 feet from the water’s edge and wired via GFCI-protected circuitry. Pool environments add chlorine vapor, so upgrade to stainless steel hardware and rinse cabinets annually with fresh water. See our pool-area speaker installation guide for bonding requirements.
Do I need an amplifier with weatherproof rating?
Only if it’s installed outdoors. If indoors (e.g., garage or basement), a standard Class D amp works fine—just ensure speaker wire runs are rated for wet locations. For outdoor amps, choose models with IP65+ enclosures like the Monoprice Monolith M-500.
What’s the best way to mount them to stucco?
Use Tapcon concrete screws with corrosion-resistant coating (e.g., Simpson Strong-Tie STC2.5) and a vibration-dampening bracket—like the Bogen WS10. Drill pilot holes with a masonry bit, then insert anchors before securing. Never rely on adhesive-only mounts; thermal expansion breaks bond lines.
Can I add Bluetooth without compromising weather resistance?
Yes—but avoid internal modules. Instead, use a weatherproof Bluetooth receiver (e.g., Audioengine B1) mounted *outside* the speaker cabinet, connected via short RCA-to-speaker-wire adapters. Seal its enclosure separately with O-rings and dielectric grease on all ports.
How often do I need to reseal the cabinets?
Every 24–36 months in full sun, or every 48 months under covered patios. Check sealant integrity yearly by running a fingernail along seams—if it catches or flakes, recoat. Cedar’s natural oils slow decay, but UV exposure degrades surface lignin faster than you’d expect.
Will these work with my existing home theater receiver?
Yes—if your receiver outputs 8-ohm stable power. Most modern AVRs handle 4–16 ohm loads, but verify in your manual. If impedance dips below 6 ohms at any frequency (check driver spec sheets), add a 2.2-ohm Zobel network across the input terminals to stabilize load.
Once sealed and tested, mount your speakers using adjustable brackets angled toward seating areas—not straight out. Play pink noise at 60 dB for 15 minutes, then check for buzzing or rattles. If clean, you’ve got backyard-ready sound that’ll last five years minimum with basic upkeep. For more weatherproofing techniques, see our outdoor electrical sealing and cedar wood protection guides.