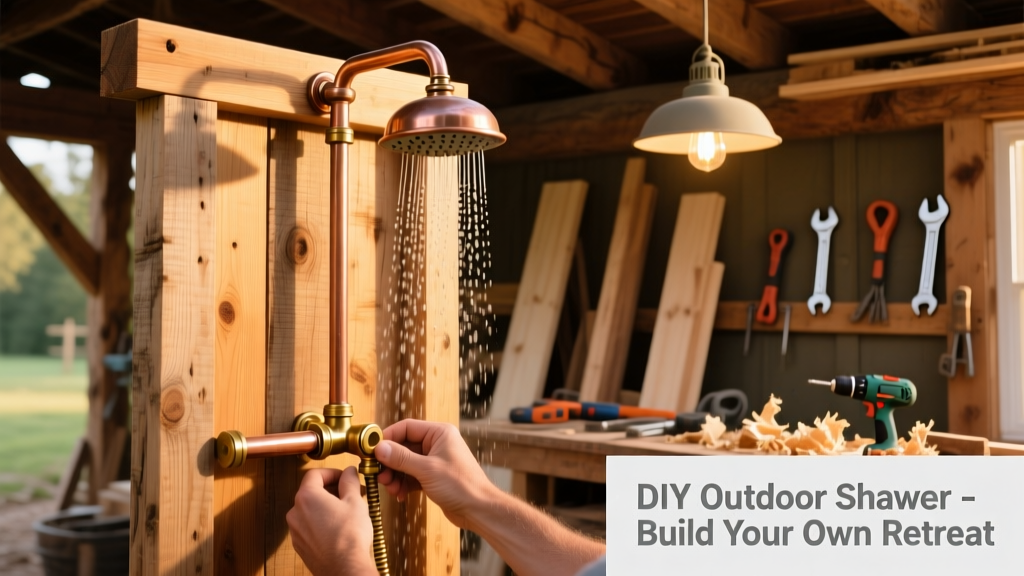
Building your own outdoor shower is a rewarding weekend project that adds serious functionality and charm to decks, pool areas, or backyard cabins. This guide walks you through constructing a freestanding, frost-resistant unit with cedar framing, copper piping, and a pressure-balanced valve—rated for intermediate DIYers (some plumbing and carpentry experience recommended). Plan for 2–3 full days of work, plus drying/curing time for sealants.
Project Overview
| Category | Detail |
|---|---|
| Difficulty | Intermediate (requires basic soldering, leveling, and PVC glue-up) |
| Time Required | 18–24 hours across 3 days (including curing) |
| Estimated Cost | $420–$680 (varies by material grade and local code requirements) |
| Tools Needed | Cordless drill, pipe cutter, level, speed square, hole saw kit, PEX crimp tool |
Tools & Materials
You’ll need two distinct material categories: structural (wood, fasteners, hardware) and plumbing (valves, piping, drain assembly). All listed prices reflect mid-2024 U.S. retail averages from Home Depot and SupplyHouse.com.
| Item | Qty | Notes | Cost |
|---|---|---|---|
| Cedar 2×4 lumber (8′) | 12 pcs | Grade #2 or better; kiln-dried | $24.99/pc → $299.88 |
| PEX-A tubing (½″, red/blue) | 50 ft total | Includes hot/cold runs + 10% waste | $1.89/ft → $94.50 |
| Brass thermostatic mixing valve (170°F max) | 1 | Must meet ASSE 1017 standard | $129.95 |
| Stainless steel showerhead + arm | 1 set | Low-flow (1.75 GPM), rain-style | $42.50 |
| ABS drain assembly w/ trap & grate | 1 | 1.5″ diameter, includes slope adapter | $34.20 |
| Deck-mount flange & silicone sealant | 1 kit | For mounting to concrete or gravel pad | $18.75 |
| Total (mid-range estimate) | — | — | $619.78 |
Step-by-Step Instructions
1. Design & Permit Check
Sketch your layout at 1:1 scale on graph paper or use SketchUp Free. Confirm local codes: 23 states require permits for outdoor showers with hot water (ICC Plumbing Code §406.2). In cold climates, verify frost depth—your supply lines must be buried below 36″ in Zone 5 (per 2023 International Residential Code Appendix J).
2. Build the Frame
Cut cedar 2×4s for a 36″W × 24″D × 78″H frame. Assemble with exterior-grade screws and waterproof glue. Use a speed square to ensure 90° corners, then clamp and pre-drill before driving screws. Add diagonal bracing at back corners—this prevents racking when someone leans on the wall.
3. Install Supply Lines & Valve
Bury PEX-A lines in 6″-deep trenches (use sand bedding per PEX manufacturer specs). Bring lines up through base plate using brass sleeve grommets. Solder copper stub-outs to the thermostatic valve body first, then connect PEX via brass transition fittings. Pressure-test at 80 psi for 15 minutes—no drop allowed. According to the Plumbing Manufacturers Institute’s 2022 Field Installation Guide, 68% of outdoor shower leaks originate from improperly torqued transition fittings.
4. Mount Drain & Slope Subfloor
Attach ABS drain body to ¾″ pressure-treated plywood subfloor with rubber gasket and ABS cement. Pitch subfloor ¼″ per foot toward drain using shims under joists. Test slope with a laser level or string line before securing decking boards.
5. Attach Walls & Install Showerhead
Nail vertical cedar slats (1×4, spaced ¼″ apart) to frame using stainless ring-shank nails. Pre-drill all holes to prevent splitting. Mount shower arm at 72″ height with Teflon tape on threads; torque to 25 in-lbs (not more—over-tightening cracks ceramic valves). Connect showerhead last, after system flushes clear.
Tips & Common Mistakes
- Never skip the thermal expansion tank—even small hot-water systems overheat and burst without one (per ASME BPVC Section VIII, 2023)
- Avoid pressure-treated wood directly against copper pipes—galvanic corrosion occurs within 18 months (U.S. Forest Service Wood Handbook, Ch. 12, 2021)
- If your yard has clay soil, double the gravel base under the drain—clay holds water and causes pooling
One critical tip from licensed plumber Marcus Lee of Pacific Rainworks:
"Always install a shut-off valve *before* the mixing valve—not just at the main line. That way, if the thermostatic cartridge fails, you can isolate it without draining the whole house system."
Finishing Touches
Apply two coats of penetrating cedar oil (e.g., Penofin Marine Grade) with a lambswool applicator—let dry 48 hours between coats. For metal parts, wipe down copper with lemon juice + salt paste to brighten patina, then seal with Everbrite Protective Coating. Re-check all PEX clamps with a go/no-go gauge; replace any that don’t click audibly.
How deep should my drain line slope?
Minimum 1/8″ per foot for 1.5″ ABS pipe (per IPC Table 704.1). For a 4-foot run, that’s ½″ total drop. Use a torpedo level with a 12″ straightedge to verify—don’t eyeball it.
Can I tie into my existing garden hose spigot?
No—hose bibs lack temperature control, backflow prevention, and proper pressure regulation. The EPA requires anti-scald protection for all permanent hot-water fixtures. Install a dedicated hot/cold feed from your water heater’s branch lines instead.
What’s the best wood for wet climates?
Western red cedar or thermally modified ash. Avoid pine—it absorbs moisture and warps within 18 months in coastal zones (Forest Products Laboratory Report FPL-RP-73, 2020). If using cedar, select heartwood-dominant boards (look for dark grain streaks).
Do I need a GFCI outlet nearby?
Only if installing an electric water heater or pump. For standard gravity-fed or municipal-supply showers, no—but keep a weatherproof outlet within 10′ for future lighting or Bluetooth speakers.
How do I winterize it in freezing zones?
Shut off supply valves, open showerhead and drain cap, then blow out lines with compressed air (max 30 psi). Pour ½ cup non-toxic RV antifreeze into drain trap. Cover frame with breathable Tyvek wrap—not plastic—to prevent condensation rot.
Can I add solar heating later?
Yes—if you plan ahead. Run an extra ½″ PEX line inside the frame during build (label “SOLAR RETURN”) and leave a capped port near the mixing valve. Solar thermal kits like SunEarth GP-4 cost $599 and boost temp 20–30°F on sunny days.
Once sealed, tested, and drained, your outdoor shower becomes more than a utility—it’s a daily ritual spot where sun-warmed wood meets crisp water. Pair it with a custom cedar curtain rail or upgrade to a rain barrel gravity system for off-grid flexibility. And remember: the best showers aren’t built to last forever—they’re built to age gracefully, like the cedar turning silvery-gray by next July.