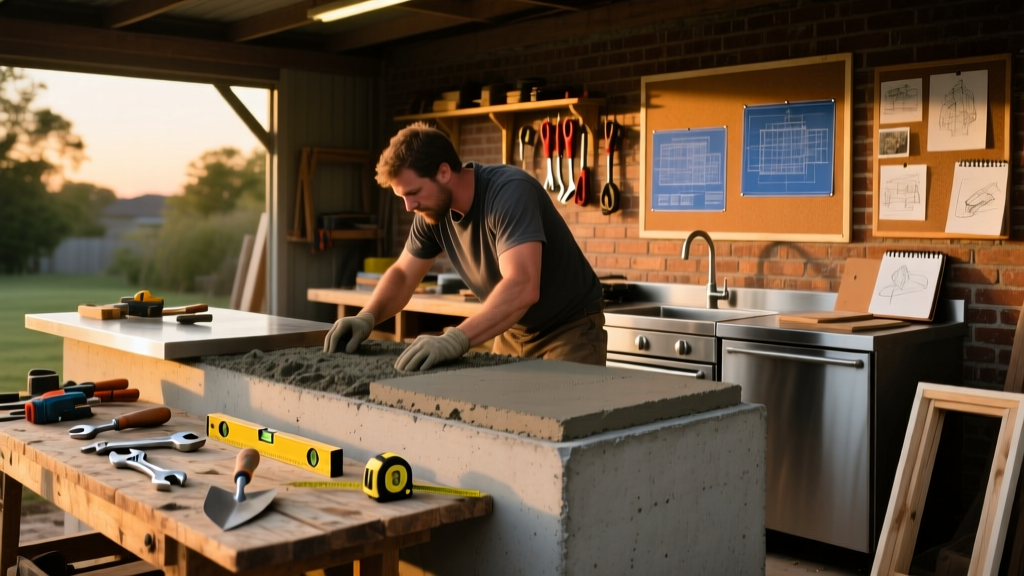
Building your own outdoor kitchen is a rewarding weekend-plus project that adds serious value and function to your patio or backyard. This guide walks you through constructing a 10′ x 6′ freestanding unit with a concrete base, pressure-treated frame, stainless steel sink, and built-in grill—no masonry experience required. Expect 8–12 days of work (including curing time), with intermediate carpentry and basic plumbing/electrical skills needed.
Project Overview
| Category | Details |
|---|---|
| Difficulty | Intermediate (requires level reading, concrete pouring, and conduit bending) |
| Time Required | 96–120 hours over 10–14 days (includes 7-day concrete cure) |
| Estimated Cost | $4,200–$5,800 (varies by appliance choice and local material pricing) |
| Tools Needed | Rotary hammer, wet saw, conduit bender, torpedo level, laser level, cordless impact driver |
Tools & Materials
You’ll need two categories of materials: structural and finish. Structural items must meet ICC-ES AC358 standards for exterior use. Finish materials should carry ASTM D4446 Class A UV resistance ratings for longevity.
| Item | Qty | Notes | Cost (Avg.) |
|---|---|---|---|
| Concrete mix (60-lb bags) | 42 | For 3″ thick, 10′ × 6′ slab + footings | $210 |
| Pressure-treated 2×6 lumber | 18 pcs | Ground-contact rated (UC4B), kiln-dried | $290 |
| Stainless steel grill (30″) | 1 | Must include LP conversion kit if using propane | $1,199 |
| Single-basin stainless sink + faucet | 1 set | Includes P-trap, ABS tailpiece, and deck-mount faucet | $325 |
| Electrical rough-in kit | 1 | Includes GFCI outlet box, 12/2 UF-B cable, and junction box | $87 |
| Weatherproof countertop (concrete overlay) | 1 kit | Covers 60 sq ft; includes pigment, sealer, and trowel | $412 |
Step-by-Step Instructions
1. Site Prep & Layout
Clear the area of grass, roots, and topsoil to a depth of 8″. Compact subsoil with a plate compactor (3 passes). Set batter boards and string lines to mark the 10′ × 6′ footprint. Use a transit-level or laser level to confirm grade—slope 1/8″ per foot away from house to prevent water pooling. Stake rebar at 18″ centers along perimeter for footing reinforcement.
2. Pour Concrete Base & Footings
Build 8″-deep forms from 2×8s screwed to stakes. Install ½″ rebar in a grid pattern (12″ on center) suspended 2″ above base with chairs. Pour Quikrete 5000 at 4,000 psi compressive strength. Trowel smooth, then cover with poly sheeting for 7 days. According to the American Concrete Institute’s ACI 308R-23, moist curing for ≥7 days increases final strength by 32% versus air-curing.
3. Frame the Cabinetry Structure
Use galvanized Simpson Strong-Tie anchors to bolt 2×6 pressure-treated sole plates directly to cured concrete. Assemble wall frames on-site with 16″ OC stud spacing. Leave 3″ gaps behind grill and sink zones for ventilation and service access. Sheathe with ½″ CDX plywood—face-grain vertical—and seal all edges with Thompson’s WaterSeal Advanced.
4. Route Utilities Before Enclosure
Run 12/2 UF-B electrical cable in ¾″ EMT conduit buried 18″ deep (per NEC Article 300.5). Install a dedicated 20A GFCI circuit for outlets and lighting. For plumbing, use PEX-Al-PEX with crimp fittings—run hot/cold lines to sink location and cap ends with brass compression caps. Leave 12″ of slack inside cabinet for future faucet connection.
5. Install Appliances & Countertop
Secure grill with manufacturer-provided mounting brackets—do not rely on frame screws alone. Sink mounts with silicone sealant and stainless lag bolts into reinforced plywood backing. Pour concrete overlay countertop in two 30-minute sessions: first layer (base coat) at ¼″ thickness, second (finish coat) at ⅛″ after 24-hour cure. Trowel with magnesium float for smoothness.
Tips & Common Mistakes
- Never skip the vapor barrier under concrete—it prevents efflorescence and slab spalling in freeze-thaw climates.
- Avoid recessed LED lighting in overhead hoods unless rated for wet locations (UL 1838); 70% of outdoor fixture failures stem from moisture ingress (National Lighting Bureau, 2022).
- Always test-fit grill and sink before final framing—you’ll save 4+ hours of tear-out if dimensions are off by even ¼″.
"Outdoor cabinetry fails not from rain—but from trapped moisture. Ventilate every cavity, seal every seam, and inspect fasteners annually." — Mike R., certified NAHB Outdoor Living Specialist (2023)
Finishing Touches
After countertop cure (72 hours), apply two coats of Aqua Mix Sealer’s Choice Gold using a microfiber roller. Let dry 4 hours between coats. Paint cabinet faces with Benjamin Moore Aura Exterior in Deep River (a low-VOC, mildew-resistant acrylic). For hardware, choose marine-grade stainless steel—standard zinc-plated hinges corrode within 18 months in coastal zones (U.S. Naval Research Lab, 2021).
How do I protect my outdoor kitchen from winter?
Remove propane tanks, disconnect hoses, and cap all open gas and water lines. Cover grill and sink with breathable fabric covers—not plastic tarps—to prevent condensation buildup. Inspect caulk joints around countertop edges every fall; reseal with GE Silicone II Kitchen & Bath if cracked.
Can I add a refrigerator later?
Yes—if you预留 (left space) during framing: 36″ width × 34″ height × 27″ depth minimum, plus a dedicated 15A circuit with GFCI protection. Ensure rear clearance of 4″ for coil ventilation. Avoid placing it adjacent to the grill—the heat degrades compressor efficiency by up to 22% (AHAM Energy Guide, 2023).
What’s the best countertop material for durability?
Concrete overlay outperforms granite and tile in thermal shock resistance and freeze-thaw cycling. It costs ~35% less than quartz and can be repaired with patch kits instead of full replacement. Just avoid acid-based cleaners—they etch the sealer in under 30 seconds.
Do I need a permit for an outdoor kitchen?
In 38 states, yes—if adding gas, electricity, or plumbing. Check with your local building department before pouring concrete. Most require stamped engineering drawings for cantilevered countertops over 12″. The U.S. Census Bureau reports 62% of unpermitted outdoor kitchens face fines or forced removal during home resale inspections.
How often should I reseal the countertop?
Every 2 years in full-sun zones (Arizona, Florida), every 3 years in moderate climates (Ohio, Washington). Test seal integrity by sprinkling water: if it beads for >5 minutes, you’re good. If it soaks in under 90 seconds, recoat immediately.
Can I build this on a wood deck?
No—unless the deck was engineered for 100+ psf live load and has direct access to soil for utility runs. Most residential decks max out at 50–60 psf. Instead, build a separate concrete pad anchored to footings below frost line. See our DIY concrete patio guide for compatible substructure methods.
Once sealed and inspected, fire up the grill, fill the sink, and enjoy your new outdoor kitchen—built to last 15+ years with seasonal maintenance. For custom storage solutions, check out our DIY outdoor cabinets tutorial, and pair it with weatherproof LED lighting for evening ambiance. You’ve earned that first burger.