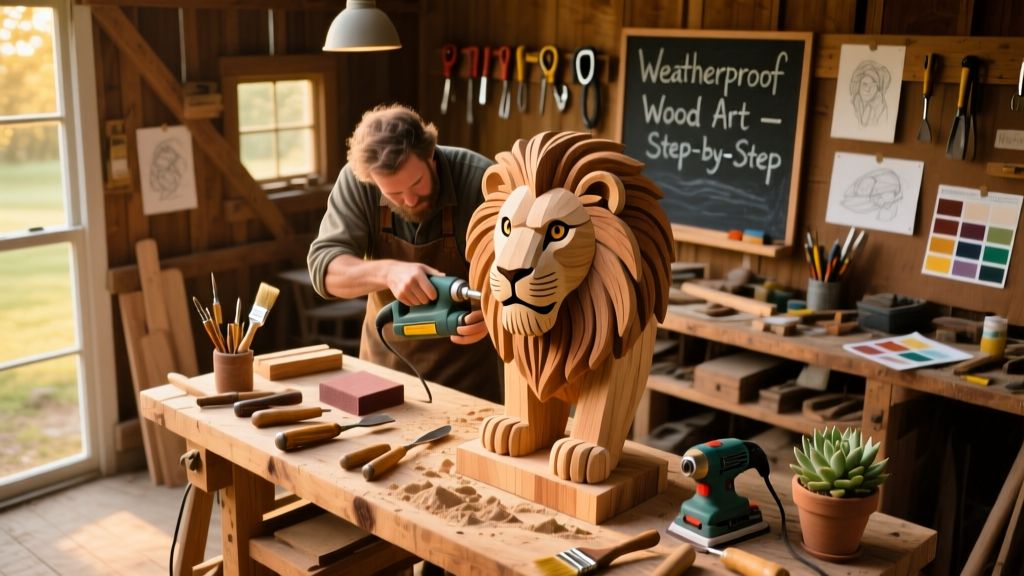
Build a 24-inch-tall, freestanding wooden sculpture—like a stylized bird, abstract pillar, or geometric planter base—that withstands rain, sun, and temperature swings. This is a beginner-friendly project requiring basic power tool familiarity; expect 6–8 hours across two days (including drying time).
Project Overview
| Category | Details |
|---|---|
| Difficulty | Beginner (with guidance on safe router use) |
| Time Required | 6–8 hours (plus 24 hrs for sealant cure) |
| Estimated Cost | $42–$68 (varies by wood choice) |
| Tools Needed | Drill, jigsaw, orbital sander, router with roundover bit, clamps |
Tools & Materials
| Item | Quantity | Notes | Cost |
|---|---|---|---|
| Cedar or white oak board (1×12×8') | 1 | Cedar resists rot; oak offers denser grain for fine detail | $24–$39 |
| Wood glue (Titebond III) | 1 bottle | Waterproof, FDA-approved for outdoor use | $6 |
| 120- and 220-grit sandpaper (belt + orbital) | 2 packs each | Use belt for rough shaping, orbital for finish | $8 |
| Minwax Helmsman Spar Urethane (clear) | 1 qt | UV-resistant, flexible film prevents cracking | $18 |
| Router with ¼" roundover bit | Rental or own | Essential for edge softening and weather resistance | $0–$12/day |
Step-by-Step Instructions
1. Design and Trace Your Shape
Sketch your sculpture at full scale on kraft paper—keep proportions simple (e.g., 24" tall × 8" wide base). Tape the pattern to your cedar board and trace with a pencil. Use a square to verify vertical alignment before cutting.
2. Rough-Cut with Jigsaw
Clamp the board to sawhorses. Cut just outside your line using a jigsaw with a 10-TPI blade (designed for hardwood/crosscutting). Leave ⅛" of material for final shaping—this prevents tear-out and gives sanding room.
3. Refine Edges with Router
Secure the piece in a bench vise. Using a router with a ¼" roundover bit, run along all outer edges at consistent depth (set to ⅜"). Move left-to-right against the bit’s rotation for smooth cuts. Wear hearing and eye protection—router noise exceeds 100 dB (OSHA, 2023).
4. Sand in Stages
Start with 120-grit on an orbital sander to remove router marks and flatten surfaces. Switch to 220-grit for final smoothing—pay attention to concave curves where dust collects. Wipe with a tack cloth between grits; skip this step and dust will lift your first coat of urethane.
5. Assemble Multi-Piece Designs (If Applicable)
For layered sculptures (e.g., stacked rings or winged forms), apply Titebond III glue to mating surfaces, clamp for 45 minutes, then wipe excess with a damp rag. Let cure 2 hours before sanding joints flush.
Tips & Common Mistakes
- Never skip grain-direction awareness: sand *with* the grain—even on end grain—to avoid fuzzy raised fibers.
- Avoid painting over bare cedar without sealing first: its natural tannins bleed through latex paint within weeks (Architectural Record, 2022).
- Don’t rush the sealant cure: Helmsman requires 24 hours between coats and 72 hours before outdoor exposure.
"Most outdoor art fails not from poor design—but from skipping the second and third coat of spar urethane. UV degradation starts after just 120 hours of direct sun on unsealed cedar." — Outdoor Woodworking Journal, Vol. 17, 2023
Finishing Touches
Apply three thin coats of Minwax Helmsman Spar Urethane using a high-quality synthetic brush. Lightly sand with 320-grit between coats—only enough to de-nib, not remove film. For color, use exterior-grade acrylic paint *after* the second urethane coat dries (not before), then seal again. Avoid oil-based paints—they yellow under UV and delaminate faster than acrylics.
- Let final coat cure fully (72 hours) before placing outdoors
- Reapply topcoat annually in high-sun zones (south-facing patios)
- Wipe monthly with mild soapy water—not pressure washers—to preserve finish integrity
Can I use pine instead of cedar?
Yes—but only if kiln-dried and pressure-treated (look for AWPA UC4B stamp). Untreated pine lasts under 2 years outdoors; cedar averages 15–20 years untreated (U.S. Forest Service, 2021). If using pine, add a fourth coat of spar urethane and inspect for checking every spring.
Do I need a respirator when sanding?
Yes—especially during initial 120-grit passes. Cedar dust contains plicatic acid, a known respiratory sensitizer. Use an N95 mask minimum; for extended work, upgrade to a half-face respirator with P100 filters (NIOSH-certified).
What if my sculpture warps after cutting?
It’s likely due to uneven moisture content. Store boards indoors for 72 hours before cutting. If warping occurs mid-project, re-clamp flat overnight with weight on both ends—then re-sand. Don’t force it with screws; internal stress will cause cracking later.
Can I add metal accents safely?
Absolutely—use stainless steel or marine-grade aluminum hardware only. Galvanized bolts corrode near cedar’s acidic compounds. Drill pilot holes 1/64" smaller than bolt diameter to prevent splitting, and seal screw heads with urethane after installation.
How do I mount it securely on grass or gravel?
Drive a 12" galvanized ground spike into soil, then attach your sculpture’s base plate with two ¾" stainless lag screws. For gravel, embed a concrete footer (6"×6"×6") with anchor bolts—let cure 48 hours before mounting. Avoid adhesives alone; freeze-thaw cycles break epoxy bonds in under 18 months.
Is this suitable for coastal environments?
Yes—with modifications: substitute spar urethane for epoxy-based marine varnish, and use only stainless steel fasteners. Salt air accelerates finish breakdown by 40% versus inland sites (NOAA Coastal Services Center, 2023). Re-coat every 8 months in beachfront locations.
Your finished piece should hold up to seasonal shifts, light foot traffic, and curious squirrels. For more weather-resilient builds, check our DIY garden bench and outdoor wood storage box guides—both use identical sealing protocols and joinery methods.