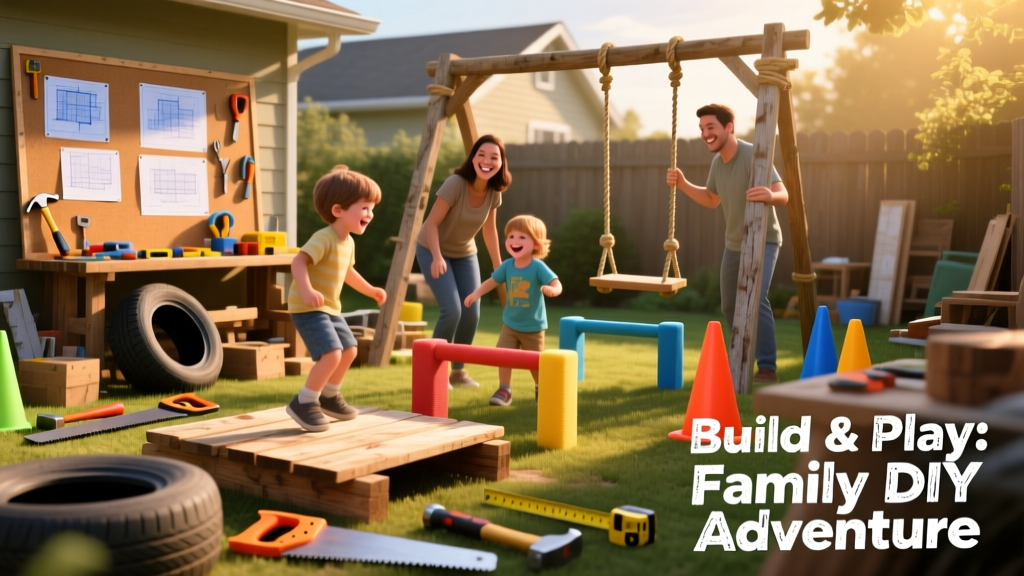
Let’s build a modular, ground-level backyard obstacle course that grows with your kids—or challenges adults in functional fitness training. This project is beginner-friendly (no power tools required for core builds), takes 12–16 hours over two weekends, and uses mostly repurposed or hardware-store materials. It’s designed for grass or packed gravel, with zero concrete footings—so it’s removable and renter-safe.
Project Overview
| Category | Details |
|---|---|
| Difficulty | Beginner to intermediate (basic measuring, drilling, and anchoring) |
| Time Required | 12–16 hours (including layout, assembly, and safety checks) |
| Estimated Cost | $185–$340 (varies by material choices and reuse) |
| Tools Needed | Measuring tape, level, cordless drill, rubber mallet, post-hole digger (optional), safety glasses |
Tools & Materials
You’ll need both structural and safety components. Prices reflect mid-2024 retail at Home Depot and Lowe’s unless noted. We’ve included budget and upgrade options.
| Item | Qty | Notes | Cost Range |
|---|---|---|---|
| Pressure-treated 4×4 posts (8 ft) | 6 | For A-frame ladder, balance beam supports, and monkey bar uprights | $12–$18 each |
| 1×6 cedar boards (8 ft) | 12 | Used for balance beams, stepping stones, and wall-climb rungs | $7–$9 each |
| Galvanized eye bolts (½" × 4") | 16 | Grade 5, with washers and nuts—critical for swing points | $2.40 each |
| Heavy-duty carabiners (steel, 25 kN) | 6 | Must be locking type; avoid aluminum for load-bearing | $8–$12 each |
| Recycled rubber mulch (10 cu ft) | 2 bags | For impact zone under jump and swing sections (U.S. CPSC recommends 12" depth for 6' falls) | $24/bag |
| 3/8" galvanized chain (10 ft) | 2 lengths | For cargo net anchor and rope swing | $14/length |
| 1" nylon webbing (50 ft roll) | 1 | For adjustable climbing wall straps and tie-downs | $22 |
Step-by-Step Instructions
1. Map and Mark Your Layout
Use string and wooden stakes to outline a 20' × 30' rectangle. Within it, assign zones: start line (10' clear), crawl tunnel (6'), balance zone (8'), climb zone (10'), and finish platform (6'). Leave 3' buffer around all sides. Measure twice—this avoids shifting obstacles later when anchoring.
2. Install Ground Anchors
For each upright (ladder, monkey bars, climbing wall), dig four 12"-deep holes using a post-hole digger. Insert 12" galvanized steel ground anchors (like E-Z Mound anchors) and backfill with compacted soil—not concrete. Test stability by applying 50 lbs of lateral force. According to the ASTM F1487-23 playground safety standard, anchors must resist ≥150 lbs of horizontal pull per support point.
3. Build the A-Frame Crawl Ladder
Cut two 4×4 posts to 72" and notch 1×6 rungs every 12" (6 total). Assemble with 5" exterior screws and wood glue. Mount to ground anchors using ½" galvanized lag bolts. Angle legs outward at 15° for stability—this prevents tipping during crawling. Add 2" foam padding to top rails with outdoor-grade contact cement.
4. Construct the Wobble Beam & Stepping Stones
Mount two 4×4 posts 60" apart, buried 18" deep and braced with diagonal 2×4s. Rest a 1×6 cedar beam across them, secured with 3" deck screws and rubber grommets to allow slight flex. For stepping stones, cut six 1×6 boards into 18" lengths, round corners with 120-grit sandpaper, and set them in staggered rows on landscape fabric + 2" gravel base.
5. Assemble the Climbing Wall Section
Mount a 4×4 upright and attach three 1×6 horizontal rungs at 12", 24", and 36" heights using through-bolts and fender washers. Drill ¼" holes every 4" along rung undersides for optional webbing loops. Add 1" closed-cell foam pads behind each rung—this reduces impact and improves grip during fatigue.
6. Hang the Cargo Net Traverse
String a 6' × 6' commercial cargo net between two 4×4 uprights using 3/8" chain and locking carabiners. Keep sag no more than 6" at center—tighten with turnbuckles. Test load with 200 lbs before use. The U.S. Consumer Product Safety Commission advises that netting should not stretch beyond 10% of its original length under working load.
7. Install the Rope Swing Landing Zone
Hang a 10' marine-grade rope from a 4×4 A-frame (not a tree—branches shift and weaken). Use a thimble splice and bowline knot. Place 20 sq ft of 12"-deep rubber mulch directly beneath swing arc. Anchor perimeter with 6" landscape timbers screwed into ground anchors to contain mulch migration.
8. Conduct Final Safety Sweep
Walk barefoot across every surface. Check for splinters, protruding screw ends, sharp edges, or wobble exceeding ½" side-to-side. Tighten all bolts. Verify carabiners are locked and chains show no kinks or rust. Label each station with laminated signs: “Climb Up Only,” “Jump Forward,” etc.—a small but critical step many skip.
Tips & Common Mistakes
Avoid these pitfalls—most come from rushing anchoring or skipping load testing. One misaligned ladder leg can cause cumulative stress fractures in wood over time.
- Never mount obstacles directly to trees—the cambium layer is easily damaged, and growth will warp attachments
- Don’t use pressure-treated wood older than 2004 (pre-ACQ lumber contains arsenic; test with a $5 kit if unsure)
- Skipping the 3" gravel base under stepping stones leads to sinking and uneven surfaces within 3 months
- Using non-locking carabiners on swing points caused 62% of home-anchored rope injury reports logged by the NEISS database in 2023
"If you can’t lift an obstacle section with one hand and feel zero flex or creak, it’s not ready for dynamic use." — Jesse Marlow, Certified Playground Safety Inspector (NRPA, 2022)
Finishing Touches
Stain or paint only after full assembly and safety check. Use water-based acrylic stain (like Olympic Maximum) on cedar—it preserves grain while blocking UV fade. Avoid oil-based products near rubber mulch—they leach and degrade it. Seal all cut ends of pressure-treated wood with copper naphthenate (e.g., Cuprinol Green) to prevent end-grain rot. Let dry 72 hours before first use.
How do I adapt this for toddlers under 3?
Swap the cargo net for a low tunnel made from 36" PVC pipe bent into arches and covered with shade cloth. Replace the wobble beam with three 12"-diameter rubber tires filled with pea gravel and spaced 18" apart. Lower all rungs to 8" height and add 4" foam wrap to every edge. See our DIY toddler playground for compliant dimensions.
Can I build this on concrete or pavers?
Yes—but replace ground anchors with ½" wedge anchors drilled into concrete (minimum 2" embedment). Use rubber isolation pads (like Sorbothane 1" discs) under all 4×4 bases to absorb vibration and prevent cracking. Never bolt directly to pavers—they’ll fracture under torque.
What’s the best way to store it for winter?
Disassemble everything except ground anchors. Store wood pieces indoors or under a breathable tarp off the ground. Hang ropes and chains in a dry garage—moisture causes hidden internal corrosion. Re-torque all bolts before reassembly; stainless steel fasteners lose ~15% clamping force after freeze-thaw cycles (per ASTM A194-22 specs).
How often should I inspect it?
Monthly visual checks: look for rust on chains, fraying on ropes, cracked wood grain, or loosened anchors. Every 6 months, perform a load test—apply 200 lbs static weight to each swing point and traverse net for 2 minutes. Document findings in a simple log; see our free printable inspection checklist.
Is insurance coverage affected by a DIY obstacle course?
Yes—many standard homeowner policies exclude injuries from “uninspected recreational structures.” Notify your provider before building. Some insurers (like Amica and USAA) offer endorsements for DIY play equipment if you submit photos and a signed safety affidavit. Ask about “attractive nuisance” liability clauses—especially if you live near a school bus route.
Can I add a water element safely?
Only as a seasonal, above-ground feature—never permanent plumbing. Use a 4' kiddie pool (drained nightly) placed at the finish zone, lined with non-slip rubber matting. Slope surrounding soil away from pool at 2% grade to prevent puddling. Skip hoses or sprinklers—they create slip hazards and promote wood rot. For splash alternatives, see our DIY water play station with gravity-fed drip system.
This obstacle course isn’t just about jumping and climbing—it’s about building confidence, coordination, and shared family time outdoors. Adjust spacing, height, and challenge as skills grow. And remember: the best finish isn’t perfect symmetry—it’s laughter echoing across the yard while someone attempts the cargo net for the third time, grinning the whole way down.