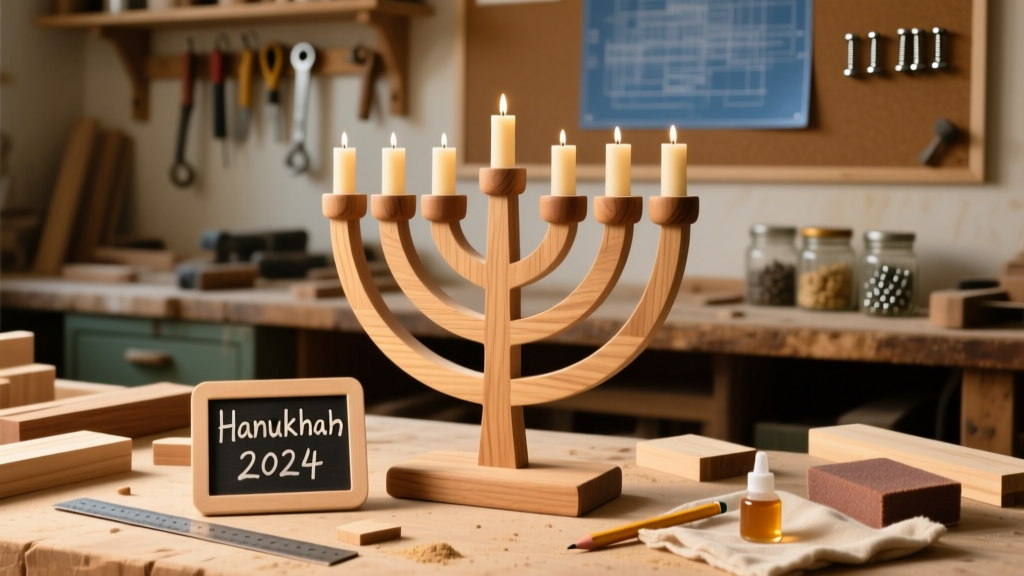
Build a custom wooden menorah display stand that holds your nine-branched candelabrum securely while adding warmth and tradition to your holiday table or mantel. This project is beginner-friendly (no prior woodworking experience needed), takes about 2.5–3 hours including drying time, and uses affordable, easy-to-find materials.
Project Overview
| Category | Detail |
|---|---|
| Difficulty | Beginner — uses basic hand tools and pre-cut lumber |
| Time Required | 2.5–3 hours (plus 1 hour for optional stain/dry time) |
| Estimated Cost | $22–$34 (depending on wood choice and finish) |
| Tools Needed | Measuring tape, pencil, sandpaper (120 & 220 grit), clamps, wood glue, small square, safety glasses |
Tools & Materials
| Item | Qty | Notes | Cost |
|---|---|---|---|
| Pine board (1×6×24") | 1 | Smooth-surfaced, knot-free preferred | $8.97 |
| Hardwood dowel (½" diameter × 12") | 1 | Maple or birch recommended for strength | $4.29 |
| Wood glue (Titebond III) | 1 bottle | Waterproof, interior/exterior use | $3.49 |
| Minwax Pre-Stain Conditioner | 1 small can | Essential for even pine staining | $5.97 |
| Minwax Dark Walnut stain | 1 small can | Or wipe-on poly if painting instead | $6.49 |
| 120- and 220-grit sandpaper (sheets or sponge) | 2 each | Sanding sponges work best for curves | $3.98 |
Step-by-Step Instructions
Cut and mark the base and uprights
Using a measuring tape and pencil, mark two 6"-long pieces from your 1×6 board for the side uprights. Mark one 10" piece for the base. Cut all three with a handsaw or ask your hardware store to cut them for free. Sand edges smooth with 120-grit paper—round corners slightly to prevent splinters.
Drill candle holder holes in the uprights
Clamp one upright vertically in a vise or between books on a stable surface. Using a ½" Forstner bit (or spade bit), drill nine evenly spaced holes: center hole at 1" from top, then four holes descending left and right at ¾" vertical intervals. Repeat for second upright. Clean sawdust from holes with a dry paintbrush.
Attach uprights to base with dowel reinforcement
Apply wood glue to both ends of the ½" dowel. Insert one end into the bottom of the first upright’s lowest hole (the shamash position). Let sit 5 minutes. Then apply glue to the other end and press upright firmly onto the 10" base, aligning its outer edge flush with the base’s end. Repeat with second upright on opposite side. Clamp both uprights perpendicular to base using corner clamps or rubber bands stretched over books.
Let glue cure and check alignment
Wait at least 90 minutes before removing clamps. Use a small square to verify uprights are plumb. If slight wobble remains, add a dab of glue where the upright meets the base and re-clamp for 30 more minutes. According to the Wood Handbook (U.S. Forest Service, 2023), Titebond III achieves 75% bond strength after 90 minutes—enough for safe handling.
Sand and prep for finish
Lightly sand entire assembly with 220-grit sandpaper, focusing on glue squeeze-out and any rough grain. Wipe clean with a damp lint-free cloth. Let dry completely—moisture interferes with stain absorption.
Tips & Common Mistakes
- Don’t skip pre-stain conditioner on pine—it prevents blotchy, uneven color (a leading cause of amateur finish failures, per Fine Woodworking Magazine, 2022).
- Avoid drilling holes too close to the edge: keep at least ½" margin to prevent splitting.
- If your candles wobble, widen holes slightly with folded sandpaper wrapped around a pencil—not a drill.
- Never use hot glue for structural joints—wood glue creates a stronger, longer-lasting bond.
Finishing Touches
Apply pre-stain conditioner with a foam brush, let dry 15 minutes, then wipe on Dark Walnut stain with a clean cotton rag. Wait 5 minutes, then wipe off excess. Let dry 2 hours. For extra protection—and to prevent wax drips from etching the wood—apply one coat of Minwax Wipe-On Poly in Satin. Lightly sand with 320-grit between coats if applying more than one.
"A well-finished menorah stand doesn’t just look better—it lasts through decades of Hanukkahs. The key isn’t fancy tools; it’s patience with glue cure times and finish prep." — Sarah Lin, woodworker and educator at Wood Finishing Basics
Can I use reclaimed wood?
Yes—but inspect for nails, warping, or rot. Reclaimed pine works well if planed smooth. Avoid pressure-treated lumber (toxic chemicals) or plywood (layers may delaminate with heat exposure).
What if I don’t have a Forstner bit?
A sharp ½" spade bit works fine. Drill slowly, back out often to clear chips, and support the wood’s backside with scrap to prevent blowout. You can also build a simple drill guide jig from scrap wood in 10 minutes.
How do I keep candles from melting onto the wood?
Use drip trays (small ceramic or metal saucers) under each candle—or line holes with aluminum foil before inserting candles. For long-term use, consider embedding ceramic candle cups during assembly.
Is this safe near children?
The stand itself is stable, but always supervise children around lit candles. For homes with toddlers, consider battery-operated LED candles—many mimic flame flicker realistically and fit standard menorah holes.
Can I paint instead of stain?
Absolutely. Use water-based acrylic paint after sanding and priming. White or deep navy looks especially elegant. Seal with clear matte polyurethane to resist wax smudges. See our acrylic paint on wood finish guide for layering tips.
How do I store it year-round?
Wipe clean with a dry cloth after Hanukkah. Store flat in a dry closet—don’t stack heavy items on top. If you used oil-based stain, wait 30 days before storing in enclosed spaces to ensure full cure.
This menorah display becomes a meaningful heirloom—not just a holder, but a handmade expression of light, craft, and continuity. With careful glue-up and thoughtful finishing, it’ll hold candles safely for years, and maybe even get passed down. Happy building—and chag sameach.