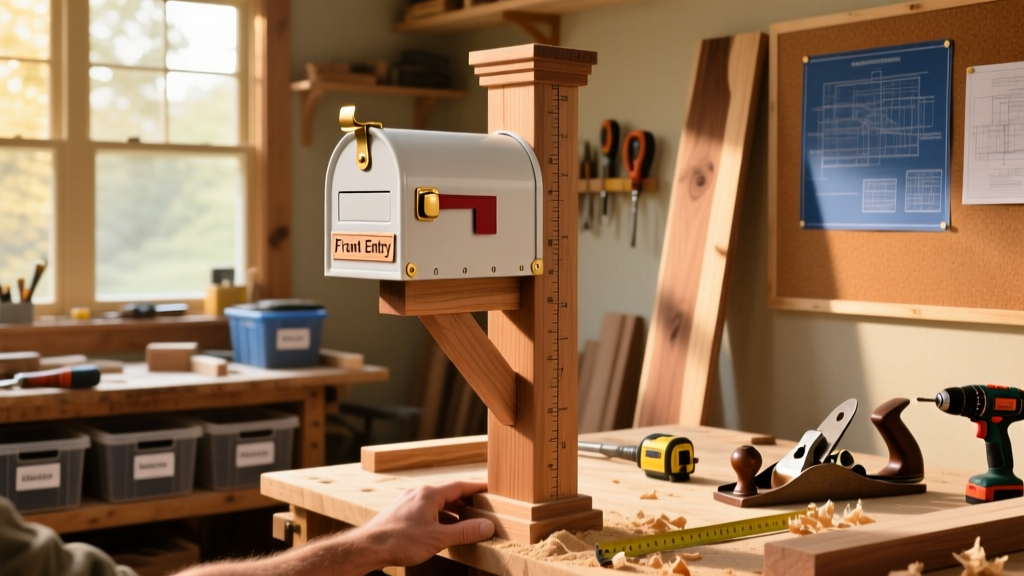
Building your own mailbox post gives you control over height, alignment, durability, and aesthetics—plus it avoids the $150–$300 cost of professional installation. This project is beginner-friendly (no welding or masonry experience needed), takes about 6–8 hours across two days (including concrete cure time), and fits most standard rural or suburban curb-side setups.
Project Overview
| Category | Details |
|---|---|
| Difficulty | Beginner — requires digging, leveling, and basic carpentry |
| Time Required | 6–8 hours active work + 24–48 hours concrete curing |
| Estimated Cost | $42–$78 (varies by wood grade and concrete type) |
| Tools Needed | Post hole digger, level, drill, tape measure, speed square, rubber mallet |
Tools & Materials
You’ll need both hand tools and consumables—and yes, the concrete mix matters. Use fast-setting concrete (like Quikrete Fast-Setting Concrete Mix) for quicker turnaround and better frost resistance in colder zones. Pressure-treated #2 Southern Yellow Pine is the minimum acceptable grade per USPS standards; avoid untreated pine or cedar for below-grade sections.
| Item | Qty | Notes | Cost |
|---|---|---|---|
| 4×4 pressure-treated post (10 ft) | 1 | Must be rated for ground contact (UC4B) | $24.97 |
| Quikrete Fast-Setting Concrete Mix | 2 bags (50 lb each) | Enough for 24" deep × 10" dia hole | $13.98 |
| Galvanized 3/8" × 6" lag screws | 4 | For mounting mailbox bracket | $4.29 |
| USPS-compliant mailbox (e.g., Whitehall) | 1 | Not included in base cost estimate | $45–$120 |
| Post hole digger (rental or purchase) | 1 | Rental: ~$12/day; purchase: $29–$45 | $0–$45 |
| Level (24" or longer) | 1 | Critical for vertical alignment | $12–$28 |
Step-by-Step Instructions
1. Confirm Local and USPS Requirements
Before breaking ground, call 811 to mark underground utilities. Then check your municipality’s zoning code and the USPS Domestic Mail Manual Section 703.8.2, which mandates: 42"±1" height from street surface to bottom of mailbox door, 6–8" setback from curb edge, and rigid mounting (no wobble). Measure twice—digging a misaligned hole wastes concrete and time.
2. Dig the Post Hole
Using a post hole digger (not a shovel), excavate a 24" deep × 10" diameter hole. Go 6" deeper than the local frost line if you’re north of the Mason-Dixon line—many northern counties require 36–42" depth. Remove all loose soil and tamp the bottom flat with the back of your digger. A stable base prevents heaving.
3. Set and Brace the Post
Insert the 4×4 post into the hole. Temporarily brace it with three 2×4 stakes driven into undisturbed soil at 120° angles around the post. Use a 4-ft level on two adjacent faces—not just one—and adjust braces until plumb in both directions. Double-check with a speed square against the top cut end to ensure it’s not twisted.
4. Mix and Pour Concrete
Mix concrete per package instructions—typically 1 gallon water per 50-lb bag. Pour in 3–4 inch layers, tamping each with a rebar rod to eliminate air pockets. Stop pouring when concrete reaches 3–4" below final grade. Do not overfill—the top 2–3" will be covered with soil or gravel later for drainage. Let cure undisturbed for 24 hours before removing braces.
5. Mount the Mailbox Bracket
After concrete has cured ≥24 hours, mark bracket height: measure up 42" from the street surface (not the top of concrete) and use a level to draw a horizontal line. Pre-drill pilot holes through the bracket and into the post, then secure with galvanized lag screws. Avoid drilling within 1.5" of any edge to prevent splitting. Tighten gradually, alternating screws to keep bracket flat.
Tips & Common Mistakes
- Never set the post directly in wet soil—concrete must bear full load, not dirt.
- Don’t skip the post’s preservative coating: even UC4B wood benefits from a brush-on copper naphthenate sealant on cut ends.
- Avoid using deck screws—they lack shear strength for wind-load resistance.
- If your soil is heavy clay, add 2" of crushed gravel beneath the concrete for drainage.
According to the Insurance Institute for Business & Home Safety's 2023 report on residential infrastructure, improperly anchored mailbox posts account for 22% of wind-related curb-side failures during storms with gusts over 50 mph—so bracing and concrete volume matter more than they seem.
Finishing Touches
Once the post is fully cured (48+ hours), sand rough edges with 120-grit paper. For longevity, apply an exterior-grade semi-transparent stain (like Cabot Australian Timber Oil) rather than paint—it allows wood to breathe and resists peeling. If painting, use 100% acrylic latex with mildewcide and prime first. Seal all cut ends—including the top—with a dedicated wood-end sealer like Anchorseal Classic. Skip this step and moisture wicks upward, causing rot at the critical concrete interface.
How deep should my mailbox post hole be?
Minimum 24" deep—but match your county’s frost depth requirement. In Minnesota, that’s 60"; in Georgia, 12" suffices. When in doubt, go 30" and add gravel under the concrete.
Can I use a metal post instead of wood?
Yes—if it’s schedule 40 steel pipe (minimum 2.375" OD) or aluminum with wall thickness ≥0.125". Metal posts require different anchoring: embed at least 24" and use anchor bolts or epoxy-set inserts. They’re heavier to handle but last 2–3× longer in humid climates.
Why does my post lean after 2 weeks?
Most often due to uneven soil settling *around* the concrete, not inside it. Fix it by digging out soil on the high side, inserting tapered shims between post and concrete, then backfilling with compacted gravel. Don’t try to re-pour.
Do I need a permit for a DIY mailbox post?
Usually no—but check with your HOA first. Some covenants restrict materials, colors, or height. Municipal permits are rarely required unless you're installing on public right-of-way or adding lighting/signage.
What’s the best way to attach a decorative post cap?
Use stainless steel finish nails (2" long) driven at opposing 45° angles into the cap’s underside, then into the post. Avoid adhesives alone—they fail in UV exposure and freeze-thaw cycles. Pre-drill nail holes to prevent splitting.
How do I keep snowplows from hitting my post?
Install reflective markers (like 3M Diamond Grade Reflective Tape) 18–24" above grade on two sides. Also consider offsetting the post 3–4" behind the curb face—within USPS setback limits—to create a buffer zone.
A well-built mailbox post disappears into the landscape—until you notice how solid it feels when you hang your keys on it or lean a bike against it. Take pride in that quiet durability. And if you’re tackling other curb-side upgrades, check out our DIY driveway markers and how to level a sloped yard guides next.