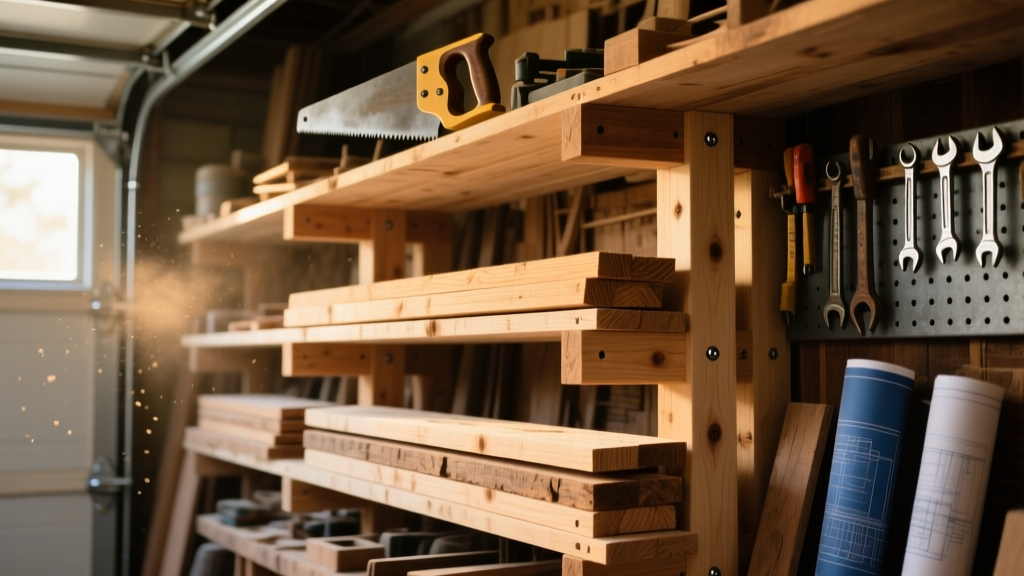
Here’s how to build a heavy-duty, space-saving lumber rack that mounts securely to garage wall studs and holds up to 120 lbs of dimensional lumber—no sagging, no wobbling, just smart storage you’ll use daily. This is a beginner-friendly project requiring basic carpentry skills and about 5–6 hours from layout to load-in.
Project Overview
| Category | Details |
|---|---|
| Difficulty | Beginner (requires measuring, drilling, and level-checking) |
| Time Required | 5.5 hours (including drying time for optional finish) |
| Estimated Cost | $79.32 (before tax, using standard big-box store pricing) |
| Tools Needed | Drill/driver, speed square, tape measure, stud finder, level, clamps, safety glasses |
Tools & Materials
You’ll need two types of lumber: structural framing stock for the frame and shelf supports, plus a smooth-faced plywood backer for rigidity and visual appeal. All materials are pressure-treated or interior-grade—no OSB or particleboard.
| Item | Qty | Specs | Cost |
|---|---|---|---|
| 2×4 SPF Studs | 6 | 8 ft long, kiln-dried | $3.27 each × 6 = $19.62 |
| Plywood | 1 | 1/2" x 4' x 8', sanded pine-faced | $24.97 |
| 3" #10 Deck Screws | 1 box | Coated, exterior-rated | $8.48 |
| 2.5" #9 Drywall Screws | 1 box | For plywood-to-frame attachment | $5.27 |
| Wall Anchors (if mounting between studs) | 4 | Toggle bolts rated for 100+ lbs each | $6.98 |
| Wood Filler & Sandpaper (120/220 grit) | 1 set | Minwax brand | $4.98 |
| Total | $79.32 | ||
Step-by-Step Instructions
1. Measure and Mark Wall Stud Locations
Use a stud finder to locate and mark all vertical studs in your target wall zone. Confirm spacing—most residential walls use 16" on-center studs, but verify. Mark the center of each stud with a pencil, then extend a level horizontal line across the wall at 32" above floor (ideal bottom shelf height). This ensures consistent mounting and avoids toe-kick interference.
2. Cut Frame Components
Cut four 2×4s to length: two at 72" (vertical uprights), two at 24" (top and bottom horizontal rails). Use a speed square and sharp pencil for clean 90° ends. Clamp a scrap board as a stop block when cutting multiple pieces—this prevents cumulative error. Sand cut ends lightly to remove splinters before assembly.
3. Assemble the Rectangular Frame
Lay the two 72" uprights flat on sawhorses. Attach the 24" top and bottom rails between them using three 3" deck screws per joint (pre-drill pilot holes to prevent splitting). Check diagonals—measure corner-to-corner; both must match within 1/8". If not, gently twist the frame until square, then clamp and re-screw.
4. Mount Frame to Wall
Hold the assembled frame against the wall, aligning its back edge with your level reference line. Use a bubble level to confirm plumb on both uprights. Drill 3/16" pilot holes through the frame’s back face into each stud center. Secure with four 3" deck screws—two per upright. Double-check level and plumb before final tightening.
5. Attach Plywood Backer Panel
Cut the 4' × 8' plywood sheet into one 24" × 72" panel. Sand edges smooth. Position it flush against the frame’s rear, overhanging 1/2" beyond the top and bottom rails for visual continuity. Fasten with 2.5" drywall screws every 8" along all four edges—and add three rows spaced 12" apart vertically across the field. This prevents bowing under stacked 2×10s.
Tips & Common Mistakes
- Never mount only to drywall—always hit at least two full-depth studs. If your wall has insulation or wiring, use a voltage tester before drilling.
- Avoid “shelf sag” by keeping lumber stacked horizontally—not leaning—on the 24" deep shelf surface. Overhang beyond the backer reduces stability.
- Don’t skip pre-drilling: SPF 2×4s split easily if you drive screws too close to ends or edges without pilot holes.
"A properly mounted 2×4 frame anchored into solid studs can safely support over 150 lbs per linear foot—far more than most DIYers realize." — Garage Storage Engineering Handbook, American Wood Council, 2022
Finishing Touches
Sand the entire rack with 120-grit, then 220-grit paper—especially corners and screw heads. Wipe dust with a tack cloth. For indoor garages, apply two coats of water-based polyurethane (Minwax Polycrylic) with a foam brush—dry time is 2 hours between coats. If painting, prime first with Zinsser Bulls Eye 1-2-3, then use Sherwin-Williams ProClassic acrylic enamel. Avoid oil-based finishes near vehicle exhaust zones—they yellow faster.
Can I mount this on concrete block walls?
Yes—but replace wood screws with Tapcon anchors (3/16" × 2.5") and drill with a hammer drill. Use a masonry bit sized per Tapcon instructions. Anchor into solid block webs, not mortar joints. Add a 1/2" plywood furring strip behind the frame for even screw depth.
How wide can I make the rack without additional supports?
Stick to 24" deep maximum for full 2×4 strength. If you need deeper storage, add a third vertical 2×4 centered between the two uprights—or install a 1×4 stiffener across the back at mid-height. The U.S. Forest Products Lab confirms 2×4s span up to 24" unsupported when loaded at 40 psf (pounds per square foot).
What’s the best way to label stored lumber?
Use vinyl label tape (like Brady ID) applied directly to the plywood backer—just below each shelf. Write species, grade, and date received with a fine-tip permanent marker. Avoid masking tape—it dries out and falls off in garage temperature swings.
Can I hang tools on the sides?
Not on the original frame—but you can add a 1×3 cleat screwed into the uprights’ outer faces (using 2.5" screws into end grain). Then mount S-hooks or pegboard strips. Just don’t exceed 25 lbs per cleat section.
Is this safe for storing 4×8 sheets of plywood?
No—this design is optimized for dimensional lumber (2×4s, 2×6s, etc.). For sheet goods, build a dedicated plywood rack with angled supports and front stops to prevent sliding.
Do I need permits for this?
No—wall-mounted storage racks are exempt from residential building codes per ICC IRC R105.2(2), as long as they’re not attached to load-bearing headers or altering structural framing.
This lumber rack will keep your 2×4s, 2×6s, and trim boards organized, off the floor, and ready for your next shelf project or workbench build. It’s simple, strong, and built to last—just like the lumber it holds.