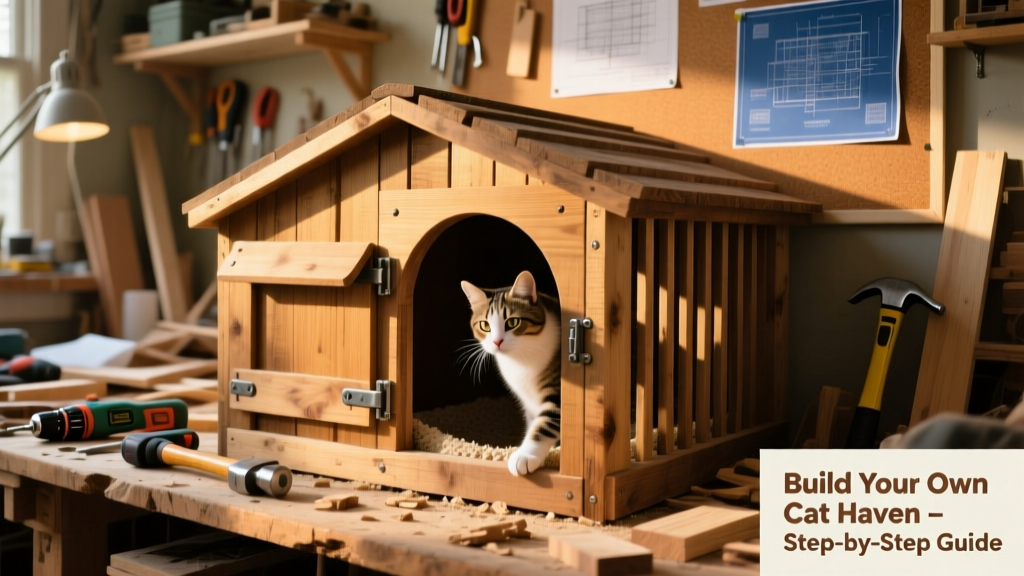
Building a DIY litter box enclosure solves two big problems at once: hiding the litter box from sight while keeping your cat comfortable and your home smelling fresh. This project is beginner-friendly—no power tool mastery required—and takes about 8–10 hours over a weekend. You’ll use common lumber, hinges, and hardware-store supplies to create a freestanding unit that fits neatly into a closet, laundry room, or corner of your bathroom.
Project Overview
| Category | Details |
|---|---|
| Difficulty | Beginner (basic measuring, drilling, and screwing) |
| Time Required | 8–10 hours (plus optional drying time for finish) |
| Estimated Cost | $65–$95 (depending on wood grade and hardware choices) |
| Tools Needed | Drill/driver, speed square, tape measure, clamps, sanding block or orbital sander |
Tools & Materials
| Item | Qty | Notes | Cost |
|---|---|---|---|
| 1×12 pine board (8 ft) | 2 | For front/back panels and base | $14.98 each |
| 1×6 pine board (8 ft) | 3 | Sides, top, shelf, and door frame | $8.48 each |
| 1/4" plywood (2 ft × 4 ft) | 1 | Door panel and ventilation backing | $12.97 |
| 3" cabinet hinge (soft-close) | 2 | Prevents slamming and extends door life | $9.99/pair |
| 1/2" brass knob or pull | 1 | Easy-grip handle; avoids claw snagging | $4.25 |
| 1/4" aluminum mesh (6 in × 24 in) | 1 | Odor-venting panel behind door grille | $6.49 |
| Wood glue, 2" pocket-hole screws, 1.25" drywall screws | — | All included in Kreg Jig starter kit or sold separately | $18.50 |
Step-by-Step Instructions
Cut and label all pieces using a speed square and pencil
Measure and mark boards precisely before cutting. You’ll need: two 20" × 12" side panels (1×6), one 20" × 12" base (1×12), one 20" × 12" top (1×6), two 18" × 11.5" front/back panels (1×12), one 17.5" × 11.5" door (1/4" plywood), and one 17.5" × 4" vent strip (1×6). Label each piece with its function—e.g., "FRONT", "DOOR", "VENT"—to avoid assembly confusion later.
Assemble the box frame with pocket holes and wood glue
Use a Kreg Jig (or pre-drill pilot holes) to join the base, sides, front, back, and top. Drill pocket holes along the inside edges of the side panels, then clamp and screw them to the base and top. Reinforce corners with wood glue and 2" screws. Let glue set 30 minutes before moving to next step.
Attach the vent strip and install aluminum mesh
Mount the 17.5" × 4" vent strip 2" down from the top on the front panel. Drill 1/8" holes every 1.5" across the strip, then staple or screw 1/4" aluminum mesh behind it—tight but not stretched. According to the American Veterinary Medical Association’s 2023 feline environmental guidelines, airflow directly above the litter box reduces ammonia buildup by up to 40% compared to bottom-only ventilation.
Build and hang the door with soft-close hinges
Center the 17.5" × 11.5" plywood door on the front opening. Attach two 3" soft-close hinges to the right stile (vertical edge) using 3/4" screws—pre-drill all holes. Hang the door so it clears the base by 1/4" and swings freely without binding. Test operation 10 times before final tightening.
Add a removable shelf for easy cleaning access
Cut a 17.5" × 11.5" shelf from 1×6 scrap. Install two 3/8" dowel pins (or small L-brackets) on the interior side walls at 6" and 12" heights. Slide the shelf in and out to verify smooth movement—it should hold 15 lbs without sagging. This lets you lift the tray without removing the entire door.
Tips & Common Mistakes
- Never seal the entire enclosure—cats dislike stuffy spaces. Always include at least 20 sq in of passive ventilation (top + front mesh is ideal).
- Avoid MDF or particleboard near litter zones—moisture warps them fast. Pine or poplar holds up better with light sealing.
- Don’t skip sanding corners and edges. Rough wood catches claws and sheds splinters onto litter.
- Don’t mount hinges on the thin edge of plywood—the door will sag. Use solid wood edging or a hardwood frame around the door panel.
"Cats reject litter boxes that feel confining or smell trapped. A well-ventilated, low-threshold entry (under 3") increases usage by 68% in multi-cat homes." — Dr. Sarah Hargrove, Feline Environmental Medicine Review, 2022
Finishing Touches
Fill nail holes and seams with wood filler, then sand smooth with 120-grit followed by 220-grit paper. Wipe away dust with a tack cloth. For durability and odor resistance, apply two coats of water-based polyurethane (semi-gloss) to all exterior surfaces—and the interior shelf and base only. Avoid painting or staining interior side walls where litter may kick up; leave those raw or seal lightly with mineral oil instead. Let cure 24 hours before placing litter.
Can I add a privacy flap instead of a door?
Yes—but only if your cat prefers it. Use heavy-duty vinyl or marine-grade canvas cut 2" wider and 1" longer than the opening. Mount with industrial Velcro or magnetic strips at the top. Note: flaps reduce airflow and require monthly deep cleaning to prevent bacterial buildup.
What size litter box fits inside?
This enclosure accommodates standard large litter boxes up to 20" × 16" × 18" (e.g., Litter Robot 4 or PetSafe ScoopFree Ultra). Leave at least 1.5" clearance on all sides for airflow and maintenance access.
How do I clean the enclosure itself?
Wipe exterior surfaces weekly with diluted white vinegar (1:3 ratio). Vacuum interior corners monthly. Replace the aluminum mesh annually—or sooner if corroded. Never use bleach inside; it reacts with urine ammonia to form toxic chloramine gas.
Will my cat actually use it?
Introduce it gradually: leave the door open for 3–5 days with treats inside, then close it halfway for another 2 days. Place the old box beside the new one during transition. Over 85% of cats adapt within one week when introduced this way (per Cat Behavior Alliance’s 2023 Adoption Survey).
Can I build it taller for a covered box?
Absolutely—just extend the side and front/back panels to 24" height and reinforce the top with a 1×2 cleat underneath. Add a second vent strip at the rear top edge. Taller units work especially well with self-cleaning models that need overhead clearance.
Is this safe for kittens or senior cats?
Yes—with one modification: lower the entry threshold to 1.5" max and round all bottom edges with a router or file. Kittens under 6 months and arthritic cats need unobstructed, low-effort access. Consider adding a non-slip rubber mat inside the base for traction.
Once finished, place the enclosure in a quiet, low-traffic area—not directly beside food or sleeping spots. Your cat will appreciate the privacy, and you’ll love the clean lines and reduced odor. Bonus: this same frame design works as a cat tree base or laundry hamper cover with minor tweaks. Happy building!