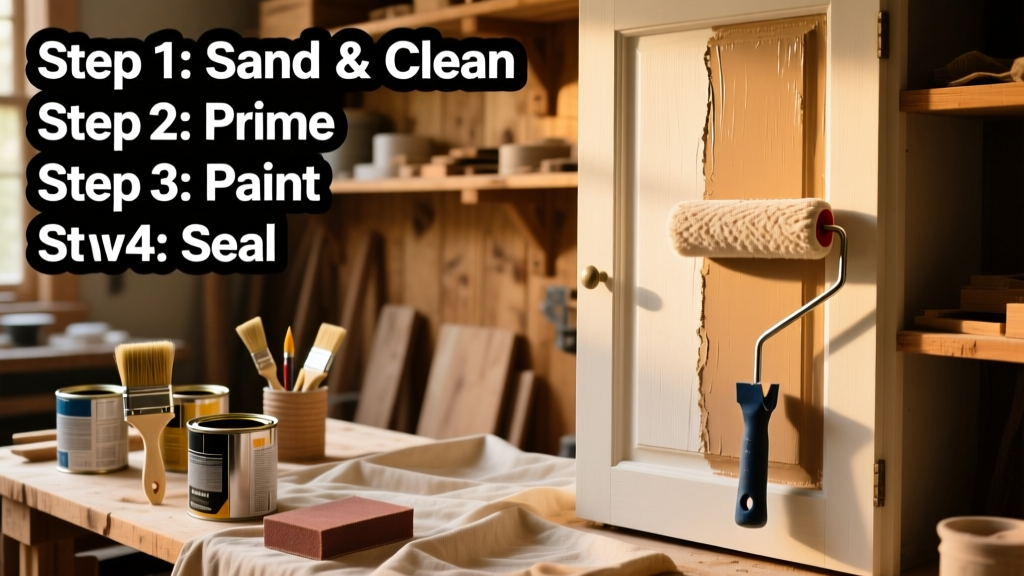
Painting your kitchen cabinets is one of the highest-impact, lowest-cost DIY upgrades you can do—especially if your cabinets are solid wood or MDF with intact doors and frames. This project suits intermediate DIYers (comfortable with sanding, masking, and using a brush/roller), takes 5–7 days start-to-finish (including drying time), and delivers a custom finish that rivals custom cabinet shops.
Project Overview
| Category | Details |
|---|---|
| Difficulty | Intermediate (requires patience, not power tools) |
| Time Required | 5–7 days (2 days prep, 1 day painting, 3–4 days curing) |
| Estimated Cost | $180–$320 (varies by cabinet count and paint grade) |
| Tools Needed | Orbital sander, microfiber cloths, angled sash brush, foam roller, painter’s tape, cabinet hardware kit |
Tools & Materials
| Item | Quantity | Notes | Cost |
|---|---|---|---|
| Oil-based primer (e.g., Zinsser Cover Stain) | 1 qt | Mandatory for laminate/MDF; blocks tannins in wood | $19 |
| Water-based acrylic enamel (e.g., Benjamin Moore Advance) | 1–2 qt | Self-leveling, low-VOC, scrubbable finish | $42–$84 |
| 120- and 220-grit sandpaper (or sanding pads) | 2 packs each | Use orbital sander for flat surfaces; hand-sand edges | $12 |
| Microfiber tack cloths | 1 pack (50 ct) | Non-linting, solvent-resistant; skip cotton rags | $8 |
| Painter’s tape (FrogTape Delicate Surface) | 2 rolls | Prevents bleed-through on hinges and trim | $14 |
| Cabinet hardware (optional upgrade) | Full set | Knobs/pulls: brushed brass or matte black recommended | $35–$95 |
| Drop cloths (canvas, not plastic) | 2 large | Plastic traps moisture and causes drips to lift | $24 |
Step-by-Step Instructions
1. Remove Doors, Drawers, and Hardware
Label each door and drawer with painter’s tape and a sharpie—write “U-1” for upper cabinet #1, “D-3” for lower drawer #3, etc. Unscrew hinges and pulls, then store screws in labeled baggies. Lay doors flat on sawhorses covered with canvas drop cloths—not carpet or cardboard, which shed lint.
2. Clean Thoroughly With TSP Substitute
Mix Krud Kutter Original (a phosphate-free TSP alternative) 1:3 with warm water. Scrub all surfaces—including inside frames, toe kicks, and hinge recesses—with a nylon brush. Rinse with clean water and let dry 12 hours. Grease residue is the #1 cause of paint failure, per the Painting and Decorating Contractors of America’s 2023 Field Manual.
3. Sand and Degloss Every Surface
Start with 120-grit on an orbital sander for flat panels and stiles. Switch to 220-grit for final smoothing and hand-sand all edges, corners, and moldings. Wipe with a damp microfiber cloth, then immediately follow with a dry tack cloth. Skip this step? You’ll get peeling within 6 months—especially on thermofoil or laminate.
4. Prime With Oil-Based Sealer
Apply Zinsser Cover Stain using a 2″ angled sash brush for edges and a high-density foam roller (4″) for flat areas. Don’t thin it. Let dry 24 hours. Lightly scuff with 220-grit only if dust nibs appear—never skip priming on laminate or oak grain.
5. Apply Two Thin Coats of Acrylic Enamel
Stir (don’t shake) Benjamin Moore Advance for 90 seconds. Use the same brush/roller combo. Maintain a wet edge, roll vertically on panels, then tip off horizontally with light brush strokes. Wait 4 hours between coats. Sand *only* if grit appears—use 320-grit and wipe with tack cloth before recoat.
Tips & Common Mistakes
- Never use latex wall paint—it lacks durability and yellows near heat sources like stoves.
- Avoid painting cabinet interiors unless they’re visible when open; they rarely need it and add 3+ hours.
- Don’t rush drying: Advance needs 72 hours before re-hanging doors, and full hardness takes 30 days.
- Skipping deglossing on glossy finishes causes immediate adhesion failure—even with primer.
"More than 68% of cabinet paint failures we see in warranty claims trace back to inadequate cleaning or sanding—not paint quality." — National Kitchen & Bath Association, Cabinet Refinishing Standards Report (2024)
Finishing Touches
Once fully cured (after 30 days), apply a thin coat of General Finishes High Performance Topcoat (water-based poly) only if you have kids or cook heavily—this adds abrasion resistance without changing sheen. For staining instead of painting, use Minwax Pre-Stain Conditioner first on pine or maple, then apply 2 coats of Minwax Provincial with 2-hour dry time between. Seal stained cabinets with 2 coats of satin polyurethane—never oil-based over water-based stain.
Can I paint over thermofoil cabinets?
Yes—but only if the surface isn’t bubbling or separating from the substrate. Lightly sand with 120-grit, prime with BIN shellac primer (not acrylic), then use Advance. Thermofoil has poor paint adhesion, so skip this route if more than 15% of doors show delamination.
Do I need to remove cabinet doors to paint them?
Strongly recommended. Painting doors hung leads to runs on vertical edges and missed spots behind hinges. Removing them gives access to all six sides—including the back, which collects grease and needs cleaning too.
What’s the best paint sheen for kitchen cabinets?
Semi-gloss (35–45° gloss level) is ideal: it resists fingerprints, cleans easily, and hides minor surface flaws better than high-gloss. Avoid flat or matte—they’re nearly impossible to clean in kitchens. Benjamin Moore’s Advance in semi-gloss hits 42°—perfect for durability and reflection control.
How long before I can reinstall hardware?
Wait at least 72 hours after the final coat. Reattaching knobs too soon creates micro-scratches in the soft film. If using new hardware, pre-drill holes with a 1/16″ bit to prevent splitting—especially in MDF frames. For alignment, use a cabinet hardware spacing guide to keep pulls centered and consistent.
Can I paint the cabinet boxes but leave doors unstained?
Yes—and it’s a popular two-tone look. Paint boxes in Sherwin-Williams Alabaster (SW 7008), then refinish doors in natural walnut stain. Just ensure both finishes are fully cured before reassembly. Match sheens: if boxes are semi-gloss, stain should be sealed with semi-gloss poly, not satin.
What if I get brush marks or orange peel?
Light brush marks often self-level overnight. If still visible after 24 hours, lightly wet-sand with 400-grit and a damp sponge, then spot-recoat. Orange peel usually means the paint was applied too thickly or in low humidity (<30%). Next coat: thin with 5% water, stir gently, and increase room humidity with a portable humidifier.
Done right, painted cabinets last 10–15 years with routine cleaning—nearly as long as new stock cabinets, and far less disruptive than a full remodel. For deeper color matching, use a paint color matching guide, and always test samples on a spare door or cabinet back first. When your coffee maker sits against freshly painted uppers and catches the morning light just right—that’s when you know it was worth every hour.