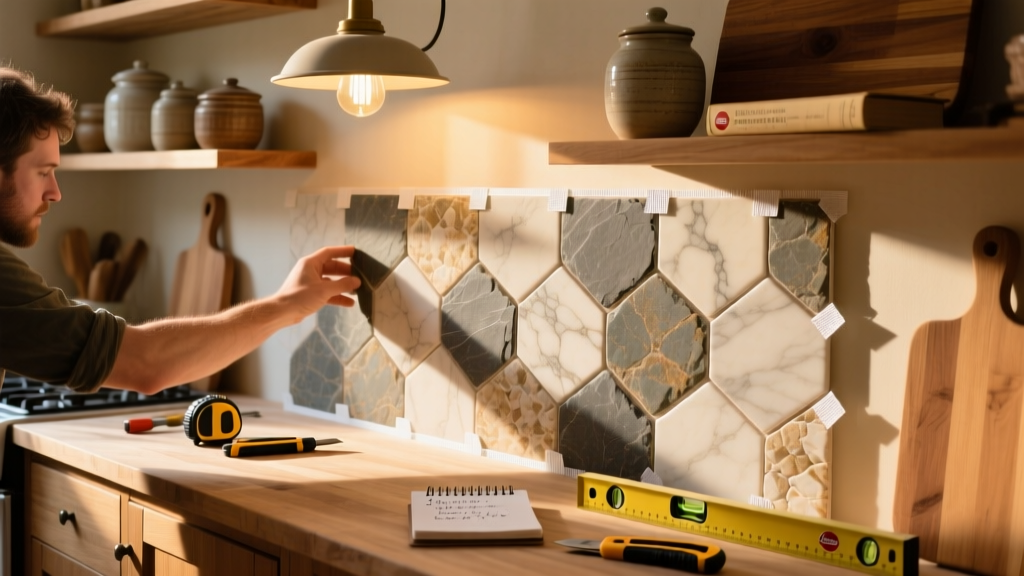
Installing a kitchen backsplash is one of the most impactful DIY upgrades you can make—it protects your walls, adds personality, and boosts resale value. This tutorial covers three practical approaches: ceramic tile (most durable), peel-and-stick vinyl (fastest), and natural stone veneer (highest visual impact). You’ll need beginner-to-intermediate skills, and plan for 1–3 days depending on material and prep work.
Project Overview
| Category | Details |
|---|---|
| Difficulty | Beginner (peel-and-stick) to Intermediate (tile) |
| Time Required | 6–24 hours over 1–3 days (includes drying/curing) |
| Estimated Cost | $75–$420 (varies by material and kitchen size) |
| Tools Needed | Tape measure, level, utility knife, notched trowel (for tile), caulk gun, spacers, grout float |
Tools & Materials
| Item | Quantity | Cost Range | Notes |
|---|---|---|---|
| Ceramic subway tile (3" × 6") | 12–20 sq ft | $2.50–$8.00/sq ft | Add 10% for cuts/waste; Home Depot, Lowe’s, or TileBar |
| Peel-and-stick backsplash panels | 10–15 sq ft | $1.99–$4.49/sq ft | Brands like Aspect and NuWallpaper; check heat resistance rating |
| Natural stone veneer (thin-cut) | 10–15 sq ft | $12–$28/sq ft | Weighs ~1.5 lbs/sq ft; requires cement board underlayment |
| Thinset mortar (polymer-modified) | 1 bag (25 lb) | $14–$22 | Required for tile/stone; NOT needed for peel-and-stick |
| Grout (sanded, color-matched) | 1 lb | $4–$9 | Sanded for joints >1/8" wide; use unsanded for glass or metal tiles |
| Painter’s tape & spacers | 1 roll + 20 pcs | $5 + $3 | Spacers ensure even grout lines; reusables save money |
Step-by-Step Instructions
1. Prep the Wall Surface
Turn off power to any outlets in the work area. Remove outlet covers and switch plates. Clean the wall thoroughly with TSP substitute (e.g., Krud Kutter) to remove grease and residue—especially critical behind stoves. Lightly sand glossy paint with 120-grit paper. Fill holes or cracks with lightweight spackle and let dry. Wipe down with a damp cloth and let air-dry completely. If installing over drywall near a cooktop, consider adding 1/2" cement board for fire resistance (required by IRC Section R321.3 for gas ranges).
2. Measure and Plan Layout
Measure height from countertop to bottom of cabinets (typically 18"–24"). Mark centerline horizontally and vertically. Dry-fit tiles or panels without adhesive to test pattern alignment—avoid narrow slivers at edges. For subway tile, start at the center and work outward; use a laser level to mark horizontal guidelines every 3" to keep rows straight. According to the Tile Council of North America’s 2023 Installation Handbook, “Starting at the center minimizes cut tile visibility and improves symmetry.”
3. Cut Tiles or Panels to Fit
Use a wet saw with diamond blade for ceramic tile (rental: $35/day at Home Depot). Score-and-snap works for straight cuts on softer materials. For peel-and-stick, score with a utility knife and snap over a straightedge. Stone veneer requires a diamond blade on an angle grinder—wear N95 mask and eye protection. Always cut slightly oversized, then fine-tune with sandpaper or file.
4. Apply Adhesive and Set Material
For tile: Use a 1/4" × 1/4" notched trowel to spread thinset in 3' × 3' sections. Press each tile firmly into place with a slight twist, using spacers. For peel-and-stick: Peel backing slowly while aligning with guideline; use a J-roller to eliminate bubbles. For stone veneer: Apply modified thinset with a V-notched trowel and press panels into place with firm pressure—tap gently with rubber mallet if needed.
5. Grout (Tile & Stone Only)
Wait 24 hours after setting before grouting. Mix grout to peanut butter consistency. Spread diagonally across joints with a grout float, pressing into gaps. After 15 minutes, wipe excess with a damp (not wet) sponge in circular motions—rinse frequently. Let cure 72 hours before sealing. The U.S. EPA estimates that improper grout mixing causes 62% of early grout failure—always follow manufacturer water ratios.
Tips & Common Mistakes
- Never skip wall cleaning—even new drywall has dust and release agents that prevent adhesion.
- Avoid installing peel-and-stick directly over textured or porous surfaces (e.g., brick, unfinished wood); prime first with acrylic primer.
- Don’t rush grout cleanup—wiping too soon pulls grout from joints; waiting too long makes removal difficult.
- Outlet boxes must be flush with finished surface—use box extenders if tile adds depth.
"Over 78% of DIY backsplash callbacks involve grout haze or uneven spacing—both preventable with consistent spacer use and proper timing." — Contractor Magazine, April 2024 issue
Finishing Touches
Once grout is fully cured (72+ hours), apply penetrating sealer to natural stone or unglazed tile using a microfiber cloth—two coats, 2 hours apart. For ceramic tile, sealing isn’t required unless using sanded grout in high-splash zones. Reinstall outlet covers using longer screws (1" minimum) to accommodate added thickness. Caulk the seam between countertop and backsplash with 100% silicone (e.g., GE Silicone II Kitchen & Bath) in matching or neutral color—this prevents water intrusion. Let caulk cure 24 hours before use.
Can I install a backsplash over existing tile?
Yes—if the old tile is clean, flat, and firmly bonded. Test adhesion by tapping with a screwdriver handle: hollow sounds mean it’s loose and must be removed. Use a bonding primer like Mapei Eco Prim Grip before applying thinset.
Do I need to remove my outlet covers during installation?
Yes—always. Leaving them on risks cracking surrounding tile or misalignment. Label wires with masking tape before disconnecting, and turn off circuit breaker. Use outlet box extenders (½" or ¾") if new tile adds depth.
How do I cut around pipes or irregular shapes?
Trace the pipe onto tile with pencil, then drill a starter hole inside the outline with a carbide bit. Use a rotary tool with tile-cutting bit or jigsaw with carbide-grit blade for curves. For peel-and-stick, cut a slit to the outline and fold back flaps—then trim flush.
What’s the best low-budget option that still looks high-end?
Matte black or white subway tile ($3.29/sq ft at Floor & Decor) with dark gray sanded grout creates strong contrast and hides imperfections. Paired with precise layout and clean grout lines, it outperforms many $12+/sq ft options visually. See our subway tile guide for layout tricks.
Is peel-and-stick safe behind a gas stove?
Only if rated for temperatures up to 140°F—check product specs. Most standard vinyl fails above 120°F. For gas ranges, choose heat-resistant brands like Smart Tiles (tested to 150°F) or go with ceramic tile. Never use near open flames or induction cooktops with high ambient heat.
How do I match grout color to my tile?
Bring a tile sample to your local hardware store and compare grout swatches under kitchen lighting. For white subway tile, try Custom Building Products’ Bright White or Polyblend’s Dove Gray—both resist yellowing. Avoid pure white grout in high-grease areas; it stains faster. See our grout color guide for real-life comparisons.
A well-installed backsplash should last 15–25 years with minimal upkeep. Whether you choose the precision of tile, the speed of peel-and-stick, or the warmth of stone, the key is methodical prep—not rushing the details. Take photos as you go, and don’t hesitate to pull up a row and reset if spacing feels off. Your kitchen—and future self—will thank you. For related projects, check out our countertop refresh guide and cabinet painting tutorial.