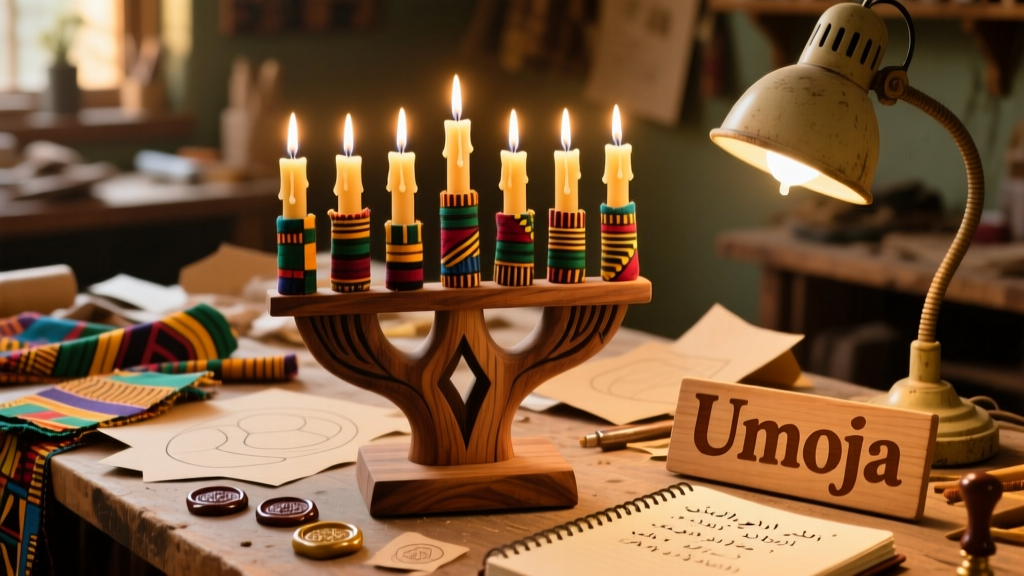
Building your own kinara—the seven-candle holder central to Kwanzaa—is a meaningful DIY project that blends craftsmanship with cultural intention. This version uses solid poplar wood, accommodates real or LED candles safely, and fits standard tabletops. It’s beginner-friendly (no power tools required), takes about 3.5 hours including drying time, and reinforces the Nguzo Saba principles through mindful making.
Project Overview
| Category | Details |
|---|---|
| Difficulty | Beginner (basic measuring, drilling, sanding) |
| Time Required | 3.5 hours (plus 2 hours optional stain dry time) |
| Estimated Cost | $29.75 (see full breakdown below) |
| Tools Needed | Hand saw or miter box, drill/driver, 1/8" drill bit, clamps, pencil, square, sandpaper (120 & 220 grit) |
Tools & Materials
You’ll need one 1×6×6' poplar board ($12.99 at Home Depot), plus hardware and finishing supplies. All prices reflect 2024 retail averages from Lowe’s and Rockler.
| Item | Qty | Cost | Notes |
|---|---|---|---|
| Poplar board (1×6×6') | 1 | $12.99 | Choose straight-grain, knot-free stock; avoids splitting during drilling |
| Wood glue (Titebond III) | 1 bottle | $3.49 | Waterproof—critical for candle heat resistance |
| 1¼" pocket-hole screws | 12 | $2.29 | Kreg Jig Mini compatible; pre-drill not required |
| 1/8" brass candle sleeves (7) | 7 | $6.99 | Rockler #49925; prevents wax drip and secures candles |
| Sanding blocks + 120/220 grit | 1 set | $3.99 | Prevents splinters on edges kids may touch |
Step-by-Step Instructions
Cut the Base and Arms
Measure and mark your poplar board: cut one 12" base (bottom support) and two 10" arms (side supports). Use a miter box and hand saw for clean 90° cuts. Sand all cut edges with 120-grit until smooth—no fuzz or burrs. Wipe dust away with a damp cloth before proceeding.
Drill Candle Sleeve Holes
On the top edge of the base, measure and mark positions for seven candle sleeves: center at 6", then space evenly at 1" intervals (so outermost holes sit 1" in from each end). Clamp the base securely. Drill straight down using a 1/8" bit—depth must be exactly 1 1/4" to hold sleeves snugly without wobble. Vacuum out sawdust.
Assemble the Frame
Apply Titebond III glue to the ends of both arms. Position them perpendicular to the base, flush with its underside, forming a “U” shape. Clamp tightly. Pre-drill two pocket holes per arm (using Kreg Jig Mini), then drive 1¼" screws into the base. Let glue cure 45 minutes minimum before handling.
Insert Candle Sleeves
Tap brass sleeves gently into each hole using a rubber mallet—do not force. They should sit 1/8" below the surface to prevent candle tipping. Test fit one LED candle: it should stand upright with no side-to-side play. If loose, add a tiny dab of hot glue inside the sleeve before final insertion.
Sand and Prep for Finish
Once fully assembled, sand entire kinara with 220-grit—pay special attention to corners and finger-grip zones. Round sharp edges slightly for safety and comfort. Wipe again with tack cloth. At this stage, the wood is ready for stain, paint, or clear sealant.
Tips & Common Mistakes
- Don’t skip the glue—screws alone can loosen over time due to thermal expansion from candles.
- Avoid pine: its soft grain compresses around sleeves, causing instability after repeated use.
- Never drill sleeve holes before assembling—misalignment ruins spacing symmetry.
- If using real tapers, verify sleeve inner diameter matches your candle base (standard is 7/8")
According to the National Fire Protection Association’s Fire Prevention in Homes (2023), candle-related fires increase 300% during December holidays—always use LED candles indoors unless supervised continuously.
Finishing Touches
For authenticity and warmth, apply Minwax Ebony stain with a foam brush—two thin coats, sanded lightly between. Let dry 2 hours. Seal with General Finishes High Performance Topcoat (matte)—one coat suffices. This UV-resistant finish protects against wax residue and daily handling. Avoid oil-based polyurethane: it yellows over time and clashes with the kinara’s symbolic black-red-green color scheme.
Can I use reclaimed wood?
Yes—but inspect closely for nails, rot, or warping. Reclaimed oak works well if planed flat; avoid plywood or MDF—they delaminate near heat sources and lack structural integrity for candle weight.
How do I secure it to a table?
Attach two 3M Command Strips (Heavy Duty) to the underside of the base. They hold up to 16 lbs, leave zero residue, and allow easy repositioning—ideal for shared community spaces or rotating altar setups.
What if my candles keep tilting?
First, check sleeve depth: they must be seated at least 1 1/4" deep. Second, verify candle base width—some generic LEDs are undersized. Swap in Kwanzaa-specific LED tapers with wider bases.
Is poplar strong enough for long-term use?
Absolutely. Poplar has a Janka hardness rating of 540 lbf—comparable to black cherry—and resists denting better than pine. With proper finish, a well-built kinara lasts 10+ years. The U.S. Forest Service notes poplar’s dimensional stability makes it ideal for indoor ceremonial objects (Wood Handbook, Chapter 4, 2022).
Can I personalize the design?
Yes—engrave the Swahili names of the Nguzo Saba (Umoja, Kujichagulia, etc.) along the base using a Dremel engraving bit. Or route shallow grooves between candle sleeves to echo Adinkra symbol lines—just test depth on scrap first.
Do I need to replace the sleeves yearly?
No. Brass sleeves last indefinitely if cleaned with vinegar-water solution after each Kwanzaa. Replace only if bent or corroded—check annually during your Karamu prep.
Making your kinara isn’t just about function—it’s an act of self-determination and creativity rooted in tradition. Once built, place it on a red, black, or green cloth alongside the handwoven mkeka mat and kikombe cha umoja. Light it with intention, and let the craft deepen the meaning.