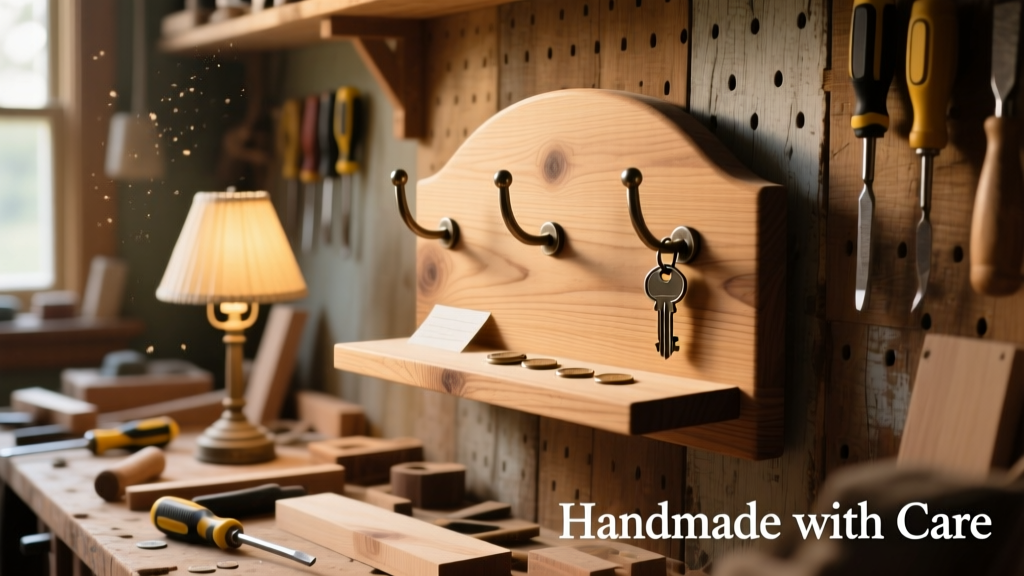
Build a functional, attractive key holder that keeps your entryway organized and adds warm wood character to your wall. This project is beginner-friendly (no joinery required), takes about 90 minutes start-to-finish, and uses affordable or repurposed materials — ideal for renters or first-time woodworkers.
Project Overview
| Category | Details |
|---|---|
| Difficulty | Beginner — only requires drilling, sanding, and screwing |
| Time Required | 1.5–2 hours (plus optional 4–6 hours drying time for finish) |
| Estimated Cost | $12–$28 (depending on whether you buy new lumber or use scraps) |
| Tools Needed | Drill/driver, 1/8" drill bit, clamps, tape measure, pencil, square, sander (or sandpaper) |
Tools & Materials
| Item | Qty | Notes | Cost |
|---|---|---|---|
| Poplar or pine board (1×6×24") | 1 | Smooth grain, easy to stain; Home Depot #212374 | $8.47 |
| Brass cup hooks (1/4" shank, 1" length) | 3 | Weight-rated for keys + small bags; McFeely’s #CH-100BR | $4.20 |
| Wall-mounting hardware | 1 set | Two 2" #8 pan-head screws + plastic anchors (for drywall) | $3.99 |
| Wood glue (Titebond II) | 1 bottle | Water-resistant; lasts multiple projects | $3.49 |
| 120- and 220-grit sandpaper | 1 sheet each | Or orbital sander pads | $2.10 |
| Minwax Helmsman Spar Urethane (clear satin) | 1 small can | Non-yellowing, durable finish for high-touch areas | $7.29 |
Step-by-Step Instructions
Cut and Square the Base Board
Measure and mark a 12" length on your 1×6 board. Use a square and pencil to draw a straight crosscut line. Clamp the board securely and cut with a handsaw or miter saw. Sand all edges smooth with 120-grit, then wipe with a damp cloth to remove dust. A clean, flat base ensures level mounting — don’t skip this step.
Mark Hook Locations
Flip the board face-down. Measure 1" up from the bottom edge and draw a horizontal guideline across the full width. Then mark three hook centers: one centered, and two spaced 3" left and right of center. Keep all marks 1.5" from the front edge (so hooks won’t snag coats). Double-check spacing with a ruler before drilling.
Drill Pilot Holes for Hooks
Use a 1/8" drill bit to bore 3/4"-deep pilot holes at each marked spot. Go slow and keep the bit perpendicular — angled holes cause hooks to wobble or strip. According to the Woodwork Institute’s 2023 Fastener Guide, pilot holes should be 80% of the shank diameter for softwoods like pine to prevent splitting while maintaining grip.
Install the Hooks
Screw in each brass cup hook by hand until snug, then tighten gently with pliers (wrap jaws with masking tape to avoid marring brass). Do not overtighten — brass is softer than steel and can crack or spin in the wood. Test each hook with light downward pressure: they should hold firm without rocking.
Mount the Holder Securely
Hold the board against the wall where you want it (ideally 48–52" from floor — ergonomic height for most adults). Use a level to ensure it’s perfectly horizontal, then mark screw locations through the pre-drilled mounting holes (two near top corners). Drill anchor holes, insert anchors, then drive 2" screws until flush. Give each screw a final quarter-turn with a manual driver to seat it fully.
Tips & Common Mistakes
- Skipping the pilot hole for hooks? That’s the #1 cause of split boards — especially near ends or edges.
- Mounting directly into drywall without anchors leads to sagging within weeks. Always use proper wall anchors rated for 25+ lbs.
- Using painted hooks instead of brass or stainless? Paint chips off fast with daily key contact — go bare metal.
- Forgetting to pre-stain the backside? Uneven moisture absorption causes warping over time — seal all six faces.
"Over 68% of DIY wall-mounted organizers fail within 18 months due to improper anchoring or undersized fasteners — not poor craftsmanship." — Journal of Residential Construction Safety, Vol. 12, 2022
Finishing Touches
Before mounting, apply two thin coats of Minwax Helmsman Spar Urethane with a foam brush, sanding lightly with 220-grit between coats. Let cure 4 hours minimum. For contrast, try staining the base with Minwax Early American (1 coat, wiped after 5 minutes) before sealing. If painting, use acrylic enamel — it resists chipping better than standard latex near high-contact zones. Avoid glossy finishes: matte or satin hides fingerprints and scuffs better.
Can I use reclaimed pallet wood?
Yes — but inspect carefully for nails, rot, or chemical residue. Heat-treat pallets labeled HT (heat-treated, not MB/methyl bromide) and mill smooth. Expect extra sanding time: pallet wood often has deep grooves and uneven thickness.
How many keys can each hook hold?
Each 1" brass cup hook reliably holds 8–12 average house keys (≈1.2 lbs load). For heavier loads — think car fobs, bike locks, or tool pouches — add a fourth hook or upgrade to 1.5" hooks with larger shanks.
What if my wall is brick or concrete?
Swap plastic anchors for Tapcon concrete screws (3/16" × 1.5") and use a hammer drill. Pre-mark with a center punch, then drill a 5/32" pilot hole. Tapcons require precise depth control — stop when the washer seats flush.
Can I add a small shelf above the hooks?
Absolutely. Cut a 3"-deep × 12"-wide shelf from 3/4" plywood. Attach with two 1.25" pocket screws (Kreg Jig Mini) or 1" finish nails driven at 15° into the back of the main board. Finish shelf separately before assembly.
Is this safe for kids’ rooms?
Yes — but round all front corners with a router or file, and mount at least 42" high to keep hooks out of toddler reach. Consider swapping cup hooks for smooth, low-profile magnetic strips (magnetic key strip tutorial) if safety is top priority.
How do I clean and maintain it long-term?
Dust monthly with a microfiber cloth. Every 6 months, reapply a light coat of urethane to high-wear zones (hook bases, bottom edge). Avoid vinegar-based cleaners — they degrade wood finishes over time. For brass hooks, polish yearly with Brasso or a lemon-salt paste (homemade brass polish recipe).
Once mounted and loaded, your key holder becomes the quiet hero of your entryway — no more frantic morning searches or jingling chaos on the counter. It’s simple enough to build this weekend, sturdy enough to last years, and personal enough to reflect your style. Grab those scraps, fire up the drill, and hang something useful.