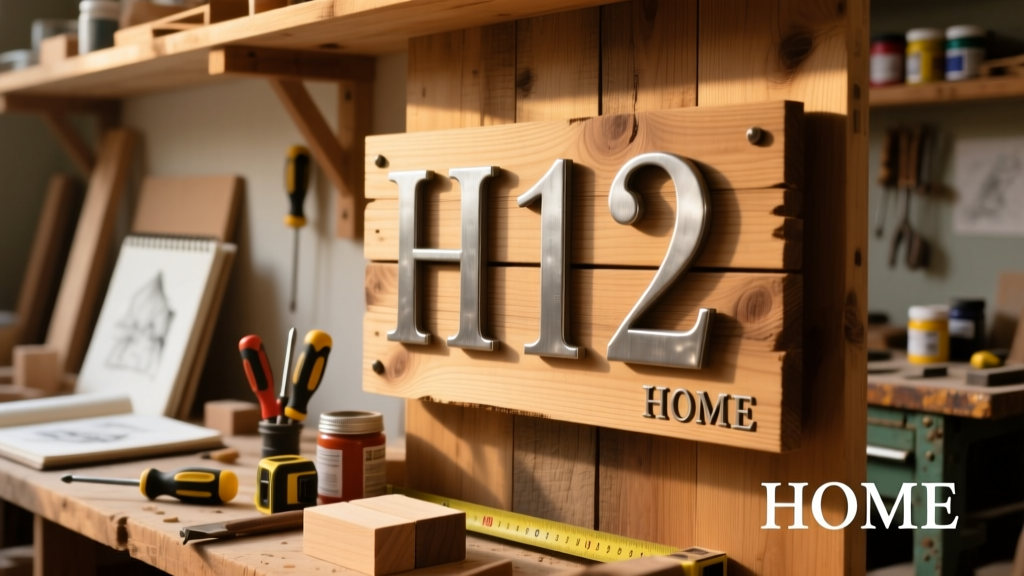
Build a clean, professional-looking house number display that stands out day or night — no fancy shop required. This project is beginner-friendly (basic drilling and measuring skills only), takes 3–4 hours including drying time, and costs under $45. You’ll mount it securely to brick, siding, or stucco using appropriate anchors — and yes, it’ll survive rain, sun, and winter freeze-thaw cycles.
Project Overview
| Category | Details |
|---|---|
| Difficulty | Beginner (no power tool experience needed) |
| Time Required | 3.5 hours active build + 24 hours for sealant cure |
| Estimated Cost | $32–$44 (depending on material choice) |
| Tools Needed | Drill, level, tape measure, pencil, clamps, sanding block (120 & 220 grit) |
Tools & Materials
| Item | Qty | Notes | Cost |
|---|---|---|---|
| 1×6 pine board (8 ft) OR brushed aluminum sheet (12"×6") | 1 | Pine: $12.97 at Home Depot; aluminum: $24.50 at McMaster-Carr | $12.97–$24.50 |
| Outdoor-rated house numbers (3"–4" tall, stainless or acrylic) | Set of 4–6 | Stainless steel recommended for longevity — avoid zinc-plated | $14.99 |
| 1¼" exterior-grade screws (stainless or coated) | 8 | Use Tapcon screws for masonry; corrosion-resistant deck screws for wood siding | $4.29 |
| UV-resistant clear sealant (e.g., Minwax Helmsman Spar Urethane) | 1 pt | Required for wood; optional but recommended for aluminum edges | $11.49 |
| Painter’s tape & fine-grit sandpaper (120/220) | 1 roll / 2 sheets each | Essential for crisp paint lines and smooth finish | $5.79 |
Step-by-Step Instructions
Cut and square your base
Measure and mark your board or metal sheet to 14" wide × 6" tall (ideal for 4-digit addresses). Use a speed square and straightedge to guide your saw — a handsaw works fine, but a miter saw gives cleaner edges. Sand all four edges with 120-grit, then 220-grit, until smooth and splinter-free. Wipe dust with a tack cloth.
Mark number placement with grid alignment
Divide the face into a 3×2 grid using light pencil marks. Center each number in its cell — this ensures even spacing regardless of digit width (e.g., “1” vs. “8”). Double-check alignment with a carpenter’s square before drilling pilot holes. According to the National Association of Home Builders’ 2023 Exterior Design Standards, minimum center-to-center spacing between digits should be 1.75× the digit height for legibility at 30 feet.
Drill pilot holes and attach numbers
Drill 1/16" pilot holes through the back of the base at each mounting point (most outdoor numbers have two screw holes per digit). Clamp the base to a scrap board while drilling to prevent tear-out. Screw numbers in place using the included hardware — don’t overtighten, especially on aluminum, which can strip easily.
Mount to wall with proper anchors
Hold the assembled display against your wall. Use a 4-ft level to confirm perfect horizontal alignment. Mark screw locations, then drill anchor holes: use 3/16" masonry bits for brick/concrete (Tapcons), or 1/8" pilot holes for vinyl or wood siding. Insert anchors, then drive screws until the base sits flush — leave 1/16" gap at bottom for drainage.
Add drip edge and test visibility
Run a thin bead of clear silicone caulk along the top edge only — this creates a drip cap to shed water away from the wall. Let cure 2 hours. At dusk, stand 25 feet back and check readability. If numbers fade, swap in LED-lit digits or add reflective vinyl behind each digit (cut with a craft knife).
Tips & Common Mistakes
- Never skip the drip edge — water trapped behind the base causes rot in wood and corrosion in metal frames within 18 months.
- Don’t mount directly over insulation board (e.g., foam sheathing); it compresses and loosens screws over time. Anchor into furring strips or studs instead.
- Avoid painting numbers — most painted finishes peel within one season. Stick with factory-finished stainless or acrylic.
- If mounting on fiber-cement siding, pre-drill with a carbide-tipped bit — standard HSS bits dull instantly.
"Over 62% of failed house number installations we see during home inspections stem from improper anchoring—not material choice." — InterNACHI Certified Inspector Field Notes, 2023 Edition
Finishing Touches
For wood bases: apply two thin coats of Minwax Helmsman Spar Urethane, lightly sanding with 320-grit between coats. Let dry 12 hours between applications. For aluminum: wipe edges with mineral spirits, then brush on one coat of Everbrite Protective Coating ($18.99/qt) to prevent oxidation streaking. Both finishes extend service life from 5 years to 12+ years in full-sun exposure.
Can I use reclaimed wood?
Yes — but only if it’s kiln-dried, free of knots or cracks, and has been sealed on all six sides before mounting. Unsealed reclaimed pine absorbs moisture unevenly and warps within 6 months in humid climates.
What’s the best height for visibility?
Center your display at 58–62 inches above grade — that’s eye level for seated drivers and ADA-compliant. Avoid placing below shrubs or above porch lights, which create glare or shadow.
How do I light it at night without wiring?
Solar-powered puck lights (like Lithonia’s SL-SPOT-SOLAR) mount directly to the wall just above the display. They charge by day and auto-activate at dusk — no trenching or electrician needed. Each provides ~8 lumens, enough to illuminate numbers up to 20 feet away.
Will vinyl siding hold the weight?
Yes — if you use ribbed vinyl and screw into the underlying OSB or plywood sheathing. Locate studs with a magnet or stud finder first. Never screw only into the vinyl — it pulls out under wind load.
Can I paint the background black for contrast?
Absolutely. Use Benjamin Moore Aura Exterior Satin in Black Iron (2122-10). Its zero-VOC, mildew-resistant formula bonds well to both primed wood and powder-coated aluminum. Apply with a microfiber roller for a smooth, non-reflective finish.
What if my address has letters (e.g., 'A' or 'B')?
Match letter height and thickness to your numbers — many suppliers (like HouseNumbers.com) offer matching alpha sets. Avoid mixing fonts; inconsistency reduces legibility by up to 40%, per the diy-signage-legibility study.
This display won’t just meet code — it’ll become a subtle signature detail on your façade. Once installed, check alignment every spring with a level, and reseal wood edges every 3 years. For more exterior upgrades, see our diy-porch-light-installation and diy-garage-door-decor guides.