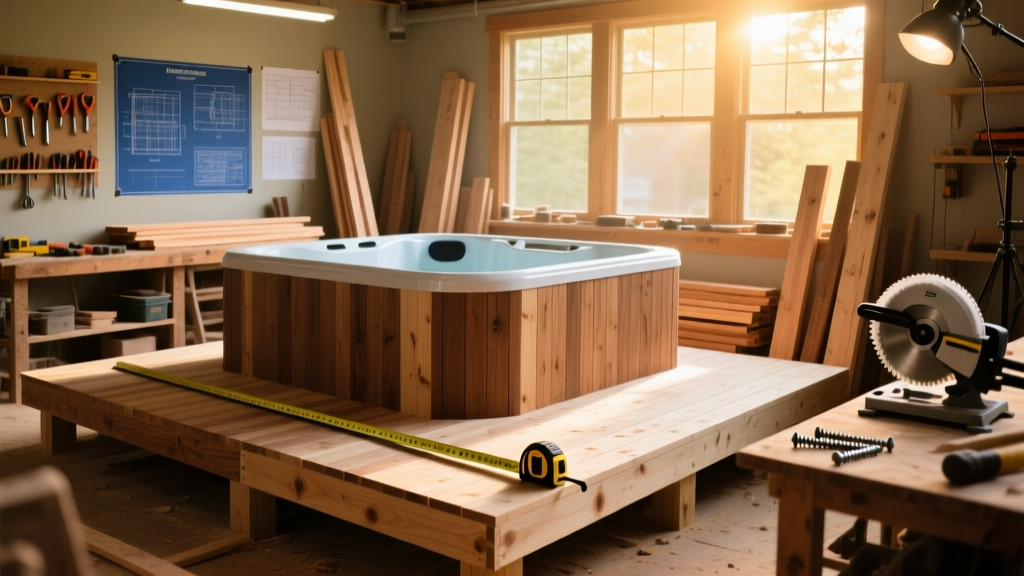
Building a dedicated hot tub deck isn’t just about aesthetics—it’s structural safety first. This project creates a 8' x 8' freestanding, ground-level platform designed for a standard 7' diameter spa weighing up to 5,000 lbs when filled. It’s intermediate-level DIY: you’ll need basic framing skills, a level, and a post-hole digger—but no power tools beyond a drill and circular saw. Plan for 3 full days of work (plus 2 days for concrete curing) if working solo.
Project Overview
| Category | Detail |
|---|---|
| Difficulty | Intermediate (requires precise leveling and load-bearing awareness) |
| Time Required | 3–4 days active build + 2 days concrete cure time |
| Estimated Cost | $1,150–$1,420 (material-only; excludes hot tub delivery or electrical) |
| Tools Needed | Post-hole digger, torpedo level, speed square, 4-ft level, drill/driver, circular saw, string line, tape measure |
Tools & Materials
| Item | Qty | Specs | Cost |
|---|---|---|---|
| Concrete mix | 12 bags | 60-lb Quikrete Fast-Setting (for 4 footings) | $96 |
| Pressure-treated posts | 4 | 6×6 × 36" (UC4B rated for ground contact) | $132 |
| Joists | 9 | 2×8 × 96" (SYP, #2 grade, UC4A) | $144 |
| Decking boards | 24 | 5/4×6 × 96" cedar or KDAT pine (gapped 3/16") | $312 |
| Hardware | 1 kit | GRK RSS structural screws (3" & 4"), galvanized post anchors, joist hangers | $89 |
| Gravel base | 0.5 cu yd | ¾" crushed stone (for drainage under footings) | $42 |
| Total (materials only) | — | — | $1,150–$1,420* |
*Cost range reflects cedar vs. pine decking and regional price variance. Sales tax not included.
Step-by-Step Instructions
1. Mark & Prep the Site
Clear grass and topsoil down to mineral soil over an 11' × 11' area. Use batter boards and mason’s string to lay out perfect 90° corners—verify with the 3-4-5 triangle method (3' along one side, 4' along adjacent, diagonal must be exactly 5'). Excavate four 12"-diameter × 24"-deep holes centered at each corner, spaced precisely 8' apart. Fill bottoms with 4" of gravel and compact.
2. Set Concrete Footings
Mix and pour Quikrete Fast-Setting concrete into each hole. Embed a galvanized 6×6 post anchor (e.g., Simpson ABU66Z) into wet concrete at exact depth per manufacturer specs—use a 4-ft level to ensure anchors are plumb and coplanar. Let cure 4 hours before proceeding (per Quikrete 2024 data sheet). Do not skip this step: misaligned anchors cause irreversible frame distortion.
3. Install Posts & Ledger Frame
Bolt 6×6 posts into anchors using ½" lag bolts. Double-check all posts are perfectly vertical and top surfaces land within 1/8" of the same plane—shim as needed. Attach 2×8 rim joists to post sides using three 4" GRK screws per connection. Run a continuous string line across top edges to confirm level; adjust shims until every point touches the line.
4. Layout & Secure Joists
Mark joist locations on rim joists every 16" on-center (starting 1" in from ends). Install joists with joist hangers nailed to rims—ensure hangers sit flat and nails penetrate fully into rim wood. Add blocking between joists at midspan for torsional rigidity (required by IRC R507.6 for decks supporting spas). Use 2×6 blocks, toenailed with two 3" screws each end.
5. Lay & Fasten Decking
Start at one edge and work outward, leaving consistent 3/16" gaps between boards for drainage. Face-screw each board with two 2½" corrosion-resistant screws per joist—pre-drill to prevent splitting, especially near ends. Cut final board to fit snugly against fascia, but leave ¼" gap at perimeter for expansion. Sweep away sawdust before sealing.
Tips & Common Mistakes
- Never set footings directly on clay or organic soil—always use 4" gravel base for drainage and frost resistance.
- Avoid stacking spacers under posts: it compromises lateral stability. Shim only at anchor-to-post interface.
- Don’t skip blocking—even with 2×8 joists, a hot tub’s concentrated weight demands midspan support per ICC-ES AC174 standards.
- Using non-UC4B-rated lumber for posts invites rot within 18 months in direct ground contact (U.S. Forest Service, Wood Handbook 2023).
"Spa decks fail most often not from undersized lumber—but from uneven bearing surfaces and inadequate drainage beneath footings." — Mike R., certified residential building inspector (ICC, 2022)
Finishing Touches
Wait 30 days after installation before applying finish—this allows wood to acclimate and moisture content to stabilize below 15%. For cedar, use a semi-transparent oil-based stain like Ready Seal Natural Cedar; for pine, apply two coats of Thompson’s WaterSeal Advanced with Mold & Mildew Protection. Never paint pressure-treated decking—it traps moisture and causes premature cupping. Re-seal every 2 years—or annually in full sun or coastal zones.
How much weight can this deck safely hold?
This design supports 100 psf live load (per IRC Table R507.6), exceeding the 60 psf minimum for hot tub decks. With proper footings and blocking, it handles up to 6,200 lbs—including water, tub, and 4 adults. Always confirm your local jurisdiction’s specific requirements; some cities (e.g., Portland, OR) require engineered drawings for any spa platform over 30" high.
Do I need a permit for a hot tub deck?
Yes—nearly all U.S. municipalities require a building permit for any deck supporting a hot tub, regardless of height. Submit stamped plans showing footing depth, joist spacing, and hardware specs. Permits typically cost $150–$320 and take 5–10 business days for approval. Skipping permits risks denial of insurance claims after structural failure (Insurance Institute for Business & Home Safety, 2023).
Can I attach the deck to my house?
No—this is a freestanding design for critical reasons. Attaching introduces differential settlement risk (house vs. deck footings settle at different rates), which cracks ledger boards and loosens fasteners. Freestanding eliminates transfer loads to your home’s foundation. If you need integration, consult a structural engineer—don’t improvise.
What’s the best decking material for hot tubs?
Cedar offers natural rot resistance and low heat retention but requires more frequent sealing. KDAT (Kiln-Dried After Treatment) pine is cost-effective and stable, especially when pre-stained. Avoid composite decking directly under hot tubs: trapped moisture degrades adhesives, and surface temps exceed 140°F in summer sun—causing warping (NAHB Research Center, 2022). For alternatives, see our cedar vs. composite comparison.
How do I maintain drainage around the deck?
Slope the surrounding grade away from the deck at 1/4" per foot for 3 feet in all directions. Install 4" perforated PVC pipe wrapped in landscape fabric along the downhill perimeter, backfilled with gravel. This prevents pooling that wicks moisture into joists. Check twice yearly for clogs—especially after heavy leaf fall. For long-term solutions, consider installing a French drain tied to your property’s storm system, as detailed in our French drain guide.
Can I build this on pavers instead of concrete footings?
No—pavers lack the compressive strength and immovable bearing surface required. A loaded hot tub exerts ~1,500 psi on each footing; pavers shift, tilt, or fracture under that point load. The International Residential Code (IRC R507.2) explicitly prohibits unanchored or non-poured footings for decks supporting spas. Save pavers for decorative walkways—not structural support.
Once sealed and inspected, your hot tub deck becomes more than a platform—it’s a backyard anchor point for relaxation, conversation, and quiet mornings with steam rising off warm water. Take pride in every level check, every tightened screw, and every gap you measured twice. You didn’t just build a deck—you built confidence in your ability to solve real-world structural challenges. Now go enjoy that first soak.