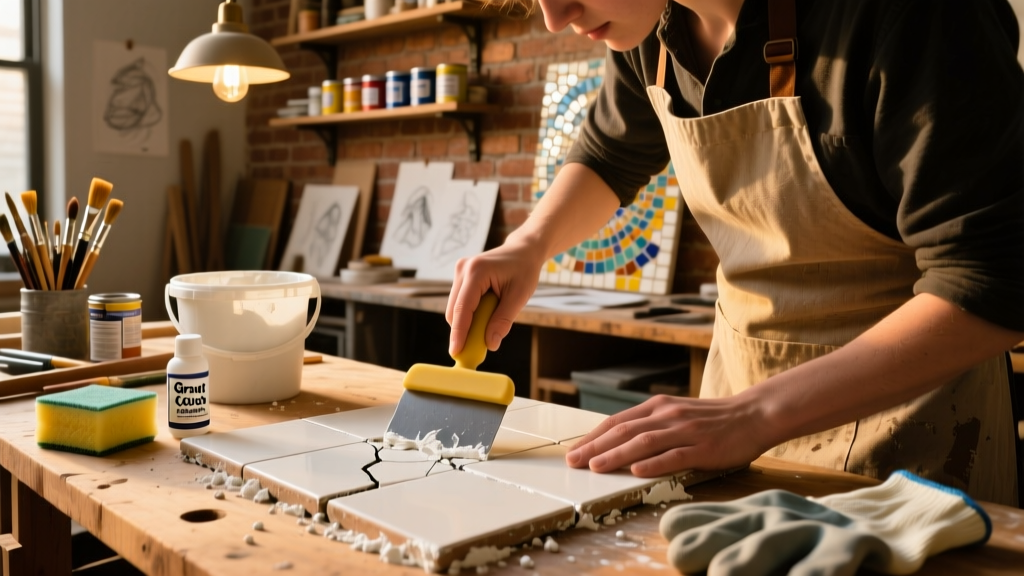
Refresh dingy, stained, or mismatched grout lines yourself—no chiseling, no new mortar, no tile removal. This is a surface-level restoration that works on sanded and unsanded cement-based grout (not epoxy or urethane). Skill level: beginner-friendly with attention to detail. Time estimate: 6–8 hours start-to-finish, including drying time between steps.
Project Overview
| Category | Detail |
|---|---|
| Difficulty | ★☆☆ (Low — requires patience, not strength) |
| Time Required | 6–8 hours (plus 24-hour cure before heavy use) |
| Estimated Cost | $28–$62 (varies by square footage and product tier) |
| Tools Needed | Grout brush, microfiber cloths, angled sash brush, utility knife, caulk gun (for sealant), spray bottle |
Tools & Materials
| Item | Quantity | Notes | Cost |
|---|---|---|---|
| Grout cleaner (oxygen bleach-based) | 1 qt | Avoid chlorine bleach—it degrades grout binders | $12.97 |
| Grout colorant (water-based acrylic) | 1 oz per 25 sq ft | Test color on hidden area first; matches most standard grout shades | $24.99 |
| Penetrating grout sealer (solvent-based) | 1 pt | Must be breathable; avoid silicone or film-forming types | $18.49 |
| Stiff nylon grout brush (3″ wide) | 1 | Non-metal bristles only—steel scratches tile | $6.29 |
| Microfiber cloths (lint-free) | 6–8 | Use separate cloths for cleaning, applying, and wiping | $8.99 for pack of 12 |
Step-by-Step Instructions
1. Prep the Surface Thoroughly
Remove soap scum, mineral deposits, and loose debris using a pH-neutral tile cleaner. Rinse twice with distilled water (tap water leaves mineral residue). Let dry fully—minimum 4 hours, preferably overnight. Any moisture trapped under colorant causes clouding or poor adhesion.
2. Deep-Clean With Oxygen Bleach
Mix oxygen bleach powder (e.g., Stain Solver) per label instructions. Apply with a soft brush, focusing on grout lines only—avoid pooling on tile surfaces. Let sit 15 minutes, then scrub gently with your stiff nylon brush. Rinse with distilled water and dry completely with lint-free cloths. According to the Tile Council of North America’s 2023 Maintenance Guidelines, skipping this step reduces colorant longevity by up to 70%.
3. Mask Adjacent Surfaces
Use low-tack painter’s tape along tile edges and baseboards. Press firmly to prevent bleed-through. Cover nearby fixtures with plastic sheeting secured with masking tape—not duct tape, which can leave residue.
4. Apply Grout Colorant Evenly
Shake colorant well. Load an angled sash brush (1/4″ bristle width) and apply in short, overlapping strokes—never flood the joint. Work in 2×2 ft sections. Wipe excess from tile faces immediately with a dry microfiber cloth held taut (don’t drag). Let cure 2 hours before light handling.
5. Seal With Penetrating Formula
After 24 hours of full cure, apply solvent-based sealer (e.g., Aqua Mix Sealer’s Choice Gold) using a small foam brush. Saturate grout only—no pooling. Wait 10 minutes, then buff lightly with dry cloth. Repeat after 4 hours for high-traffic zones like showers or kitchen backsplashes.
Tips & Common Mistakes
- Never use vinegar or acidic cleaners before colorant—they etch grout pores and cause uneven absorption
- If color looks streaky after drying, it’s usually from over-wiping—reapply thin layer instead of scrubbing off
- Grout wider than 3/8″ may need two colorant coats; narrow joints (1/16″) often need just one
- Yellowing in shower corners? That’s mold—not dirt. Treat with Concrobium Mold Control before grout refresh
Finishing Touches
For dramatic contrast, consider staining grout charcoal gray or matte black—just ensure tile isn’t porous unglazed ceramic, which can wick color. Painting grout is not recommended: acrylic paint chips within months. Sealing is non-negotiable: the U.S. EPA estimates that sealed grout resists microbial growth 3× longer than unsealed, especially in humid areas like bathrooms.
"Grout colorant isn’t paint—it’s a pigment suspension that bonds to the cement matrix. If you can see the original grout texture through it, you’ve applied correctly." — Lisa Tran, Certified Ceramic Tile Installer (CTI), NTCA, 2022
Can I refresh epoxy grout?
No. Epoxy and urethane grouts have non-porous polymer binders that repel water-based colorants. Attempting it results in beading, flaking, or zero adhesion. Your only option is professional grinding and replacement.
How long does refreshed grout last?
With proper sealing and routine cleaning (pH-neutral sprays only), colorant lasts 3–5 years in low-traffic areas and 2–3 years in showers. Re-seal every 12–18 months—test by dripping water: if it beads, you’re protected; if it soaks in, reapply.
Will this work on discolored grout from hard water?
Yes—but only if the discoloration is surface-level scale. If calcium buildup has etched the grout (feels rough or pitted), use a citric acid paste first, rinse thoroughly, then proceed. Skip acid treatment on marble or limestone tile.
Can I change grout color dramatically—like white to navy?
You can, but coverage depends on substrate value. Light-to-dark shifts (white → charcoal) work reliably. Dark-to-light (black → beige) rarely achieves full opacity—you’ll likely need 2–3 coats and may still see shadowing. Test on a spare tile first.
Do I need to remove old sealant first?
Yes—if the grout was previously sealed with a film-forming product (like silicone or acrylic topicals), strip it with acetone and a nylon brush before cleaning. Penetrating sealers (most modern ones) don’t require removal—just clean well.
What if I get colorant on my tile?
Wipe immediately with a damp microfiber cloth. If it dries, use isopropyl alcohol on a cotton swab—rub gently in one direction. Never scrape. For glazed porcelain or glass tile, it wipes clean; for textured or matte tile, test alcohol in an inconspicuous spot first.
Once sealed and cured, your grout will look factory-fresh—and you’ll know exactly how it got there. No demo dust, no contractor quotes, no timeline delays. Just clean lines, consistent color, and the quiet satisfaction of a job done right. For next-level durability, pair this with our grout replacement vs. refresh comparison before your next bathroom update.