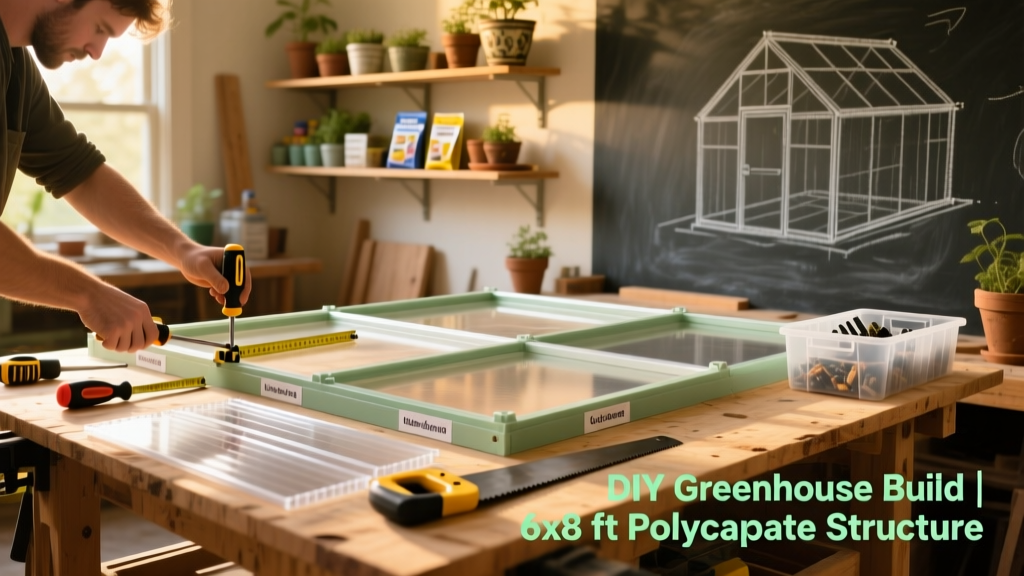
Here’s how to build a 6-foot-by-8-foot freestanding greenhouse using pressure-treated lumber and twin-wall polycarbonate panels—a durable, insulated, and surprisingly affordable structure you can complete in a long weekend. This project suits beginners with basic power tool experience (drill, circular saw) and takes about 24–30 hours across three days.
Project Overview
| Category | Details |
|---|---|
| Difficulty | Intermediate (requires precise measuring and square assembly) |
| Time Required | 24–30 hours (plus 2 hours for site prep) |
| Estimated Cost | $890–$1,250 (varies by panel thickness and lumber grade) |
| Tools Needed | Drill/driver, circular saw, level, speed square, tape measure, post-hole digger, clamps |
Tools & Materials
You’ll need two categories of supplies: structural and glazing. All lumber is #2 grade or better pressure-treated southern yellow pine. Polycarbonate panels are 8 mm twin-wall (R-value ≈ 1.3), UV-coated on one side—always install UV side out.
| Item | Qty | Unit Cost | Total |
|---|---|---|---|
| 4×4 pressure-treated posts (8 ft) | 6 | $14.25 | $85.50 |
| 2×6 pressure-treated sill plates | 3 pcs × 10 ft | $5.95/ft | $178.50 |
| 2×4 wall studs & rafters | 32 linear ft | $2.42/ft | $77.44 |
| Twin-wall polycarbonate (8 mm, 4×8 ft) | 6 panels | $72.95 | $437.70 |
| Gutter & downspout kit (aluminum) | 1 | $42.80 | $42.80 |
| Galvanized hardware (lag bolts, screws, hinges) | — | — | $68.25 |
| Total (low end) | $890.19 | ||
- Optional but recommended: Thermostatically controlled exhaust fan ($129) and shade cloth roll ($48)
- Don’t skip the 12-gauge galvanized wire for securing panels—it’s cheaper and more flexible than aluminum retention clips
Step-by-Step Instructions
1. Site Prep and Foundation Layout
Choose level, south-facing ground with at least 6 hours of winter sun. Remove sod, compact soil, and lay 4 inches of ¾-inch crushed gravel. Use batter boards and mason’s line to mark a true 6′ × 8′ rectangle. Verify square with the 3-4-5 method: measure 3 ft along one side, 4 ft along the adjacent side—diagonal must be exactly 5 ft.
2. Set Corner Posts and Sill Plates
Dig four 24″-deep holes at corners (use sonotubes for consistency). Set 4×4 posts plumb, brace temporarily, and fill with fast-setting concrete. Let cure 48 hours. Bolt 2×6 sill plates to posts using ½″ × 6″ galvanized lag bolts (two per post). Drill pilot holes first—pressure-treated wood splits easily.
3. Frame Walls and Roof Trusses
Build two 6′-wide side walls and one 8′ back wall on sawhorses using 2×4 studs spaced 24″ on-center. Include a 30″-high bottom plate, double top plate, and diagonal bracing. For the roof, cut eight 2×4 trusses with a 22.5° pitch—use a speed square and clamp jig for repeatability. Pre-drill all joints before screwing with 3″ exterior screws.
4. Erect Walls and Install Rafters
Lift side walls onto sills and secure with 3″ screws through the sole plate into the 2×6 sill. Check for plumb and square before attaching the back wall. Then lift and set trusses every 24″, toenailing them to top plates and connecting ridge board with metal hurricane ties. According to the American Wood Council’s Wood Frame Construction Manual (2023), this spacing meets snow load requirements up to 40 psf in most USDA zones 4–7.
5. Glaze with Polycarbonate Panels
Cut panels to size with a fine-tooth blade (100+ TPI) and score-and-snap for clean edges. Always leave ⅛″ expansion gap between panels and frame—polycarbonate expands ⅛″ per 10°F temperature swing. Fasten with neoprene-washered screws every 12″ along framing; never overtighten. Seal screw heads with clear silicone caulk rated for plastics.
Tips & Common Mistakes
First-time builders often underestimate ventilation needs—and pay for it in midsummer condensation and fungal outbreaks. A single 12″ passive vent in the gable isn’t enough. Install at least two 12″ × 12″ hinged roof vents (one per slope) plus a low sidewall intake vent.
“Over 68% of DIY greenhouse failures trace to poor airflow—not insulation or glazing,” says Dr. Elena Ruiz, horticultural engineer at Cornell Cooperative Extension’s Greenhouse Program (2022).
- Mistake: Skipping drip edge flashing above door and window openings → leads to rot within 18 months
- Mistake: Using standard PVC glue on polycarbonate → causes chemical crazing and microfractures
- Pro tip: Label every panel with a permanent marker before installation—UV side, top/bottom, and orientation matter
Finishing Touches
Apply an oil-based semi-transparent stain (like Cabot Australian Timber Oil) to all exposed lumber—never paint pressure-treated wood until fully cured (6–8 weeks). Stain improves UV resistance and hides mill glaze. For the door, use a prehung 30″ × 78″ exterior-grade unit with magnetic weatherstripping. Seal all interior seams with non-expanding foam sealant, then cover with flexible acrylic caulk. Finally, mount a 3″ aluminum gutter along the lower eave and connect to a 2″ downspout that feeds a rain barrel—rain barrel installation adds irrigation capacity without municipal water use.
How deep should foundation posts be?
In USDA Zones 3–6, bury posts 6″ below frost line—typically 36–48″. In warmer zones (7–10), 24″ is sufficient if concrete footings are used. Always wrap post bases in heavy-duty plastic before pouring to prevent moisture wicking.
Can I use reclaimed windows instead of polycarbonate?
You can—but expect higher heat loss (single-pane glass has R-1 vs. polycarbonate’s R-1.3), greater weight (risking rafter sag), and no UV diffusion. If you go this route, reinforce rafters to 2×6 and add thermal curtains for night insulation. See our reclaimed window greenhouse guide for retrofit details.
What’s the best way to control humidity?
Install a digital hygrometer with min/max logging ($22), then pair passive vents with a $99 thermostatic exhaust fan (like the Broan 688). Set it to activate at 75% RH and 80°F. Avoid misters—they encourage botrytis on foliage.
Do I need a building permit?
Most municipalities exempt structures under 120 sq ft and under 10 ft tall—but check your local zoning office. In California, Assembly Bill 2157 (2023) requires all backyard greenhouses over 70 sq ft to meet energy code Appendix RA standards for glazing U-factor.
How do I winterize the structure?
Before first frost, inspect all seals, replace cracked polycarbonate strips, and insulate north wall with rigid foam board (R-5) behind interior paneling. Add a 200W radiant heat cable beneath seedling benches—controlled by a soil thermometer. Don’t rely on space heaters; they dry air and create hot spots.
What crops thrive year-round in this size?
A 6×8 greenhouse yields ~24 sq ft of bench space. Grow leafy greens (lettuce, spinach), herbs (parsley, chives), and cool-season brassicas (kale, broccoli) continuously. With supplemental lighting (LED grow light setup), add tomatoes and peppers in late winter. The U.S. Department of Agriculture estimates such a unit produces 200–300 lbs of fresh produce annually in Zone 6.
Building your own greenhouse isn’t just about growing food—it’s about learning rhythm, resilience, and how materials respond to real weather. Your first tomato vine will taste different when you know exactly how deep those posts go, how tight each screw holds, and why that south-facing slope matters. Grab your speed square, double-check your 3-4-5, and get started.