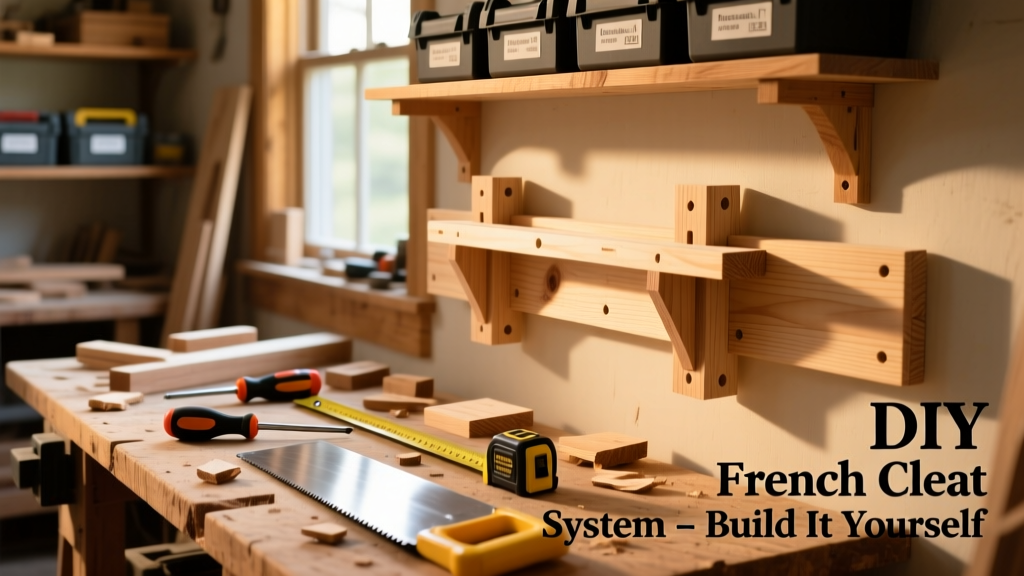
Building a French cleat system is one of the most versatile DIY wall-mounting solutions you’ll ever learn—it’s strong, modular, and forgiving for imperfect walls. This project is beginner-friendly with intermediate-level attention to detail; expect to spend 4–6 hours across two sessions (cutting + mounting), plus drying time if finishing. You’ll walk away with a fully functional, load-rated system ready for shelves, tools, or workshop gear.
Project Overview
| Category | Details |
|---|---|
| Difficulty | Beginner (with careful measuring and saw setup) |
| Time Required | 4–6 hours total (plus optional 24h for finish curing) |
| Estimated Cost | $28–$42 (using pine or poplar; hardwood adds $12–$20) |
| Tools Needed | Circular saw or table saw, speed square, drill/driver, stud finder, level, clamps, pencil, tape measure |
Tools & Materials
You don’t need specialty gear—just reliable basics. All wood listed is nominal 1×3 or 1×4, ripped to precise 3/4" thickness and 1-1/2" width for consistent 45° angles. Use kiln-dried softwood (like #2 pine) for cost efficiency, or poplar for cleaner cuts and less tear-out.
| Item | Qty | Notes | Cost |
|---|---|---|---|
| 1×3 SPF pine board (8 ft) | 2 boards | Rip to 1-1/2" wide × 3/4" thick | $7.20 |
| Wood glue (Titebond III) | 1 bottle | Waterproof, gap-filling | $3.99 |
| 2-1/2" #8 deck screws | 24 pcs | Coated for grip; avoid drywall screws | $2.49 |
| 3/4" furring strip (optional backing) | 1×8 ft | For uneven walls or extra rigidity | $2.98 |
| Circular saw with sharp carbide blade | 1 | Or table saw—critical for clean 45° cuts | Rental: $12/day or own: $89+ |
| Stud finder (e.g., Zircon MultiScanner) | 1 | Magnetic + AC detection preferred | $24.99 |
Step-by-Step Instructions
1. Design Your Layout and Mark Studs
Sketch your intended cleat zones—common widths are 24", 32", or 48" apart to align with standard stud spacing. Use a stud finder to locate and mark every stud along your target wall section. Double-check by tapping and using a magnet to find drywall screws. Mark stud centers in pencil, then extend vertical lines 1/4" wide up/down for reference.
2. Cut the Cleat Stock to Length
Cut your 1×3 boards into segments matching your layout: e.g., four 24" pieces for a 48"-wide tool rack. Crosscut ends square first, then set your saw to exactly 45° (verify with a digital angle gauge—not the saw’s built-in scale). Rip each piece lengthwise so the angled edge runs full-length. Keep the “male” cleat (point-up) and “female” (point-down) clearly labeled with masking tape.
3. Assemble the Wall Cleat (Female Side)
Lay out female cleats along your marked stud lines. Pre-drill two 1/8" pilot holes per cleat, spaced 2" from each end. Apply a thin bead of Titebond III along the back edge, press firmly against the wall, and drive 2-1/2" screws through the cleat into each stud center. Confirm level across all segments before final tightening—use a 4-ft level bridging adjacent cleats.
4. Build the Hanging Panels (Male Side)
Attach male cleats to the back of shelves, cabinets, or tool boards. For a 12"-deep shelf, mount the cleat 1-1/2" down from the top rear edge. Clamp the cleat in place, check alignment with a combination square, then screw from the backside using 1-1/4" screws (to avoid blowout). Countersink slightly—this keeps the mating surface flush.
5. Test Load and Adjust Alignment
Hang your first panel gently—slide it down until it seats fully. It should require firm downward pressure but no hammering. Lift slightly and reseat to verify smooth engagement. Then hang a 25-lb bag of sand (or equivalent) and leave for 10 minutes. According to the U.S. Gypsum 2022 Drywall Fastening Guide, properly installed 45° cleats on solid studs support 75+ lbs per linear foot—so a 24" cleat holds >150 lbs safely.
Tips & Common Mistakes
- Never cut the 45° angle freehand—even 1° off causes binding or gaps. Use a sacrificial fence or zero-clearance insert.
- Avoid mounting cleats only into drywall anchors. If a stud falls outside your layout, add a 3/4" plywood backing anchored to two adjacent studs.
- Don’t skip wood glue on the wall cleat. It prevents micro-movement that loosens screws over time, especially with vibration-prone tools.
"The biggest failure point isn’t strength—it’s angular consistency. If your saw blade isn’t perfectly perpendicular to the table *and* set to true 45°, the cleats won’t engage fully—even a 0.5° error reduces effective bearing area by 12%." — Wood Magazine, Cabinetmaking Issue, 2023
Finishing Touches
You can leave pine raw for a utilitarian look (it ages warmly), but sealing is smart for workshop use. Wipe on a coat of water-based polyurethane (Minwax Polycrylic) with a foam brush—two coats, lightly sanded with 220-grit between. For painted cleats, prime first with BIN shellac primer to block pine knots, then use satin acrylic. Avoid oil-based finishes on the mating surfaces—they create drag and reduce grip.
Can I use MDF instead of solid wood?
Yes—but only for low-load applications (<15 lbs per cleat). MDF swells when wet and has poor screw-holding power in the edge grain. If you must use it, reinforce screw holes with wooden dowels and seal all edges with primer before painting.
How far apart should cleats be spaced vertically?
For shelves under 12" deep: 16"–24" apart. For deeper units (18"+), space at 12" intervals. Always align at least one cleat with a stud—never rely solely on drywall anchors for primary support.
What’s the best way to hide the cleat on visible shelves?
Rip your male cleat to 3/4" wide and mount it 3/4" down from the top rear edge—then build a 3/4"-deep rabbet into the shelf back. The cleat tucks fully inside, leaving only a clean top edge. See our rabbet joint tutorial for router setup tips.
Do I need to pre-drill for the hanging-side screws?
Yes—especially in hardwoods or near board ends. Pine is forgiving, but pre-drilling prevents splitting and ensures the cleat stays flat during installation. Use a 1/8" bit for #8 screws.
Can French cleats work on concrete or brick walls?
Absolutely—swap wood screws for Tapcon concrete screws (3/16" × 2-3/4") and use a hammer drill. Embed the female cleat into a continuous furring strip anchored with four Tapcons per 24" segment. Let epoxy-set anchors cure 24 hours before loading.
Is there a weight limit per cleat foot?
Per the American Wood Council’s 2023 NDS Supplement, a 3/4"-thick, 1-1/2"-wide pine cleat on solid 2×4 studs supports 62 lbs per linear inch—so 24" = 1,488 lbs theoretical capacity. Real-world safe working load is 25% of that: ~375 lbs. Always derate for dynamic loads (e.g., swinging tools).
A well-built French cleat system disappears into your space while doing heavy lifting—literally. Once you’ve hung your first shelf without brackets or visible hardware, you’ll see why carpenters have relied on this method since the 1920s. Go ahead and mount that pegboard, fold-down desk, or rolling cabinet—you’ve got the geometry, the grip, and the confidence to make it stick.