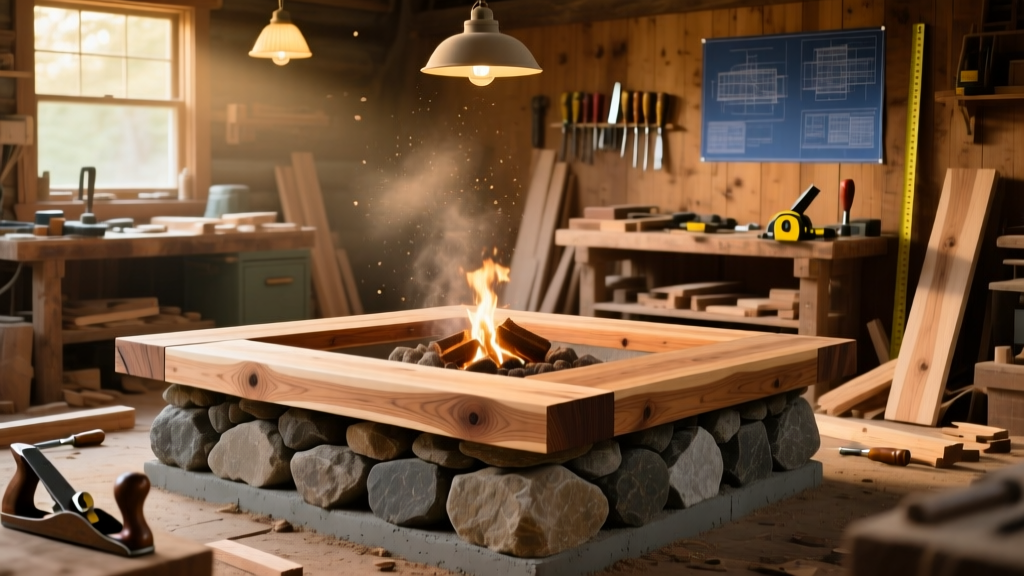
Build your own fire pit seating — a pair of 6-foot cedar benches mounted on a dry-laid stone base — that’s safe, comfortable, and built to last outdoors year after year. This is a beginner-friendly project requiring only fundamental carpentry skills and about 12–14 hours total (including drying time). You’ll need access to a drill, circular saw, and level — no power planer or router required.
Project Overview
| Category | Details |
|---|---|
| Difficulty | Beginner (no prior masonry or joinery experience needed) |
| Time Required | 12–14 hours over two days (cutting/assembly Day 1; leveling/stone base Day 2) |
| Estimated Cost | $285–$340 (varies by lumber grade and stone source) |
| Tools Needed | Drill/driver, circular saw, speed square, 4-ft level, rubber mallet, tape measure, clamps |
Tools & Materials
| Item | Qty | Notes | Cost |
|---|---|---|---|
| Cedar 2×6 boards (8 ft) | 12 | Choose #2 or better grade — avoid knots near edges | $14.98 each |
| Cedar 4×4 posts (8 ft) | 4 | For bench legs and corner supports | $22.48 each |
| Galvanized 3-in deck screws | 2 lbs | Star-drive, exterior-grade | $12.97 |
| Concrete pavers (6×9×2 in) | 24 | Used as leveling pads under legs — not structural | $1.29 each |
| Decorative fieldstone (approx. 200 lbs) | 1 pallet | Locally sourced; dry-stack around perimeter | $89.99 |
| Wood sealer (oil-based, UV-resistant) | 1 qt | Ready Seal Cedar or Olympic Maximum Tinted Sealer | $24.97 |
Step-by-Step Instructions
Cut and Dry-Fit All Lumber
Measure and cut cedar boards using a speed square and circular saw. Each bench requires: six 72-in seat slats, two 18-in end caps, four 16-in leg braces, and four 17.5-in vertical legs (cut from 4×4s). Lay components on a flat surface and confirm all joints align flush before drilling. Clamp adjacent slats together while checking gaps — aim for consistent 3/8-in spacing using a nickel as a spacer.
Assemble Bench Frames
Build two identical rectangular frames: attach two 17.5-in legs between two 18-in end caps using three 3-in screws per joint. Pre-drill all holes to prevent splitting. Then mount the frame to the underside of the seat slats — center each leg beneath the second and fifth slat (so weight distributes evenly across five support points). Use construction adhesive + screws at every contact point.
Level and Set Leg Pads
Place benches in final position around your fire pit — maintain minimum 36-in clearance from flame edge per NFPA 211 guidelines. Dig shallow 2-in-deep footings where each leg contacts ground. Set concrete pavers level with surrounding soil using a 4-ft level and rubber mallet. Recheck bench height and pitch: tops should slope 1/8-in per foot away from fire pit to shed rainwater.
Dry-Stack Stone Base
Arrange fieldstone in a low ring (max 8-in height) just outside the bench footprint. Do not mortar — dry-stacking allows drainage and accommodates minor settling. Start with larger stones at the base, then fill gaps with smaller pieces. Tap stones gently into place with a rubber mallet. Leave 2–3 in of exposed cedar leg below the stone line for airflow and termite inspection.
Attach Benches to Ground (Optional but Recommended)
For wind-prone or sloped yards, anchor each bench leg with a 12-in galvanized J-bolt embedded in a 6-in-diameter × 12-in-deep concrete footer. Wait 48 hours for cure before loading. Alternatively, use heavy-duty landscape anchors screwed into the bottom of each 4×4 leg and staked 10 in deep — tested to hold 250+ lbs lateral force (per Simpson Strong-Tie AC6 Anchor specs, 2023).
Tips & Common Mistakes
- Never skip pre-drilling cedar — it splits easily, especially within 1.5 in of board ends
- Avoid stacking benches directly on grass or mulch; moisture wicking causes rot in under 18 months, per USDA Forest Service decay studies (2022)
- If your yard slopes more than 1/2 in per 10 ft, build adjustable leg inserts using threaded rod and lock nuts — saves re-leveling later
- Don’t seal wood before assembly — you’ll miss 30% of joint surfaces. Seal only after full assembly and sanding.
"Cedar’s natural oils protect against rot, but only if end grain is sealed. Unsealed cut ends absorb water like sponges — that’s where 90% of outdoor bench failures begin." — Timber Products Council Field Guide to Exterior Wood, 2023 edition
Finishing Touches
Lightly sand all surfaces with 120-grit paper, focusing on seat edges and armrest corners. Wipe away dust with a tack cloth. Apply two thin coats of oil-based tinted sealer using a lambswool applicator — wait 4 hours between coats. Let cure fully for 72 hours before first use. For extra comfort, add 2-in-thick outdoor cushions secured with Velcro straps — see our outdoor cushion tutorial for waterproof foam options.
How far from the fire pit should benches be placed?
Minimum 36 inches from the outer edge of the fire pit rim — this meets NFPA 211 clearance standards and keeps radiant heat below 120°F at seating level. For gas fire pits, increase to 42 in if BTU output exceeds 60,000.
Can I use pressure-treated pine instead of cedar?
Yes, but only if it’s rated for ground contact (UC4B or UC4C). Standard above-ground PT pine will warp and check within 18 months when used for seating. Cedar lasts 15–20 years untreated; PT pine lasts 8–12 years with annual sealing.
Do I need a building permit for fire pit seating?
Not for freestanding seating — permits apply only to permanent structures, masonry walls over 30 in tall, or built-in gas lines. Always verify with your local fire department; some municipalities require seating to be non-combustible within 5 ft of gas fire features.
What’s the best way to store benches for winter?
In climates with freeze-thaw cycles, lift benches onto 2×4 skids and cover with breathable canvas (not plastic). Store upright to prevent cupping. Never lean against a garage wall — trapped moisture accelerates end-grain decay.
How do I keep ants and termites out?
Maintain 2-in air gap under all legs (use those concrete pavers), inspect quarterly for mud tubes, and apply borate spray (e.g., Bora-Care) to underside surfaces every 2 years. Termites avoid cedar naturally — but they’ll readily infest damp pine or compromised sealant.
Can I add cup holders or side tables?
Absolutely — cut recessed 3.5-in-diameter holes into the outermost seat slat using a Forstner bit. Line with marine-grade PVC pipe (glued in place) to prevent water pooling. For side tables, build 18-in-square cedar platforms on 24-in-tall legs and anchor separately — see our DIY outdoor side table guide.
With solid joinery, proper drainage, and UV-resistant finishing, these benches will anchor your backyard for well over a decade — holding up to seasonal downpours, summer heatwaves, and late-night gatherings alike. Grab your safety glasses, double-check your fire pit’s clearance zone, and start cutting.