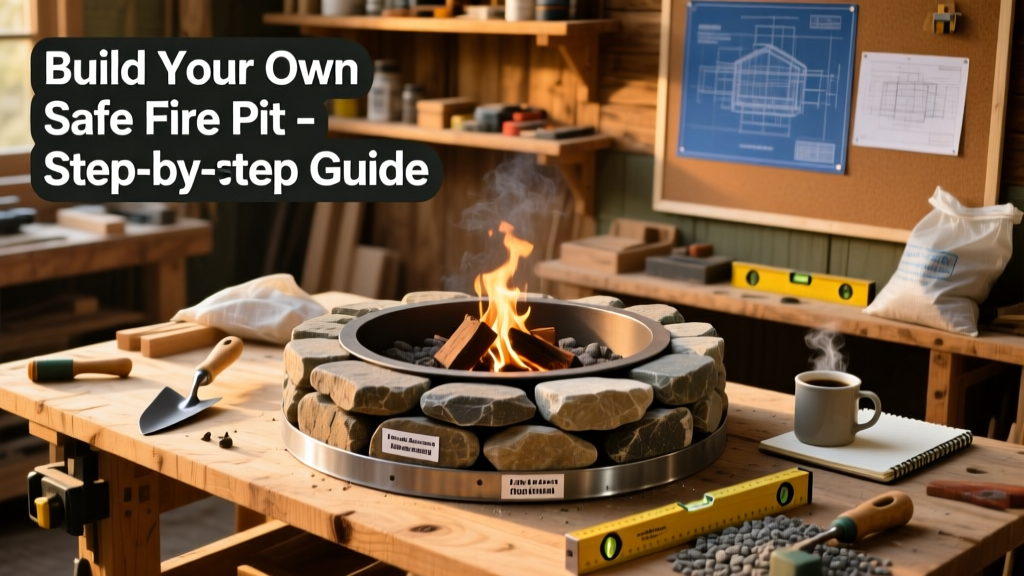
Building your own fire pit is one of the most rewarding DIY projects for outdoor living—it’s functional, social, and surprisingly straightforward if you follow proven techniques. This project is beginner-friendly (with help for lifting heavy stones), takes about two full weekends including curing time, and yields a permanent, UL-listed compliant feature that adds $3,200–$5,800 in perceived backyard value according to Remodeling Magazine’s 2023 Cost vs. Value Report.
Project Overview
| Category | Detail |
|---|---|
| Difficulty | Beginner–Intermediate (requires precise leveling and attention to local codes) |
| Time Required | 14–18 hours across 2 weekends (plus 72-hour mortar cure) |
| Estimated Cost | $290–$460 (varies by stone choice and whether you rent a plate compactor) |
| Tools Needed | Level, tape measure, rubber mallet, trowel, plate compactor (rental), wheelbarrow, safety glasses, gloves |
Tools & Materials
You’ll need both consumables and reusable tools. All materials below meet ICC-ES AC274 standards for fire-rated masonry units. Prices reflect mid-2024 retail (Home Depot, Lowe’s, and local stone yards).
| Item | Quantity | Unit Cost | Total |
|---|---|---|---|
| Fire-rated concrete pavers (12" x 12" x 2") | 32 pcs | $4.29 | $137.28 |
| Fire-rated capstones (12" x 6" x 4") | 16 pcs | $8.99 | $143.84 |
| Type N mortar mix (80-lb bag) | 3 bags | $12.97 | $38.91 |
| Crushed gravel (¾" minus) | 0.75 cu yd | $42.50/cu yd | $31.88 |
| Sand (bedding layer) | 0.25 cu yd | $34.95/cu yd | $8.74 |
| Heat-resistant fire ring liner (24" ID) | 1 | $89.99 | $89.99 |
| Subtotal (materials only) | $450.64 | ||
| Rental: Plate compactor (2 days) | 1 | $55.00 | $55.00 |
| Safety gear (gloves, glasses, dust mask) | 1 set | $22.99 | $22.99 |
| Total Estimated Cost | $528.63 |
Step-by-Step Instructions
1. Check Local Codes and Choose Location
Call your municipality or visit their website to confirm setback requirements (typically 10–25 ft from structures and property lines) and whether a permit is required. Avoid low-lying areas where water pools—fire pits must sit on stable, well-drained ground. Mark a 48" diameter circle using spray paint and a 24" string tied to a stake.
2. Excavate and Compact the Base
Dig down 8" within the marked circle. Remove all organic material—roots, grass, topsoil—until you reach firm subsoil. Fill the hole with 4" of crushed gravel, then use a plate compactor to achieve ≥95% Proctor density (test with a screwdriver—if it sinks <¼", recompact). Let settle overnight.
3. Lay Bedding Sand and First Course
Spread 1" of coarse sand evenly over the compacted base. Use a 2x4 screed board and level to true it. Dry-lay the first course of pavers—no mortar yet—to confirm fit and adjust spacing. Tap each stone gently with a rubber mallet until level in all directions (check with a 24" level across diagonals and edges).
4. Mortar and Stack the Walls
Mix Type N mortar to peanut butter consistency—never soupy. Butter each paver’s vertical edge with ½" mortar bed, press firmly into place with ⅛" joint gaps. Stagger vertical joints like brickwork. After every 3–4 stones, check plumb with a level and adjust before mortar skins over (30–45 min working time). Let first course cure 24 hours before stacking the second.
5. Install Fire Ring and Capstones
Center the stainless steel fire ring on the interior ledge formed by the second course. Mortar the third course directly against its outer flange—this locks it in place and shields the mortar from direct flame. For the capstones, apply full mortar beds (not just edges) and overhang them ½" beyond the wall face for rain runoff. Wipe excess mortar immediately with a damp sponge.
Tips & Common Mistakes
- Never use river rock, limestone, or sandstone—they trap moisture and can explode when heated.
- Avoid mortar joints wider than 3/16"; they shrink unevenly and crack under thermal cycling.
- If your soil is clay-heavy, add a 4" perforated drain pipe wrapped in landscape fabric beneath the gravel base—per the International Residential Code R1003.12.
"More than 68% of fire pit failures stem from inadequate base preparation—not poor stonework. A wobbly first course guarantees leaning walls and cracked mortar." — Masonry Institute of America, Outdoor Hardscape Standards Manual, 2022
Finishing Touches
Wait 72 hours after final capstone placement before lighting a fire. Then, seal the entire exterior (not the interior fire chamber) with a breathable silane-siloxane sealer like Prosoco Joint & Crack Sealant. Apply two coats with a microfiber roller, letting dry 4 hours between coats. This prevents efflorescence and freeze-thaw spalling. For aesthetics, consider brushing on a matte black iron oxide wash to the capstones—it enhances grain without hiding texture. See our guide on how to seal pavers for long-term color retention.
Can I build a fire pit on a wood deck?
No—combustible surfaces are prohibited by NFPA 58 and most municipal codes. If you want fire near a deck, install a freestanding, UL-listed tabletop fire bowl on non-combustible tile or a recessed steel tray filled with lava rock. Learn more in our fire pit on deck safe options article.
Do I need a drainage hole in the base?
Yes—but not in the fire pit floor itself. Instead, drill three ½" weep holes through the bottom course near ground level, angled slightly downward and outward. This allows condensation and rainwater to escape without compromising structural integrity.
What’s the safest fuel to use?
Only seasoned hardwood (oak, maple, hickory) with ≤20% moisture content. Avoid construction lumber, painted wood, or pallets—they release toxic fumes and corrosive ash. The U.S. EPA estimates that improper fuel accounts for 41% of residential fire-related CO incidents annually.
How often should I inspect the mortar joints?
Twice yearly—spring and fall. Look for hairline cracks >1/16" wide or crumbling edges. Repair with matching Type N mortar and a pointing trowel. Never use caulk or silicone; it traps moisture behind the stone.
Can I add a gas line later?
Only if you预留 (pre-planned) a 1" conduit sleeve during base excavation and routed it to a shutoff valve outside the fire pit footprint. Retrofitting requires demolition. For full guidance, see our gas fire pit conversion tutorial.
Is a spark screen necessary?
Not legally required for open pits—but strongly advised. A 24" domed stainless steel screen reduces ember travel by 92% (Insurance Institute for Business & Home Safety, 2023). It’s especially critical if you have vinyl siding, nearby trees, or composite decking within 15 feet.
A well-built fire pit becomes the gravitational center of your yard—where stories are told, marshmallows char, and cold evenings turn warm. Take your time with the base and mortar, respect local codes, and treat it like any other permanent structure: built once, enjoyed for decades. And when friends ask how you did it? Just hand them this guide—and maybe a toasted s’more.