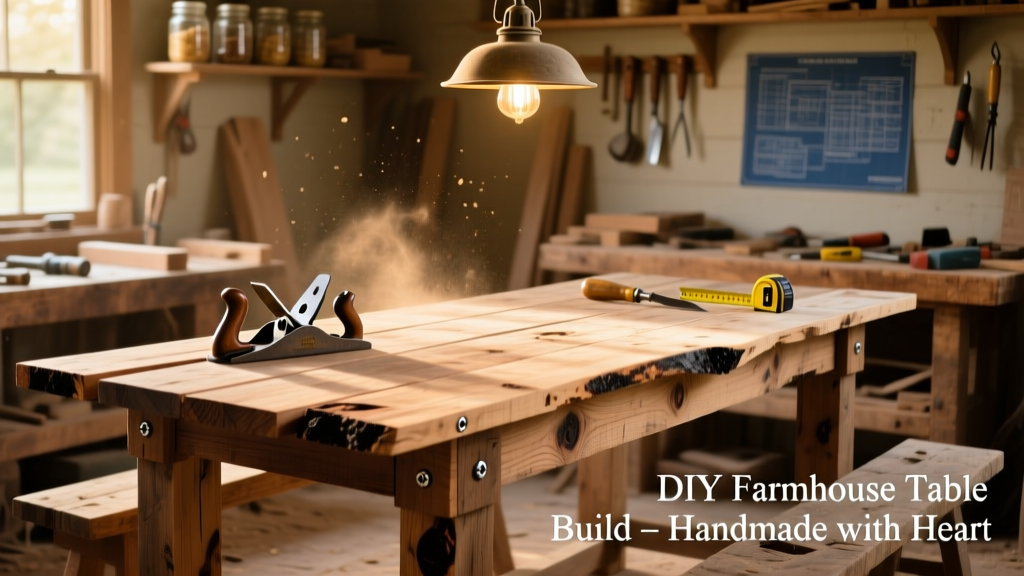
Building a DIY farmhouse table is one of the most satisfying woodworking projects for intermediate beginners — it’s functional, photogenic, and built to last decades. You’ll need basic power tools, about 20–25 hours across 3–4 days (including drying time), and no prior furniture-making experience — just patience with clamping and sanding.
Project Overview
This is a 72" × 36" solid pine farmhouse table with tapered legs, breadboard-style aprons, and traditional mortise-and-tenon-inspired pocket screws. It’s rated intermediate: you’ll cut, drill, assemble, and finish — but no router jigs or complex joinery required. The design prioritizes strength over speed, so expect careful dry-fitting and glue-up timing.
| Category | Details |
|---|---|
| Difficulty | Intermediate (requires drilling accuracy & clamping discipline) |
| Time Required | 20–25 hours (not including stain/seal dry time) |
| Estimated Cost | $185–$240 (depending on wood grade and finish choice) |
| Tools Needed | Drill/driver, Kreg Jig R3, miter saw, orbital sander (or hand-sanding setup), clamps (6–8 bar/clamp style) |
Tools & Materials
You’ll use kiln-dried #2 common pine for affordability and workability — it’s soft enough to sand easily but stiff enough for tabletop stability. Avoid construction-grade SPF; seek clear-edge boards at your local lumberyard or Home Depot’s ‘Select Pine’ bins. All dimensions are actual, not nominal.
| Item | Qty | Dimensions | Notes | Cost | |
|---|---|---|---|---|---|
| Pine board (tabletop) | 5 | 1×10×8' | Choose boards with minimal knots near edges | $92 | |
| Pine board (legs & aprons) | 4 | 2×4×8' | Rip to 3½" width for legs | $36 | |
| Pocket hole screws | 1 pack | 1¼" & 2½" | Kreg brand recommended | $14 | |
| Wood glue | 1 bottle | — | Titebond III (waterproof) | $12 | |
| Sanding supplies | — | 80/120/220 grit | Orbital pads + 2 sheets each grit | $18 | |
| Finish (stain + seal) | — | — | Minwax Provincial + Polycrylic satin | $32 | |
| Total | — | $204 | |||
Step-by-Step Instructions
Cut and flatten tabletop boards
Joint one edge of each 1×10 using a straightedge and router (or skip if your boards are already straight). Rip to final width (9¼") on a table saw. Then, face-joint one side flat — critical for tight seams. Arrange boards by grain pattern before gluing. Use cauls and pipe clamps — never rely on pocket screws alone for the top.
Assemble the tabletop with pocket holes and glue
Drill two 1¼" pocket holes per board edge (top and bottom), spaced 8" apart. Apply Titebond III glue to mating edges, clamp tightly, and wipe excess immediately with a damp rag. Let cure 2 hours minimum before flipping. Sand flush once fully dry — start with 80 grit, then 120, then 220.
Build the leg frames and attach aprons
Cut four legs to 29½" (height includes ¾" foot recess). Cut two long aprons (72" minus 3" × 2 = 66") and two short aprons (36" minus 3" × 2 = 30"). Drill 2½" pocket holes into apron ends, then screw into legs using 2½" coarse-thread screws. Reinforce corners with 1½" corner braces inside the frame.
Mount the tabletop to the base
Flip the base upside-down. Mark centerlines. Attach tabletop using 1½" pocket screws driven up through the aprons into the underside of the tabletop — but only in the center third of each apron. Leave outer thirds unattached to allow seasonal wood movement. Add figure-8 fasteners at outer corners for micro-adjustment.
Sand, fill, and prep for finish
Sand entire table with 120 grit, then 220 — pay attention to transitions between top and apron. Fill any small gaps or dings with Timbermate natural pine filler (not wood putty — it shrinks). Wipe down with tack cloth. Test stain on scrap first — pine burns easily, so always pre-condition with Minwax Pre-Stain.
Tips & Common Mistakes
Most failed builds hinge on rushed glue-ups or ignored wood movement. Pine expands across its width — not length — so never rigidly fix the full tabletop perimeter. Also, avoid over-tightening pocket screws: they strip pine fast. Use a torque-limiting clutch setting (3–4 on most drills).
- Always acclimate wood indoors for 72+ hours before cutting — especially in humid or dry climates
- Clamp boards with alternating pressure: top-to-bottom, then side-to-side, to prevent cupping
- If your tabletop bows after glue-up, wait 48 hours — it often relaxes. If not, re-clamp with bow facing up and weight on center
"Pine moves more than oak or maple — but that’s why it’s perfect for farmhouse tables: the subtle shifts add character, not weakness. Just respect the grain direction and moisture content." — John Hargrove, master carpenter and author of Woodworking Basics for Home Builders (2022)
Finishing Touches
We recommend Minwax Provincial stain followed by 3 coats of Minwax Polycrylic satin. Apply stain with a lint-free cloth, wiping off excess after 5 minutes. Let dry 4 hours between coats. For Polycrylic, sand lightly with 320 grit between coats — this eliminates dust nibs and boosts sheen consistency. Don’t skip the final 24-hour cure before placing dishes or hot pans.
- For a whitewashed look: dilute white paint 50/50 with water, brush on, then wipe immediately with burlap
- To deepen grain contrast: use a wire brush lightly along the grain before staining
- For kid- or pet-friendly durability: add a fourth coat of Polycrylic, or switch to General Finishes High Performance Topcoat
How wide should my farmhouse table be?
Standard dining clearance requires 36" minimum for comfortable seating. We built ours at 36" wide — enough for place settings and a centerpiece, but narrow enough to fit in a 10'×12' dining nook. Wider than 42" starts limiting chair pull-out space unless you have 14' ceilings and open floor plans.
Can I build this with reclaimed wood?
Yes — but inspect carefully for nails, rot, or insect damage. Reclaimed pine often has tighter growth rings and less movement, but may require planing to uniform thickness. Expect extra time for de-nailing and surface prep. See our reclaimed wood safety guide for lead testing and milling tips.
Do I need a table saw for this project?
No — but you’ll need accurate 90° cuts. A high-quality miter saw (like the DeWalt DWS780) works fine for all cuts if you clamp a straightedge as a fence for ripping. Just confirm your saw’s depth can handle 3½" leg stock.
What’s the best way to attach chairs without scratching the finish?
Glue felt pads (3/8" thick) to chair feet using contact cement — not hot glue. Replace them every 12–18 months. For heavy-duty protection, install rubber-tipped glides like FeltRight Heavy-Duty Glides, which grip hardwood floors without sliding.
How do I clean and maintain my farmhouse table?
Wipe spills immediately with a damp microfiber cloth. Never use vinegar, ammonia, or abrasive cleaners — they break down water-based polyurethane. Once yearly, refresh the top coat with light sanding (320 grit) and one thin coat of Polycrylic. According to the U.S. EPA’s 2023 Indoor Air Quality report, unfinished pine emits negligible VOCs — but cured Polycrylic seals them completely.
Can I scale this design to seat 10 people?
Absolutely — extend the tabletop to 96" and add two additional legs centered under the extended ends. Use 3×3" leg stock instead of 2×4 for vertical stiffness. Keep apron depth at 4" and reinforce with an extra cross-brace mid-span. See our extendable dining table guide for hardware options.
Your farmhouse table will become the anchor of your dining space — not just because of its looks, but because you shaped every joint and smoothed every edge yourself. That warmth? It’s not just the stain. It’s the hours you spent choosing grain, waiting for glue to set, and sanding until the wood hums under your palm. Now go enjoy dinner on something real.