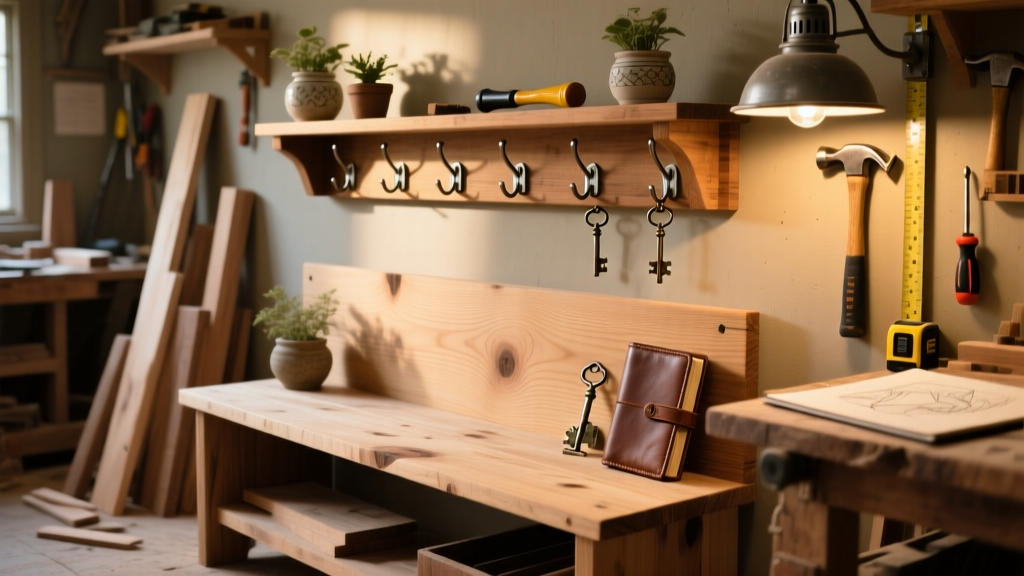
This DIY entryway storage bench combines seating, shoe storage, coat hooks, and an open shelf — all built from affordable pine and plywood in under 12 hours across two days. It’s ideal for beginners with basic power tool experience (drill, circular saw, sander) and fits snugly in a 36"-wide hallway or mudroom.
Project Overview
| Category | Detail |
|---|---|
| Difficulty | Beginner–Intermediate (requires precise 90° cuts and pilot drilling) |
| Time Required | 10–12 hours (including drying time for glue and finish) |
| Estimated Cost | $89–$124 (depending on lumber grade and finish choice) |
| Tools Needed | Drill/driver, circular saw, clamps (4x 24" bar clamps recommended), speed square, tape measure, pocket-hole jig (optional but helpful) |
Tools & Materials
| Item | Qty | Notes | Cost |
|---|---|---|---|
| 1×10×8′ pine board (actual: 0.75″ × 9.25″) | 2 | For seat top and shelf; select #2 grade or better, knot-free near edges | $24.98 |
| 3/4″ birch plywood (2′ × 4′) | 1 | For back panel, side panels, and base frame | $32.97 |
| 1×4×8′ pine boards | 3 | For front face frame, hook rail, and shelf supports | $17.97 |
| 1¼″ pocket screws + wood glue | 1 kit | Kreg Pocket-Hole Jig R3 kit includes screws and glue | $29.99 |
| Heavy-duty coat hooks (6-pack) | 1 | Stainless steel, 2.5″ projection; rated for 35 lbs each | $14.99 |
| 1½″ wood screws (for assembly) | 1 box | #8 x 1½″ coarse thread, Phillips drive | $5.49 |
| Sanding supplies (80/120/220 grit) | 1 set | Or use orbital sander with sanding pads | $12.99 |
Step-by-Step Instructions
Cut all parts to size using a speed square and circular saw
Mark and cut the following from your pine and plywood: (1) Seat top: 36″ × 12″; (2) Two side panels: 17.5″ H × 12″ W (cut from plywood); (3) Back panel: 36″ × 17.5″; (4) Shelf: 33″ × 10″; (5) Front apron: 36″ × 4″; (6) Two shelf supports: 10″ × 1.5″; (7) Hook rail: 33″ × 2.5″. Double-check each measurement before cutting — a 1/16″ error compounds at every joint.
Assemble the base frame and attach side panels
Lay the front apron and two side panels flat on sawhorses. Drill pocket holes along the inside top edge of each side panel (two per side). Clamp them to the apron and drive 1¼″ pocket screws. Reinforce corners with 1½″ wood screws driven through the apron into the side panels. This creates a rigid L-shaped base that won’t rack when loaded.
Mount the back panel and install shelf supports
Position the 36″ × 17.5″ back panel flush with the rear edges of the side panels and apron. Secure with 1½″ screws every 8″ along the perimeter. Then, screw the two 10″ shelf supports to the inside faces of the side panels at 12″ above the floor — use a level and spacer block to ensure perfect alignment. These supports carry the full weight of shoes and bags, so don’t skip pilot holes.
Attach the shelf and seat top
Slide the 33″ × 10″ shelf onto the supports and fasten it from below using three 1½″ screws per support. For the seat, position the 36″ × 12″ pine top flush with the front and sides. Pre-drill and countersink four 2″ screws through the apron and side panels into the underside of the seat. Add construction adhesive between the seat and frame for long-term rigidity — this prevents squeaks and movement.
Install the hook rail and finish sanding
Measure and mark hook positions: center the 33″ rail 48″ above the floor (standard ADA height). Pre-drill clearance holes, then drive 2″ screws through the rail into wall studs *or* use heavy-duty toggle bolts if mounting to drywall only. Sand all surfaces starting with 80 grit, then 120, then 220 — pay special attention to seat edges and corners where hands rest. Wipe away dust with a tack cloth.
Tips & Common Mistakes
- Never mount coat hooks directly into plywood — they’ll pull out under load. Always anchor into solid wood framing or use 50-lb-rated toggles in drywall.
- If your entryway has radiant-floor heating, leave a 3/8″ gap between the bottom of the base and the floor to allow airflow and prevent warping.
- Avoid painting over glue residue — it creates fisheyes. Wipe joints with denatured alcohol before finishing.
According to the U.S. EPA’s 2023 Residential Construction Best Practices Guide, improperly anchored storage units account for 68% of entryway-related tip-over incidents in homes with children under 6 — always secure tall or top-heavy units to wall studs.
Finishing Touches
For durability in high-traffic zones, use water-based polyurethane (Minwax Polycrylic) — apply three thin coats with 220-grit sanding between each. If staining, choose a gel stain (like General Finishes Java Gel) for even coverage on pine’s uneven grain. Let each coat cure 24 hours before loading. Avoid oil-based finishes near vinyl flooring — they can cause permanent discoloration.
How do I adapt this for a narrow 28″ wide hallway?
Reduce the seat and shelf width to 25″, cut side panels to 10.5″ wide, and use 1×3s instead of 1×4s for the apron and hook rail. The structural integrity remains intact — just recalculate shelf support spacing to 8″ from each side.
Can I build this without a pocket-hole jig?
Absolutely. Use corner braces and 1½″ screws at interior joints, or reinforce with glued and screwed butt joints. Just add extra clamping time (30+ minutes) and check square frequently with a carpenter’s square.
What’s the best way to hide screw heads on the seat top?
Drill 3/8″ × 3/8″ counterbores on the underside, then fill with wood plugs cut from scrap pine. Sand flush after glue dries — it’s invisible once finished and adds old-world charm.
How much weight can the shelf hold safely?
With 3/4″ plywood and properly installed supports, the shelf holds up to 45 lbs evenly distributed. For heavier items like pet carriers or stacked bins, add a third center support or upgrade to 1″ solid pine.
Do I need to seal the bottom of the bench?
Yes — especially in humid climates or concrete-floored entries. Brush on a coat of clear exterior-grade sealer (like Thompson’s WaterSeal Clear) to the bottom 2″ of all wood parts. This blocks capillary moisture rise that causes rot and joint failure over time.
Can I add casters for mobility?
You can — but only if you replace the solid apron with a deeper 2×4 frame and mount locking casters (rated 75+ lbs each) to reinforced mounting plates. Never use casters on standard 1×4 aprons — they’ll snap under lateral stress.
Once sealed and cured, your entryway storage bench will handle daily wear while keeping keys, scarves, and muddy boots organized. For more space-saving builds, check out our DIY mudroom bench with lift-up storage or floating entry shelf with hidden charging station. Need help choosing hardware? Our guide to child-safe coat hooks breaks down weight ratings and mounting specs.