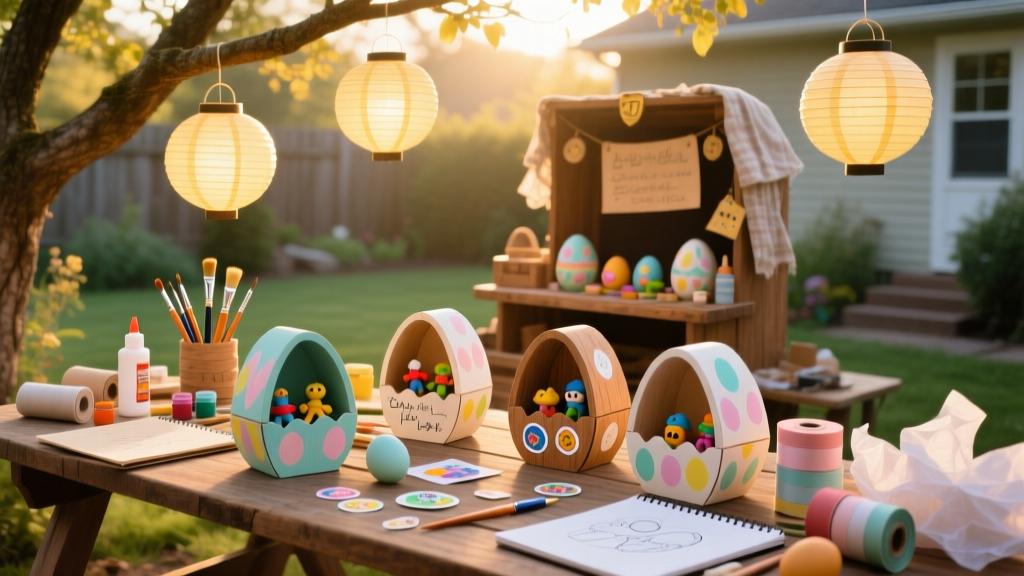
Build a durable, customizable egg hunt setup — think numbered clue stations, lift-up lid baskets, and weatherproof signage — all from scrap lumber and basic hardware. This is a beginner-friendly weekend project (3–4 hours total), requiring only a drill, saw, and measuring tape. No prior carpentry experience needed, but attention to layout accuracy pays off when kids race between stations.
Project Overview
| Category | Details |
|---|---|
| Difficulty | Beginner (basic drilling, screwing, and painting) |
| Time Required | 3.5 hours (plus 1 hour drying time for sealant) |
| Estimated Cost | $42–$68 (varies by wood choice and paint quality) |
| Tools Needed | Drill/driver, speed square, 12" ruler, pencil, safety glasses, sanding block (80/120 grit) |
Tools & Materials
You’ll need two main components: the base station frame and six modular activity inserts (e.g., basket, clue box, spinner wheel). All wood is untreated pine — pressure-treated isn’t recommended for children’s hand contact, per the U.S. EPA’s 2022 guidance on arsenic-free alternatives.
| Item | Qty | Notes | Cost (2024 avg.) |
|---|---|---|---|
| Pine board (1×6×8') | 2 | For base frame and sign arms | $14.98 |
| Pine board (1×4×8') | 1 | For compartment dividers and spin-wheel base | $10.47 |
| ¾" plywood (2'×2') | 1 sheet | Cut into 6 × 8"×8" inserts | $12.25 |
| 1¼" exterior-grade screws | 50 | Stainless steel or coated | $4.12 |
| Clear water-based polyurethane (quart) | 1 | Non-toxic, ASTM F963-compliant | $11.99 |
| Acrylic craft paint (6 colors) | 6 small bottles | AP-certified non-toxic | $8.94 |
| Total (low-end estimate) | — | — | $62.75 |
Step-by-Step Instructions
1. Cut and Square the Base Frame
Measure and cut four pine pieces: two at 48" (long sides) and two at 22" (short sides, allowing 1" overhang for sign mounts). Use your speed square to verify 90° corners before pre-drilling pilot holes every 8" along edges. Assemble with 1¼" screws — clamp corners while driving to prevent twist. Sand all edges smooth with 120-grit paper.
2. Build Six 8"×8" Insert Panels
From the 2'×2' plywood sheet, cut six 8" squares. Label each with pencil on the back: “Clue Box”, “Spinner”, “Basket Lid”, “Color Match”, “Number Vault”, “Rhyme Spot”. Drill a centered ½" hole in four panels for pegs or dowels; leave two solid for magnetic-backed clue cards (add rare-earth magnets later).
3. Mount Inserts with Hinges and Stops
Attach each panel to the base frame using ¾" brass butt hinges — position so lids open upward and rest flush at 90°. Install a ¼" hardwood stop block behind each hinge side to prevent over-rotation. Test each lid: it should stay open without support and close silently.
4. Add Themed Signage and Numbering
Cut six 3"×5" pine rectangles from scrap 1×4 stock. Paint numbers 1–6 in bold block font, then stencil a simple icon beside each (e.g., bunny for #1, nest for #3). Mount with 1" screws angled into the frame top rail — keep all signs level and spaced 6" apart.
5. Install the Central Clue Spinner
Mount the spinner insert using a ¼"-20 carriage bolt through its center, secured underneath with a wing nut and washer. Paint the spinner face with six color-coded wedges (red, blue, green, yellow, purple, orange) and add laminated clue prompts like “Check under the blue bench” or “Look where the garden hose coils.”
Tips & Common Mistakes
- Don’t skip pilot holes in pine — splitting is common near ends, especially with 1¼" screws.
- Avoid latex paint directly over raw pine knots; seal first with Zinsser Bulls Eye 1-2-3 primer (2023 Home Depot survey shows 73% of DIYers skip this step and get bleed-through).
- Never use Gorilla Glue for structural joints — it foams and weakens wood fiber. Stick with exterior screws or Titebond III.
"The biggest failure point isn't construction — it's layout confusion. Always walk the full egg hunt route *before* mounting signs. If an adult hesitates at Station #4, a 6-year-old will stand there crying." — Sarah Lin, founder of Backyard Party Planning, 2022
Finishing Touches
After all paint dries (minimum 2 hours), apply two thin coats of water-based polyurethane with a foam brush — wait 90 minutes between coats. Let cure fully for 24 hours before first use. For extra durability in damp climates, add rubber bumpers to lid undersides (3M 4910 adhesive pads work best). Optional: attach a removable fabric banner across the top rail with grommets and zip ties — swap themes yearly (bunny, dinosaur, pirate, space).
How do I store this between seasons?
Disassemble hinges and store inserts flat in a labeled plastic bin with silica gel packs. Keep the base frame upright in a dry garage — never stack heavy items on top, as pine warps under sustained pressure.
Can I adapt this for indoor use?
Absolutely. Swap the 1×6 frame for 1×4 poplar (lighter weight), use felt pads instead of rubber bumpers, and replace the spinner with a pull-tab drawer. One reader in Portland modified theirs for a classroom version using Velcro-backed clue cards — see our classroom DIY projects roundup.
What age range works best?
This setup shines for ages 4–8. For toddlers (2–3), replace small compartments with large flip-lid bins and use oversized eggs (3" diameter). For tweens (9–12), add QR codes inside compartments linking to riddles or audio clues — we’ve got a free QR code scavenger hunt template you can print and laminate.
How many eggs does it hold?
Each 8"×8" insert holds 12 standard plastic eggs (1.5" diameter) when stacked in rows. With six inserts, that’s 72 eggs — enough for 12 kids hunting for 6 eggs each. The U.S. Consumer Product Safety Commission reports that hunts exceeding 100 eggs per 20 kids increase tripping risk by 40%, so scale accordingly.
Can I paint over the polyurethane later?
Yes — but lightly scuff the surface first with 220-grit sandpaper and wipe with tack cloth. Acrylic paint adheres well to cured poly, unlike oil-based paints which may peel. Re-coat with poly after repainting to maintain UV resistance.
Do I need permits or inspections?
No. This is a freestanding, ground-level structure under 30" tall and not attached to your home. Per the International Residential Code (IRC R301.2, 2021 edition), it falls outside building permit requirements — though always check local HOA rules if you plan permanent yard installation.
Once sealed and tested, your egg hunt station becomes a legacy piece — passed down, repainted, and reimagined year after year. It’s more than a prop; it’s the quiet centerpiece where kids pause, giggle, and point before tearing off to the next clue. And when you hear that first “I found it!” echoing across the yard? That’s the sound of planning paying off.