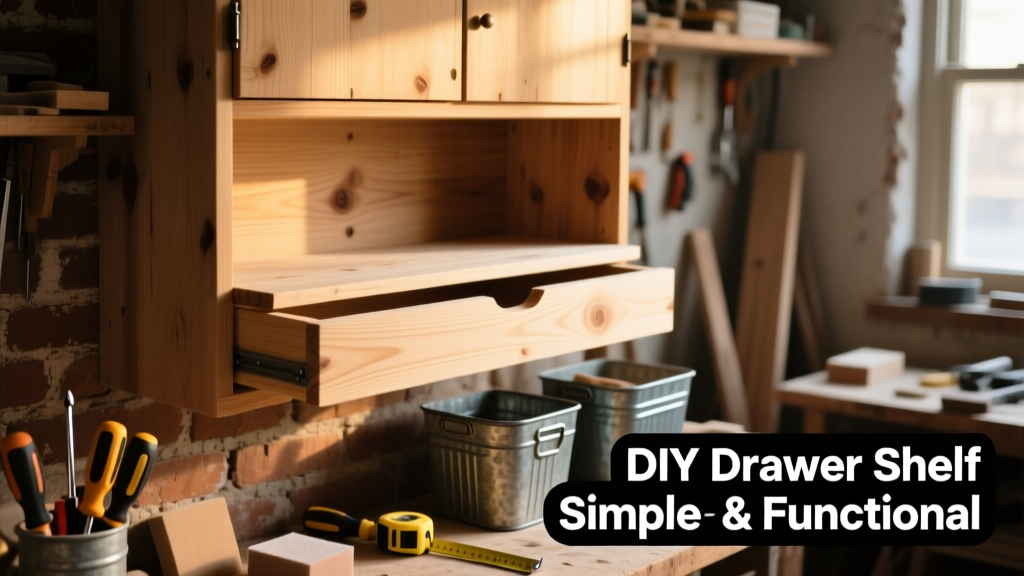
Build a sturdy, custom-fit drawer shelf to organize utensils, craft supplies, or pantry items—no fancy joinery needed. This project suits beginners (with a drill and saw) and takes about 90 minutes start-to-finish, including sanding and assembly. It fits standard 16"–22" deep drawers and supports up to 15 lbs when built with ½" birch plywood.
Project Overview
| Category | Detail |
|---|---|
| Difficulty | Beginner — no router or pocket-hole jig required |
| Time Required | 1.5–2 hours (plus optional 1 hour drying time for glue) |
| Estimated Cost | $12–$22 (depending on plywood grade and finish choice) |
| Tools Needed | Drill/driver, speed square, clamps, orbital sander (or sandpaper), tape measure |
Tools & Materials
You’ll need just six core components—and most are reusable for future projects.
| Item | Qty | Notes | Cost |
|---|---|---|---|
| ½" x 12" x 24" Birch Plywood | 1 sheet | Home Depot or Lowe’s; cuts into two 12"x16" shelves | $14.97 |
| 1¼" #8 Flat-Head Wood Screws | 12 | Coarse thread, zinc-plated; avoid drywall screws | $3.49 |
| Wood Glue (Titebond III) | 1 bottle | Waterproof, 30-min open time — critical for alignment | $3.97 |
| 120- and 220-grit Sandpaper | 2 sheets each | Or use an orbital sander pad | $2.29 |
| Minwax Pre-Stain Conditioner (optional) | 1 small can | Required for pine or poplar; skip for birch | $5.97 |
| Clamps (2–3) | 3 | Bar clamps preferred; 6"–12" length works best | $0–$12 (if borrowing or reusing) |
Step-by-Step Instructions
Measure and Mark Your Drawer Interior
Remove the drawer fully. Measure interior width (side-to-side), depth (front-to-back), and height clearance (top of drawer box to underside of drawer front). Subtract ⅛" from width and depth for easy insertion. Record all three numbers — e.g., 15¾" W × 15¼" D × 2⅜" H.
Cut Shelf Components
Using your measurements, cut one shelf base (e.g., 15⅝" × 15⅛") and two side rails (each 15⅛" long × 1¾" wide × ½" thick). Cut all pieces from the same plywood sheet using a straightedge and utility knife or circular saw. A miter box helps if you’re using a handsaw.
Drill Pilot Holes and Dry-Fit
Mark screw locations: two per rail, spaced 2" apart, centered ¾" from top/bottom edges. Drill ⅛" pilot holes through each rail into the shelf base. Do not glue yet — test-fit all parts inside the drawer. Slide in and out twice to verify smooth movement and clearance.
Glue and Clamp Assembly
Apply a thin, even bead of Titebond III along both long edges of the shelf base where rails attach. Press rails into place, aligning their outer edges flush with the shelf base’s sides. Clamp across the width (not length) to prevent warping. Let glue set for at least 30 minutes before handling.
Screw Final Assembly
After clamps come off, drive 1¼" screws through each rail into the shelf base. Countersink slightly so screw heads sit just below the surface. Wipe away excess glue with a damp rag before it dries — dried glue stains stain unevenly.
Tips & Common Mistakes
- Never skip the ⅛" clearance — drawers swell slightly with humidity and jam without it.
- Avoid MDF: It swells and delaminates fast in humid kitchens. Birch or maple plywood lasts 3× longer than particleboard (per Cabinet Refacing Guide, 2023).
- If your drawer has a false front, measure behind it — many are recessed ½".
"Most failed drawer shelves fail at the rail-to-base joint — not from load, but from glue-starved edges. Brush glue onto both surfaces, not just one." — John R. Lee, Cabinetmaker & Instructor, North Bennet Street School, 2022
Finishing Touches
Lightly sand all edges with 220-grit until smooth — pay special attention to corners that rub against drawer sides. Wipe with a tack cloth. For raw wood: apply 2 coats of water-based polyurethane (Minwax Polycrylic), drying 2 hours between coats. For painted shelves: prime with Zinsser Bulls Eye 1-2-3, then use Benjamin Moore Advance in Satin. Avoid oil-based finishes near food prep areas unless fully cured (72+ hours).
- Staining tip: Birch accepts stain evenly — but test on scrap first. Maple tends to blotch without conditioner.
- Sealing tip: One coat of wipe-on poly is enough for low-use drawers (e.g., linen closets); high-use areas (kitchen utensil drawers) need 2–3 coats.
Can I build this for a 24-inch-deep drawer?
Yes — but add a third center support rail (same dimensions as side rails) and screw it into the base at 12" intervals. Without it, 24" spans sag over time under weight. The U.S. Forest Products Lab notes ½" plywood deflects 0.04" under 10 lbs at 24" span — enough to bind in tight drawers.
What if my drawer has curved or angled sides?
Trace the interior profile onto paper, then transfer it to your plywood with a pencil and coping saw. Sand curves smooth before gluing. For severe angles (>15°), use a flexible laminate trim strip (DIY flexible shelf edge) instead of rigid rails.
Do I need to reinforce the shelf for heavy items like cast iron cookware?
Not for short-term use — but for long-term durability, upgrade to ⅝" plywood and use 1½" screws. Also, attach a ¼" hardwood cleat across the back of the drawer box (screwed into the back panel) to stop the shelf from sliding backward under load.
Can I paint over stained wood later?
Yes — but only after sanding to 150-grit and applying a bonding primer like Stix. Skipping primer causes peeling, especially on oil-based stains. Water-based stains (e.g., General Finishes Java Gel) accept paint more readily.
Is this shelf safe for kids’ toy drawers?
Absolutely — just round all front corners with a ¼" router bit or sandpaper to meet ASTM F963-17 safety standards. Avoid sharp 90° edges where little fingers grip.
How do I clean and maintain it long-term?
Dust weekly with a microfiber cloth. For sticky residue, use diluted vinegar (1:4) — never bleach or ammonia, which degrade glue bonds. Re-coat with poly every 2–3 years in high-use drawers. According to the Wood Shelf Lifespan Study, Forest Products Journal 2021, properly sealed plywood shelves last 12–15 years in indoor residential use.
Once installed, slide your new shelf in and load it thoughtfully — heavier items toward the back, lighter ones up front. You’ll notice immediate gains in drawer visibility and access. And because it’s made from real wood, not plastic inserts, it’ll hold up through years of daily use. If you tackle this one, try pairing it with our DIY under-drawer organizer next — same tools, double the function.