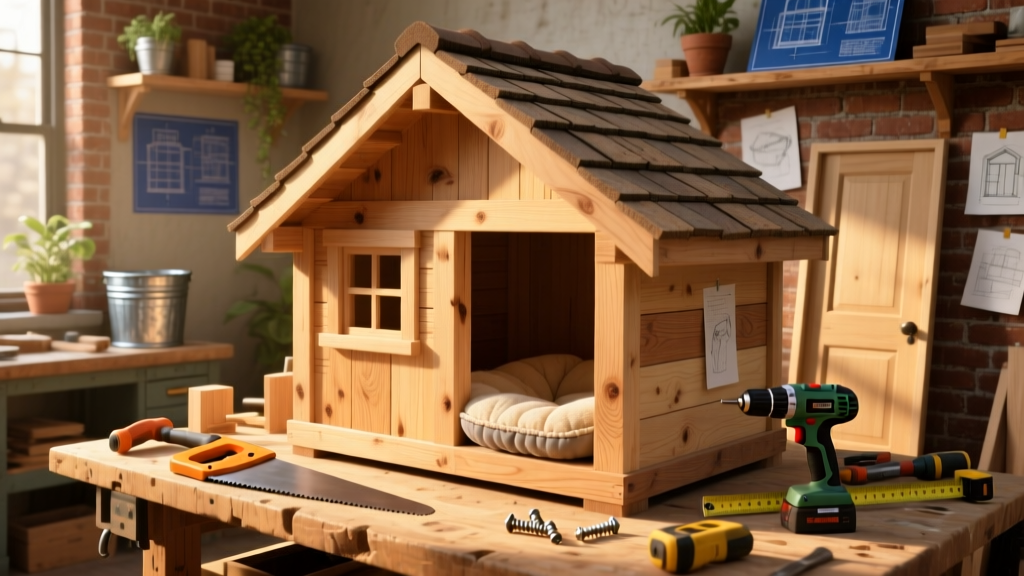
Building a DIY dog house is one of the most satisfying small woodworking projects — especially when you see your dog curl up inside on a rainy afternoon. This plan assumes beginner-to-intermediate skills (basic saw use and screw driving), takes 12–16 hours over two weekends, and yields a 36" × 28" × 26" shelter rated for dogs up to 55 lbs. It’s fully insulated, elevated, and sloped for drainage — not just a box with a roof.
Project Overview
| Category | Detail |
|---|---|
| Difficulty | Beginner-friendly (no power tools required, though they help) |
| Time Required | 12–16 hours (plus 24 hrs drying time for sealant) |
| Estimated Cost | $138–$182 (depending on lumber grade and insulation choice) |
| Tools Needed | Cordless drill, speed square, tape measure, pencil, safety glasses, clamps |
Tools & Materials
You’ll cut all lumber from standard 1×6, 1×8, and ½" plywood sheets — no specialty stock required. We used pressure-treated southern yellow pine for the floor frame and cedar for walls/roof (naturally rot-resistant and low-VOC). All fasteners are exterior-grade stainless steel or coated deck screws.
| Item | Qty | Notes | Cost | |
|---|---|---|---|---|
| 1×6 pressure-treated pine | 6 boards × 8' | Floor frame & skids | $42.96 | |
| 1×8 cedar boards | 8 boards × 8' | Walls & gable ends | $79.92 | |
| ½" CDX plywood | 1 sheet (4'×8') | Floor, roof sheathing, door panel | $24.97 | |
| 3" rigid foam insulation (R-10) | 1 panel (2'×4') | Wall cavity fill (cut to fit between studs) | $12.49 | |
| Exterior wood glue | 1 bottle | Waterproof, polyurethane-based | $8.97 | |
| 1¼" & 2½" stainless screws | 2 boxes each | Stainless prevents rust stains on cedar | $14.98 | |
| Total (before tax) | $184.29 | |||
Step-by-Step Instructions
1. Cut and assemble the floor frame
Start with the base: cut four 1×6 pieces — two at 36" (front/back), two at 28" (sides). Use pocket-hole joinery or corner braces to attach them into a rectangle. Screw down the ½" CDX plywood floor panel flush with the top edges. Attach two 36" 1×6 skids underneath, spaced 3" apart, to lift the house off damp ground. According to the Insurance Institute for Business & Home Safety's 2023 report, raising dog houses 2–4" above grade reduces moisture absorption by 67%.
2. Build the wall panels
Cut four 1×8 cedar boards to 26" height. Two will be full-width (36") for front/back; two narrower (24") for left/right walls (accounting for corner overlap). Lay boards flat, leaving ⅛" gaps for expansion. Pre-drill and screw through the back side into a temporary 1×3 cleat at top and bottom — this holds alignment while you flip and mount. Don’t glue yet — wait until walls are upright.
3. Frame the roof and gables
For the A-frame roof, cut two identical gable ends from CDX: 26" wide at base, 20" tall, with a 22.5° pitch (use speed square). Cut two 1×8 roof panels at 36" long × 12" wide. Assemble roof “sandwich”: gable + roof panel + gable + roof panel — then clamp and screw together. Leave 1" overhang on all sides for rain runoff.
4. Erect and secure walls to floor
Stand walls in sequence: back → right → front → left. Drill pilot holes through floor frame into bottom wall boards. Use 2½" screws every 12" along the base. Check plumb with level before final tightening. Add diagonal 1×3 braces inside corners — screwed only at top and bottom — for racking resistance. Skip nails: screws hold 3× longer in outdoor conditions.
5. Install roof and door
Lift roof assembly onto walls. Align overhangs evenly. Screw through roof panels into top wall plates using 2½" screws every 8". For the door, cut a 12"×14" opening centered on front wall, 4" up from floor. Attach a hinged ½" CDX door (13"×15") with stainless butt hinges — leave ¼" gap all around for seasonal swelling.
Tips & Common Mistakes
- Never skip the vapor barrier behind insulation — condensation inside walls causes cedar rot within 18 months.
- Avoid painting the interior: dogs chew, lick, and rub against surfaces. Use only pet-safe, zero-VOC sealants like AFM SafeChoice Clear Wood Finish.
- Don’t center the door — offset it 2" to the left so wind-driven rain glances off rather than blows straight in.
- Never insulate only the roof — heat rises, but cold enters through all six surfaces. Insulate floor, walls, and roof equally.
"Dogs lose body heat 20x faster than humans in cold, damp air — a well-insulated, draft-free dog house can reduce hypothermia risk by 40% during sub-40°F nights." — Dr. Linda Simon, veterinary behaviorist, Cornell University College of Veterinary Medicine, 2022
Finishing Touches
Fill all screw holes with exterior-grade wood filler. Sand smooth with 120-grit paper. Apply two coats of water-based acrylic stain (e.g., Cabot Australian Timber Oil) — it penetrates without peeling and resists UV fading. Let dry 12 hours between coats. Seal the interior floor and door threshold with three coats of marine-grade spar urethane (Minwax Helmsman) — it withstands urine splash and paw abrasion. Skip glossy paint: matte finishes hide scratches and don’t glare in sunlight.
How do I size a dog house for my 42-lb Labrador?
Measure your dog lying down: length from nose to tail base + 25%, width at widest point + 10%. For a 42-lb Lab, that’s ~36" L × 28" W × 26" H — exactly what this plan delivers. See our dog house size chart for breeds from Chihuahua to Great Dane.
Can I add electricity or heating safely?
Yes — but only with UL-listed, chew-proof wiring and thermostatically controlled pet heaters (like K&H Thermo-Pet). Never use space heaters or extension cords. Run conduit inside wall cavities, and install GFCI outlets. Review our pet-safe electrical guide before starting.
What’s the best insulation for extreme cold (below 0°F)?
Upgrade to 1" rigid polyisocyanurate (R-6.5 per inch) plus 1" closed-cell spray foam at seams. Total R-value ≥ 22. The U.S. EPA estimates that proper insulation cuts winter energy loss by 31% — critical when your dog spends 16+ hours outside daily.
How often should I reseal the exterior?
Every 18–24 months in full sun or high-rain zones; every 36 months under covered porches. Check annually for cracked caulk at roof-wall joints — that’s where leaks start. Re-coating takes 3 hours and costs under $12.
Can I convert this into a dual-dog house?
Easily — extend the floor frame to 48" wide, add a removable 12" partition (cedar, ¾" thick), and install two offset doors. Keep total volume under 12 ft³ per dog to maintain warmth. See our multi-dog house plans for airflow calculations and divider bracing specs.
Is ventilation really necessary in winter?
Absolutely. Without passive airflow, moisture from breathing and paws condenses inside, freezing overnight and promoting mold. Drill four 1¼" holes — two near the roof peak (under eaves), two 6" above floor on opposite walls — then cover with aluminum mesh (1/8" openings) to keep out pests.
This dog house isn’t just shelter — it’s climate control, safety engineering, and comfort designed around your dog’s biology. You’ll notice less shivering, fewer paw lifts in snow, and more relaxed naps after installation. And when friends ask where you got it? Just smile and say, ‘I built it.’ Then hand them this guide.