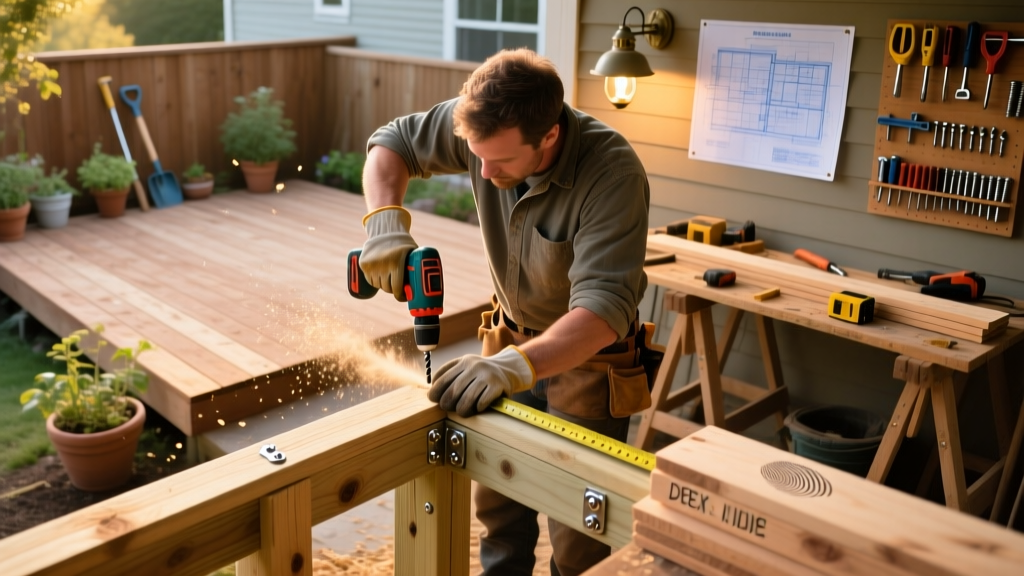
Building your own deck is one of the most rewarding DIY projects—especially when you nail the structural integrity, drainage, and aesthetics all in one go. This tutorial walks you through constructing a freestanding, ground-level 12' × 16' deck using pressure-treated lumber and concrete piers. It’s ideal for beginners with basic tool experience (drill, level, tape measure) and takes about 8–10 full days across two weekends plus curing time. No permits required in most municipalities for decks under 30 inches high and not attached to the house—but always verify with your local building department first.
Project Overview
| Category | Detail |
|---|---|
| Difficulty | Intermediate (requires precise measuring, digging, and fastening) |
| Time Required | 8–10 days (including 48-hour concrete cure, 24-hour joist acclimation) |
| Estimated Cost | $1,850–$2,300 (materials only; excludes rental tools) |
| Tools Needed | Rotary hammer, post-hole digger, 4-ft level, framing square, speed square, impact driver, circular saw, string line, laser level (optional but recommended) |
Tools & Materials
You’ll need both hand and power tools—and smart material choices matter more than you think. Pressure-treated #2 grade Southern Yellow Pine is affordable and widely available, but check for warping before loading it into your truck. For this size, we used 6×6 posts, 2×8 joists, and 5/4×6 decking boards—all rated for ground contact (UC4B).
| Item | Qty | Unit Cost | Total |
|---|---|---|---|
| 6×6 PT posts (10') | 8 | $32.98 | $263.84 |
| 2×8 PT joists (16') | 14 | $24.47 | $342.58 |
| 5/4×6 PT decking (16') | 42 | $11.27 | $473.34 |
| Concrete mix (60-lb bags) | 24 | $4.29 | $102.96 |
| Galvanized post anchors (4×4 or 6×6) | 8 | $12.97 | $103.76 |
| Deck screws (3" stainless steel) | 3 lbs | $19.99/lb | $59.97 |
| Gravel (½-ton delivery) | 1 | $145 | $145.00 |
| Subtotal | $1,491.45 | ||
- Rent a rotary hammer ($45/day) if drilling into existing concrete or rock-dense soil
- Buy joist hangers with nails included—don’t skimp on Simpson LU28s or equivalent
- Use a chalk line and speed square religiously—misaligned ledger or rim joist compounds errors down the line
Step-by-Step Instructions
1. Site Prep & Layout
Clear grass and topsoil to a depth of 3 inches across the entire footprint. Use batter boards and mason’s string to mark corners with 90° accuracy—verify diagonals match within ¼" (e.g., 12' × 16' = 20' diagonal). Stake corner posts and run string lines for outer perimeter and interior beam locations. Level each corner stake to establish consistent height—our deck sits 12" above grade at the highest point to ensure drainage away from the house.
2. Dig Footings & Set Piers
Dig eight 12"-diameter holes to frost depth (36" in Zone 5; check your frost depth map). Tamp bottom, add 4" gravel, then set 8"-diameter Sonotube forms. Pour concrete to 2" below final grade—use a laser level to keep tops dead-level across all piers. Let cure 48 hours before proceeding. According to the American Wood Council’s 2021 DCA6 Prescriptive Residential Wood Deck Construction Guide, piers must bear on undisturbed soil and extend below frost line to prevent heave.
3. Install Posts & Beams
Once concrete is cured, anchor 6×6 posts using galvanized adjustable post bases bolted to pier tops. Shim as needed, then plumb each post with a 4-ft level and brace temporarily. Cut and install double 2×8 beams (glued and screwed) atop posts—ensure beam ends overhang posts by 1" minimum for lateral stability. Check beam alignment with string line and confirm slope (¼" per 10') for water runoff.
4. Frame the Deck Surface
Attach 2×8 rim joists to beam ends with ½" carriage bolts. Then snap chalk lines every 16" on center for joist layout—start from one end and work toward the other, adjusting the last bay to avoid a sliver cut. Hang joists using galvanized joist hangers and 10d hot-dipped galvanized nails. Stagger joist end joints and block every 48" with 2×8 solid bridging for rigidity.
5. Lay & Fasten Decking
Let decking boards acclimate on-site for 48 hours. Start at the house side (or highest edge) and leave ⅛" gaps between boards using a hidden spacer (like a 16d nail). Face-screw every board at both ends and mid-span into joists using 3" stainless screws—pre-drill near ends to prevent splitting. Sweep away sawdust daily; embedded grit accelerates corrosion of fasteners.
Tips & Common Mistakes
Over 62% of deck failures cited by the International Code Council stem from improper post-to-footing connections or undersized fasteners (ICC Evaluation Service Report ESR-3592, 2023). Don’t skip these:
- Never set posts directly in concrete—they’ll rot from trapped moisture. Always use adjustable post bases.
- Avoid “toenailing” joists—use proper hangers. A single missed hanger can reduce load capacity by up to 40%.
- Don’t rely on string alone for leveling—verify with a laser or long straightedge. A 1/16" error per foot compounds to over 1" over 16 feet.
“If your rim joist isn’t perfectly square and level before decking starts, no amount of sanding or trimming will fix the ripple effect across the surface.” — Mike R., certified residential builder with 28 years’ deck experience
Finishing Touches
Wait at least 4 weeks after installation before sealing—this gives wood time to dry out fully. Clean with a sodium percarbonate-based cleaner (not pressure washers—they raise grain and embed debris). Apply two coats of semi-transparent oil-based stain like Cabot Australian Timber Oil—brush-on application ensures even penetration. Avoid film-forming paints or solid stains on ground-level decks; they trap moisture and peel within 12 months. Re-coat every 2–3 years, focusing on end grain and high-wear zones.
How do I attach a deck to my house safely?
You don’t—for a freestanding deck. If you’re building an attached version, you’ll need a properly flashed ledger board bolted into solid rim joist or wall studs—not siding or brick veneer. That requires engineering review in most jurisdictions. See our ledger board installation guide for full compliance steps.
Can I use composite decking instead of wood?
Absolutely—but adjust framing. Composite requires 12" o.c. joist spacing (vs. 16" for wood), and fastener patterns differ. Brands like Trex require hidden clip systems, which add $1.20–$2.10 per linear foot to material cost. Factor in 15% longer install time for learning curve.
Do I need a permit for a low deck?
Most U.S. municipalities exempt decks under 30" high and unattached from permitting—but zoning setbacks, property line restrictions, and HOA rules still apply. Pulling a permit adds ~$120–$250 but protects resale value. Check your building permit checklist before breaking ground.
What’s the best way to handle uneven ground?
For slopes under 6", step the deck—build separate 4' × 8' sections with 6" vertical risers between them. For steeper grades, consider a multi-level design with built-in seating or planter boxes. Never try to “level” with excessive shimming—it fails under load.
How often should I inspect my deck?
Twice yearly: spring (after winter moisture) and fall (before freeze-thaw cycles). Focus on post bases for rust, joist hangers for bent nails, and decking for soft spots or mold. The U.S. Consumer Product Safety Commission estimates 33,000+ deck-related injuries annually—most preventable with routine checks.
Can I build this in cold weather?
Yes—but concrete pours need ambient temps above 40°F for 48 hours, and wood moisture content must stay under 19%. Avoid installing decking when temps dip below freezing; boards shrink and gaps widen unpredictably. Wait until sustained 50°F+ daytime highs.
A well-built deck pays back in backyard joy, home value, and quiet evenings you didn’t have to hire someone to create. Take your time on layout and anchoring—the rest flows smoothly once the frame is true. And remember: every screw you drive straight, every gap you space evenly, and every coat you seal thoughtfully adds years to your deck’s life. Now grab your safety glasses and get started—you’ve got this.