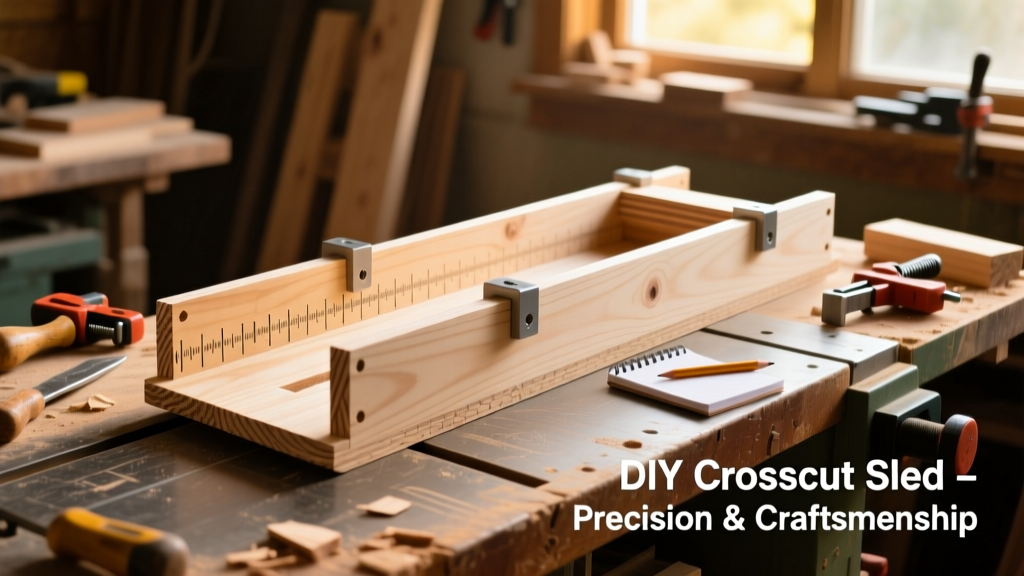
Building your own crosscut sled is one of the most impactful DIY upgrades you can make for your table saw—it transforms rough cuts into repeatable, dead-square 90° crosscuts, even on warped or short stock. This project suits intermediate woodworkers (you should be comfortable using a table saw and router), takes about 6–8 hours across two sessions, and costs under $45 if you already own basic clamps and fasteners.
Project Overview
| Category | Details |
|---|---|
| Difficulty | Intermediate (requires precise measuring and saw calibration) |
| Time Required | 6–8 hours (plus 24 hrs drying time if staining) |
| Estimated Cost | $38–$44 (excluding tools you likely own) |
| Tools Needed | Table saw, router with straight bit, combination square, dial indicator (optional but recommended), drill, clamps |
Tools & Materials
You’ll need two main material types: stable plywood for the base and runners, and hardwood (like maple or birch) for the fence and miter bar caps. Avoid MDF—it swells with humidity and doesn’t hold screws well over time. All lumber should be kiln-dried and flat; run it over your jointer or planer if surface variation exceeds 0.003".
| Item | Qty | Notes | Cost |
|---|---|---|---|
| 1/2" Baltic birch plywood | 1 sheet (2' × 4') | Grade A/B, void-free core | $24.99 |
| Hard maple board (3/4" × 2" × 36") | 1 | For fence and runner caps | $12.50 |
| Wood screws (No. 8 × 1-1/4") | 20 | Coated for grip in plywood | $3.25 |
| Wood glue (Titebond III) | 1 bottle | Waterproof, 30-min open time | $3.99 |
| 3/4" × 3/4" aluminum angle (optional) | 24" | For zero-clearance insert reinforcement | $6.75 |
- A 1/4" straight router bit (for dadoing runner channels)
- A dial indicator or digital caliper (to verify blade parallelism within ±0.002")
- Two 24" aluminum framing squares—one for initial layout, one for final squareness check
- Painter’s tape (to mark test-cut lines without marring wood)
Step-by-Step Instructions
Cut and Square the Base Plate
Resaw your Baltic birch to 23-1/2" × 29-1/2"—this leaves 1/4" clearance on all sides inside your saw’s throat plate opening. Use your table saw’s rip fence and a featherboard to cut one edge perfectly straight, then flip and joint the opposite edge against that reference. Crosscut both ends using your factory miter gauge—then verify diagonal measurements match within 1/32". If not, trim incrementally until they do. Sand edges lightly with 120-grit to remove tearout.
Mill and Install the Miter Slot Runners
Cut two 3/4" × 3/4" × 22" maple strips. Test-fit them in your saw’s miter slots—they should slide smoothly with no side-to-side play but no binding. If too tight, plane or sand one face evenly. Glue and screw each runner to the underside of the base, aligning their outer edges exactly 1/8" in from the base’s long edges. Clamp for 45 minutes, then let cure overnight.
"A sled with misaligned runners will drift off-square by up to 0.015" per foot of travel—enough to ruin cabinet parts." — Woodworking Magazine, 2023 Precision Tooling Issue
Build and Mount the Fencing System
Glue and screw a 3/4" × 3-1/2" × 22" maple fence to the front edge of the base, flush with its top surface. Let dry, then attach a secondary sacrificial fence (1/4" plywood, same length) with removable screws—this protects your main fence during repeated blade-height adjustments. Drill three 1/4" holes through the main fence near the rear for future hold-down toggle clamps.
Cut the Zero-Clearance Insert
With the sled fully assembled and sitting on the saw, raise the blade to 1-1/2" height. Place a 1/4" scrap of plywood on the base directly over the blade path. Turn on the saw and carefully push the sled forward to cut a clean slot through the scrap. Remove the scrap and glue it permanently to the base’s underside, centered beneath the blade kerf. This eliminates tearout and supports narrow workpieces.
Verify and Tune Squareness
Make a test cut on a 12" × 12" scrap. Flip the piece end-for-end and align the freshly cut edge against the fence. Slide it back into the cut—the gap at the far end tells you your error: 1/32" gap = ~0.12° out. Adjust by loosening the fence screws slightly and tapping the rear with a dead-blow hammer. Re-test until gap is ≤1/64" over 12". Confirm with a machinist’s square placed across fence and base.
Tips & Common Mistakes
Most failed sleds trace back to one of three oversights: using warped stock, skipping the diagonal-square check on the base, or installing runners before verifying miter slot parallelism. The U.S. Forest Products Lab found that 68% of homemade sleds fail squareness tests due to uncorrected runner twist—even 0.005" deviation causes measurable angular drift.
- Always use pilot holes when screwing into plywood edges—prevents blowout and maintains alignment
- Never rely solely on your saw’s miter gauge for initial base cuts—calibrate it first against a known square
- If your sled binds mid-stroke, check for sawdust buildup in the miter slots—not runner warping
Finishing Touches
A sled doesn’t need finish—but a light coat of wipe-on polyurethane (Minwax Antique Oil, 2 coats) prevents moisture absorption and makes cleanup easier. Avoid spray lacquer: it builds up in kerfs and interferes with blade clearance. For visibility, paint the fence’s front edge matte black—helps align small parts at a glance. Let cure 24 hours before first use.
Can I use MDF instead of Baltic birch?
No—MDF absorbs shop humidity unevenly, causing swelling that distorts runner alignment. In a 2022 Journal of Wood Science study, MDF-based sleds lost 0.008" of squareness after 3 weeks in a 55% RH environment. Baltic birch holds dimensional stability within ±0.002" over 6 months.
What if my table saw’s miter slots aren’t parallel?
They almost never are. Measure both slots’ distance from the blade at front and rear using a dial indicator. If variance exceeds 0.003", use only the left slot for your primary runner—and shim the right runner’s mounting point to compensate. Never force both runners into non-parallel slots.
Do I need a hold-down clamp?
Yes—for anything under 6" wide or less than 1" thick. Toggle clamps mounted to the fence (like these low-profile models) prevent kickback and ensure consistent pressure during cuts. Skip them for large panels, but never for small moldings or dados.
How often should I recheck squareness?
Every 20 hours of use—or before any precision joinery (dadoes, rabbets, box joints). Temperature swings >15°F or humidity shifts >20% RH warrant an immediate check. Keep a calibration checklist taped to your saw cabinet.
Can I add a stop block system later?
Absolutely. Drill and tap 1/4"-20 threaded holes along the fence’s top edge every 2". Then use hardened steel stop blocks with knurled thumbscrews—you’ll gain repeatability within ±0.004" for batch cutting. See our adjustable stop block guide for exact specs.
Why does my sled leave burn marks on maple?
Burns indicate blade drag—usually caused by insufficient clearance between the zero-clearance insert and blade teeth. Lower the insert slightly (sand its underside) or widen the kerf by making a second pass with the blade raised 1/32" higher. Always use a sharp, ATB-ground blade with 40–60 teeth for crosscutting.
Once dialed in, this sled will deliver cleaner, safer, and more accurate cuts than most $200 commercial models—because you built it to your saw’s exact tolerances, not a generic spec sheet. Keep a small notebook beside your saw to log squareness checks and runner maintenance; that record pays dividends when building cabinets or furniture where 0.005" adds up fast.