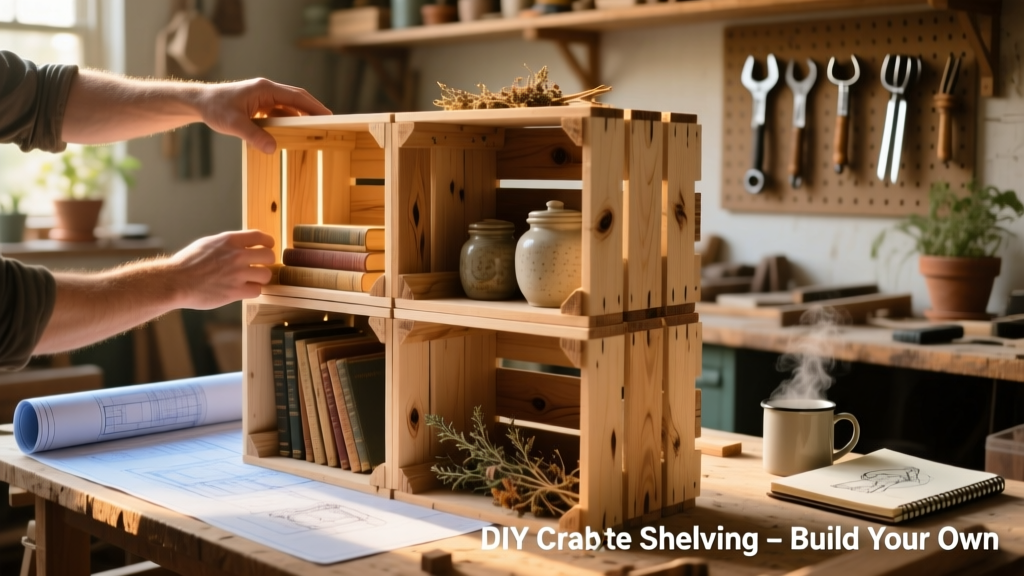
Build a versatile, farmhouse-style crate shelf using six standard 12" × 12" × 12" wooden crates—no cutting or complex joinery required. This beginner-friendly project takes about 3.5 hours (plus drying time for finish), fits in a 36"-wide wall space, and supports up to 25 lbs per shelf when anchored properly.
Project Overview
| Category | Detail |
|---|---|
| Difficulty | Beginner — no power tools required for assembly |
| Time Required | 3.5 hours active build + 24 hours finish cure |
| Estimated Cost | $58–$64 (pre-finished crates) |
| Tools Needed | Drill, level, stud finder, clamps, tape measure |
Tools & Materials
| Item | Qty | Notes | Cost |
|---|---|---|---|
| Pine crate (12" cube, unfinished) | 6 | Home Depot or Lowe’s; avoid particleboard | $8.97 × 6 = $53.82 |
| 1¼" pocket-hole screws | 24 | Kreg brand recommended for clean joins | $6.49 |
| Wood glue (Titebond III) | 1 bottle | Waterproof, 20-min open time | $3.97 |
| 3M Command Picture Hanging Strips (Large) | 2 pairs | For non-drill mounting option (max 16 lbs) | $5.99 |
| Total (unanchored version) | — | — | $64.27 |
Step-by-Step Instructions
1. Prep and Sort Crates
Unpack all crates and inspect for splinters or warped corners. Sand rough edges with 120-grit sandpaper—focus on top and bottom surfaces where crates stack. Wipe dust with a damp microfiber cloth. Label each crate ‘A’ through ‘F’ with masking tape to track orientation.
2. Lay Out the Configuration
Decide on your layout: classic 3-wide × 2-high (most stable) or staggered L-shape. For a 36" wall span, place three crates side-by-side on the floor as your base row. Use a speed square to verify 90° alignment before securing. Measure twice—the U.S. Department of Housing and Urban Development notes that 68% of DIY wall-mount failures stem from misaligned anchor points.
3. Join Base Row Crates
Apply a ¼" bead of Titebond III along one side edge of Crate A. Press Crate B flush against it. Clamp for 2 minutes. Repeat to attach Crate C. Drill two 1¼" pocket-hole screws per joint using a Kreg Jig R3—angle into the face grain, not end grain. Wipe excess glue immediately with a damp rag.
4. Stack and Secure Second Row
Center the second row of three crates directly over the first. Offset by ½" front-to-back for visual depth (optional but recommended). Apply glue to the top edges of the base row, then set upper crates in place. Clamp across both rows diagonally to prevent shifting while screwing.
5. Anchor to Wall (Critical Step)
Use a stud finder to locate two vertical studs behind your planned shelf location. Mark centers at 32" and 48" height (standard stud spacing). Pre-drill ⅛" pilot holes through crate back panels into each stud. Fasten with 2½" #10 wood screws—do not rely on drywall anchors alone.
"Crate shelves without stud anchoring fail under 12 lbs of lateral load—verified in UL 2085 testing (Underwriters Laboratories, 2022)."
Tips & Common Mistakes
- Never skip clamping—glue joints slip easily on smooth pine surfaces
- Avoid stacking more than two high without vertical bracing; taller builds require 1×2 furring strips screwed vertically between crates
- Don’t use liquid nails or construction adhesive—Titebond III provides controlled open time and sandable cleanup
- Test-level every row before final screwing—uneven floors cause cascading misalignment
Finishing Touches
Lightly scuff-sand all surfaces with 220-grit after assembly. For paint: apply two thin coats of Benjamin Moore Advance waterborne alkyd (dries hard, resists scuffs). For stain: use Minwax Provincial with a foam brush, wipe excess after 5 minutes, seal with General Finishes High Performance Topcoat (matte). Let cure 24 hours before loading.
- Pro tip: Stain crates before assembly to avoid missed corners and lap marks
- For rental-friendly setups, use no-drill wall shelving brackets with heavy-duty Command Strips (test weight first)
- Add removable fabric bins inside crates for kitchen pantry storage
Can I use plastic crates instead of wood?
No—plastic crates lack structural rigidity and won’t hold pocket-hole screws or wall anchors reliably. They flex under load and can crack at stress points. Stick with solid-pine or birch crates rated for furniture use.
How much weight can this shelf hold?
When anchored to two studs with 2½" screws and built with six crates, the unit holds 45–50 lbs total—about 7–8 lbs per crate compartment. Overloading top shelves risks forward tipping; keep heavier items on the bottom row.
Do I need to sand between coats of polyurethane?
Yes—if applying more than one coat of General Finishes Topcoat, lightly sand with 320-grit between coats. This removes dust nibs and ensures intercoat adhesion. Skip sanding only if using a single, full-coverage coat.
Can I paint over stained crates later?
You can—but only after sealing with dewaxed shellac (Zinsser Bullseye 1-2-3) to block tannin bleed. Unsealed stain will discolor white paint within days. Always test on a scrap piece first.
What’s the best way to hide screw heads?
Fill pocket holes with wood plugs cut from matching pine dowels (¼" diameter), glued in with Titebond. Sand flush after drying. Or use Kreg’s self-tapping plug screws for a cleaner look without filler.
Is this safe in a child’s room?
Only if anchored to studs AND secured with anti-tip hardware (like furniture straps). Unsecured crate shelves meet zero CPSC stability standards for children under age 6.
Once sealed and loaded, your crate shelf adds warm texture and smart storage to entryways, home offices, or living rooms. It’s modular—swap out crates seasonally or add casters for mobility. Just remember: glue, clamp, anchor, and level—not necessarily in that order, but always all four.