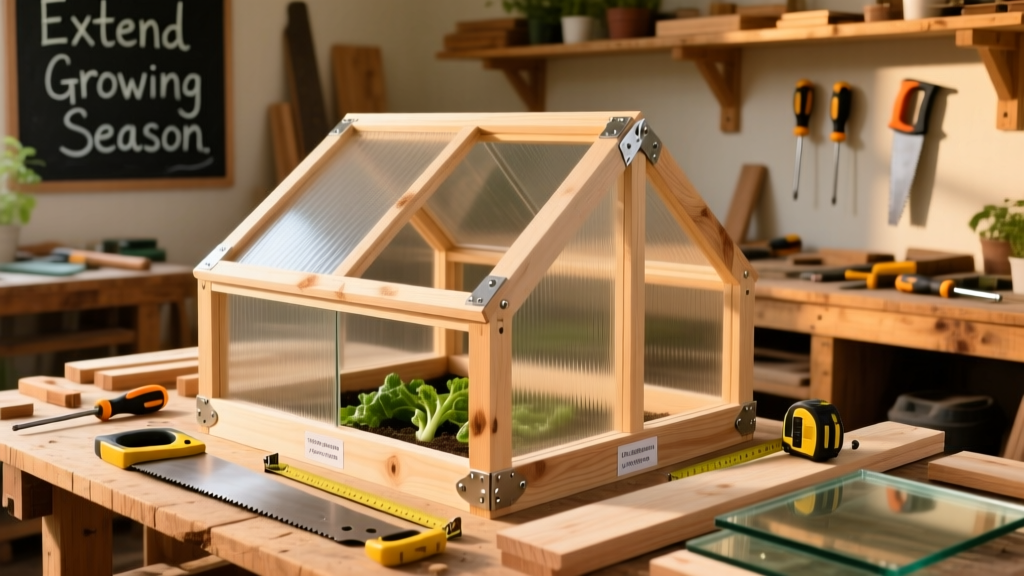
Build a functional cold frame in one weekend using basic carpentry skills and materials you can source locally or salvage. This project is ideal for gardeners with beginner-to-intermediate woodworking experience—no power tools required, though they speed things up. Plan for 6–8 hours of hands-on work across two days, plus optional drying time for finishes.
Project Overview
| Category | Details |
|---|---|
| Difficulty | Beginner (basic sawing, drilling, and screwing) |
| Time Required | 6–8 hours active build time + 1 hour prep |
| Estimated Cost | $45–$95 (lower end using reclaimed wood/glass) |
| Tools Needed | Hand saw or circular saw, drill/driver, tape measure, clamps, square, safety glasses |
Tools & Materials
You’ll need two main material categories: structural framing and glazing. Reclaimed windows are cost-effective and historically authentic—the U.S. EPA estimates that 30% of residential construction debris is reusable wood and glass (2022 Building Materials Recovery Report).
| Item | Qty | Notes | Cost |
|---|---|---|---|
| 1×6 pine boards (8 ft) | 4 | For side walls and base; pressure-treated not needed if elevated on bricks | $28 |
| 1×2 pine boards (8 ft) | 2 | For top frame and bracing | $7 |
| Exterior-grade plywood (1/2") | 1 sheet (2×4 ft) | For back wall and lid support panel | $14 |
| Reclaimed double-pane window (24"×36") | 1 | Or new polycarbonate sheet (UV-protected, 0.08" thick) | $0–$32 |
| Deck screws (2", exterior) | 1 box | Stainless or coated; avoid drywall screws | $6 |
| Hinges (rust-resistant, 3") | 2 | Butt hinges preferred over strap hinges for durability | $5 |
| Hook-and-eye latch | 1 set | For secure lid closure | $2 |
- Optional but recommended: 1" closed-cell foam weatherstripping for lid seal
- Optional: 2–4 firebricks or dark river rocks inside base for thermal mass
- Don’t skip: A 4-ft level and carpenter’s square—they prevent warped frames that won’t seal properly
Step-by-Step Instructions
Cut and Dry-Fit All Wood Pieces
Using your measurements (standard size: 36" L × 24" W × 12" front height × 18" back height), cut side panels, front/back walls, and base. Mark each piece clearly (e.g., "Front Left", "Back Top"). Dry-fit without screws first—check for squareness by measuring diagonals; they must match within 1/8". Adjust before drilling.
Assemble the Base and Side Walls
Start with the rectangular base: join four 1×6s into a 36"×24" box using 2" screws every 8". Then attach side walls (two trapezoidal pieces, 12" high at front, 18" at back) to the base with countersunk screws. Use clamps to hold while driving screws. Confirm vertical alignment with your level before moving on.
Install Back and Front Walls
The back wall is taller (18") and vertical; the front wall is shorter (12") and angled slightly inward (5°) to shed rain and maximize sun exposure. Attach both to side walls and base using 2" screws. Reinforce corners with 1×2 braces screwed into interior faces—this prevents racking when the lid is opened.
Build and Attach the Lid Frame
Cut a 1×2 rectangle matching the opening (36"×24"). Add cross-braces (one horizontal, one diagonal) to prevent sagging. Screw the lid frame together first, then attach your glazing—either by gluing rubber gasket strips and pressing glass into place, or by screwing polycarbonate through pre-drilled pilot holes with neoprene washers.
"A cold frame isn’t just a box—it’s a microclimate engine. Even 5°F of passive gain extends spring planting by 10–14 days," says Dr. Linda Chalker-Scott, WSU Extension Horticulturist (2021, Cold Frames & Hotbeds).
Mount the Lid with Hinges and Latch
Position the lid centered on the back edge. Predrill hinge holes, then screw hinges to both lid frame and back wall. Test swing clearance—ensure no binding on side walls. Install hook-and-eye latch near the front center. Add weatherstripping along the lid’s underside perimeter for an airtight seal against the front wall.
Tips & Common Mistakes
- Never use standard single-pane glass—it cracks under thermal stress and offers poor insulation.
- Avoid painting the interior wood black: it absorbs heat but also radiates it rapidly at night. Instead, line interior walls with reflective foil-faced foam board (R-4.5 per inch).
- Don’t ignore ventilation: prop the lid open with a wooden stick on warm days. Temperatures above 75°F will cook seedlings—even in early spring.
- Skipping the thermal mass step? You’re losing up to 40% of overnight heat retention. Place 3–4 dark bricks or river stones inside the base before adding soil.
Finishing Touches
Exterior surfaces benefit from protection—but skip interior staining. Use an exterior-grade water-repellent preservative like Thompson’s WaterSeal or a clear cedar-tone acrylic stain. Apply two coats, letting each dry 4 hours between. Avoid oil-based paints on the lid frame—they trap moisture and warp thin 1×2s. For longevity, reseal annually in late fall after cleaning debris from seams.
How deep should the soil be inside the cold frame?
Aim for 6–8 inches of well-draining potting mix. Deeper beds retain more heat but reduce air volume—critical for humidity control. Raised beds drain faster and warm quicker than ground-level soil, so keep the frame elevated on bricks or pavers.
Can I use a cold frame year-round?
In USDA Zones 5–8, yes—with modifications. In winter, insulate the north and east walls with rigid foam board (R-5 minimum). In summer, replace the lid with 30% shade cloth and add a small solar-powered fan for airflow. See our how to build a solar ventilator for passive cooling.
What’s the best orientation for maximum sun exposure?
Face the cold frame due south in the Northern Hemisphere. Tilt the lid 15–20° toward the equator (use shims or adjustable legs) to catch low-angle winter sun. Avoid shading from fences or trees—especially between 10 a.m. and 2 p.m., when 70% of daily solar gain occurs.
Do I need to water plants differently in a cold frame?
Absolutely. Condensation builds up quickly, so water only in the morning—and only when the soil surface is dry to the touch. Overwatering causes damping-off disease. Use a moisture meter or finger-test 1" down. For reference, see our soil moisture meter guide.
Can I automate ventilation?
Yes—with a simple $25 bimetallic vent opener (like the ones used in greenhouses). Mount it on the lid and adjust the temperature threshold (typically 65–75°F). It requires zero electricity and lasts 5+ years. Pair it with a max-min thermometer to track performance.
How do I clean and maintain my cold frame?
Twice yearly: scrub exterior with vinegar-water (1:1) to remove algae and mildew; rinse thoroughly. Check hinge screws and latch function. Replace weatherstripping if cracked or compressed >30%. Store glazing indoors over winter if using salvaged glass—thermal shock from freezing rain can cause hairline fractures.
With this cold frame, you’ll harvest spinach in March and kale in November—no heating bills, no complex systems. It’s quiet, reliable, and deeply satisfying to open that lid on a frosty morning and find green life thriving. Once built, it pays for itself in extended harvests and saved seed-starting costs within two seasons. For more seasonal projects, explore our build a hoop house guide next.