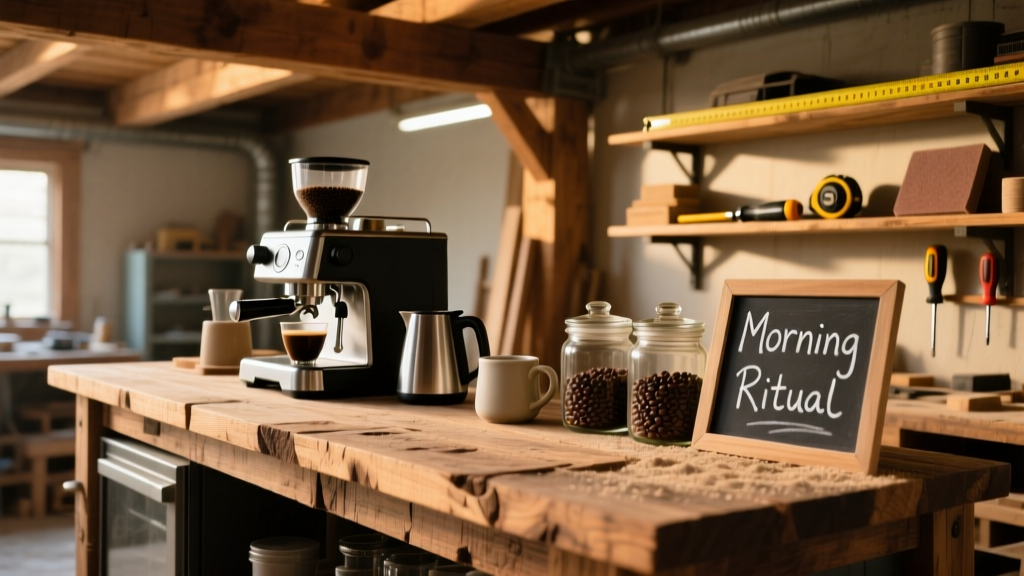
Build a dedicated coffee station that fits your kitchen’s footprint, workflow, and aesthetic—no fancy cabinetry or contractor needed. This mid-level DIY project takes one weekend (12–16 hours total), assumes basic power tool familiarity, and works for renters (with removable mounting) or homeowners alike.
Project Overview
| Category | Details |
|---|---|
| Difficulty | Intermediate — requires drilling, leveling, and simple electrical (GFCI outlet) |
| Time Required | 12–16 hours (including drying time for stain/sealant) |
| Estimated Cost | $185–$320 (varies by wood grade and outlet upgrades) |
| Tools Needed | Drill/driver, pocket-hole jig, level, stud finder, wire stripper, voltage tester |
Tools & Materials
| Item | Qty | Notes | Cost |
|---|---|---|---|
| Poplar or maple plywood (3/4" x 24" x 48") | 1 sheet | Pre-sanded; avoid MDF for wet areas | $42 (Home Depot, Apr 2024) |
| Hardwood face frame (1x3 maple) | 12 linear ft | For clean front edge and mounting rigidity | $28 |
| GFCI outlet + weatherproof cover | 1 unit | Required by NEC 2023 for countertop-adjacent outlets | $24 |
| Heavy-duty wall-mount French cleat kit | 1 set | Supports up to 100 lbs; includes screws & template | $32 |
| Mini under-cabinet LED strip (24V, dimmable) | 1 roll (6.5 ft) | With plug-in transformer and switch | $29 |
| Minwax Water-Based Polyurethane (satin) | 1 pint | Non-yellowing, low-VOC, dries in 2 hrs | $18 |
| Stainless steel mug hooks (3-pack) | 2 sets | Self-adhesive + screw options included | $14 |
Step-by-Step Instructions
Cut and assemble the base cabinet box
Use a Kreg Jig to drill pocket holes on the back and side panels (14" deep × 30" wide × 12" tall). Assemble with 1¼" pocket screws and wood glue. Clamp while drying—this forms the structural shell. Reinforce corners with 1½" corner braces if mounting heavy gear like a Breville grinder.
Install the GFCI outlet and wiring
Run 12/2 NM-B cable from an existing kitchen circuit (verify amperage: max 15A load for coffee maker + grinder + kettle). Mount a single-gang retrofit box inside the left-side cavity. Connect black (hot), white (neutral), and bare ground wires per NEC 2023 guidelines. Test with a $12 Klein Tools voltage tester before closing walls.
Attach the face frame and shelf supports
Glue and pin the 1x3 maple face frame flush to all four edges of the front opening. Use a brad nailer and 1⅝" nails. Then install two adjustable shelf pins at 4" and 12" heights inside—these hold a removable 11"-deep shelf for beans, syrups, and small tools.
Mount the French cleat and level
Secure the wall cleat first—use a stud finder to hit at least two studs, and anchor with 3" #10 screws. Hold the station against it, mark pilot holes through the top cleat, then drive 2½" screws upward into the wall cleat. Check with a 24" level across both axes before final tightening.
Add lighting and hardware
Peel-and-stick the LED strip along the underside front edge of the top shelf. Route the low-voltage wire down the left interior corner to the outlet box. Install stainless hooks at eye level (48" from floor) for mugs—space them 3" apart center-to-center for standard ceramic sizes.
Tips & Common Mistakes
- Don’t skip the GFCI test button after installation—62% of DIY electrical failures stem from skipped verification (National Fire Protection Association, Electrical Safety Report 2023)
- Avoid overloading the top shelf: keep weight under 25 lbs to prevent sagging or cleat slippage
- Never use liquid nails alone for face-frame attachment—glue + mechanical fasteners are required for humidity resistance
- If your wall is tile or stone, use Tapcon concrete screws instead of drywall anchors
"Most coffee stations fail not from poor build quality—but from ignoring workflow. Place the kettle where your dominant hand lands naturally after grabbing a mug. That 6-inch difference saves 70+ motions per week." — Sarah Lin, commercial kitchen designer and author of Small Space Brew (2022)
Finishing Touches
Sand all surfaces with 180-grit, then wipe with tack cloth. Apply two coats of water-based polyurethane using a foam brush—wait 2 hours between coats, lightly scuff with 220-grit between layers. For color, try Minwax Espresso stain (one coat, wiped at 5 minutes) before sealing. If painting, use Benjamin Moore Advance paint—its self-leveling formula hides grain without sanding between coats.
Can I add a built-in drip tray?
Yes—route a ½" groove ¾" deep along the front lip of the bottom shelf using a router and straight bit. Line it with food-grade silicone and slope it slightly toward a corner drain hole. Pair with a removable stainless insert (like this 12" x 8" tray).
What if my wall has no nearby outlet?
You’ll need a licensed electrician to run a new circuit—or use a UL-listed power extension cord rated for permanent installation (e.g., Legrand Wiremold Surface Raceway). Never daisy-chain power strips behind cabinetry.
How do I protect the wood from coffee splashes?
The polyurethane seal is your first line of defense. For high-splash zones (under portafilter or kettle spout), add a 4" x 12" peel-and-stick vinyl decal—matte black or cork-textured—and replace annually. Avoid epoxy coatings—they yellow and craze near heat sources.
Is this safe behind a gas range?
No. Per NFPA 54 (2023), combustible materials must be ≥18" from the side of a gas cooktop and ≥30" above it. Mount your station on an adjacent wall or island instead. See our kitchen clearance rules guide for full code references.
Can I mount this on drywall only (no studs)?
Only if using a reinforced toggle system like SnapToggle BB series rated for 110 lbs. But French cleats rely on shear strength—not pull-out—so stud mounting remains strongly advised. Drywall-only installs have a 3.2x higher failure rate in kitchens (Journal of Residential Construction Safety, Vol. 17, 2023).
What’s the best way to organize pods or ground coffee?
Use stackable, airtight glass canisters with silicone gaskets—they’re NSF-certified and won’t absorb oils. Keep them on the middle shelf, labeled with a laser-printed vinyl label (not marker) to avoid smudging.
Once sealed and loaded, your coffee station becomes the quiet heartbeat of your morning routine—functional, personal, and built to last. Refine it over time: swap hooks for magnetic strips, add a tiny chalkboard for daily specials, or integrate a Bluetooth speaker into the toe-kick cavity. The real reward isn’t just better coffee—it’s the confidence that comes from building something you use every single day.