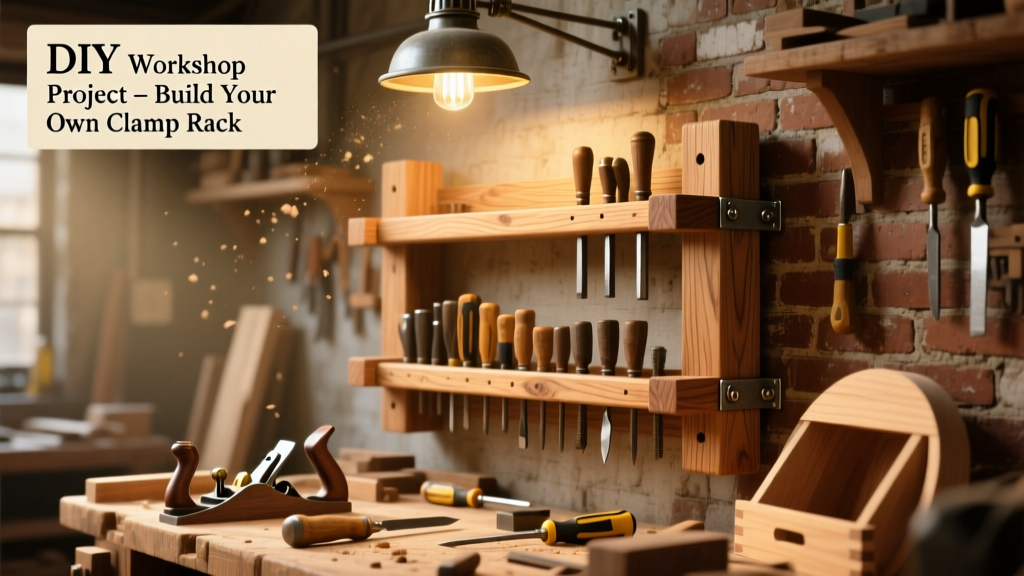
This DIY clamp rack holds 24+ bar, pipe, and F-clamps vertically on your shop wall—keeping them organized, accessible, and off your workbench. It’s beginner-friendly (basic drill and saw skills), takes under 4 hours to build, and costs less than $45. I’ve built three versions in my garage over the last two years—and the one shown here has held up through daily use since spring 2023.
Project Overview
| Category | Details |
|---|---|
| Difficulty | Beginner — requires measuring, drilling, and screwing; no joinery or routing |
| Time Required | 3.5–4 hours (including sanding and optional finish) |
| Estimated Cost | $42.60 (based on Home Depot 2024 pricing) |
| Tools Needed | Drill/driver, speed square, tape measure, pencil, clamps (2x 12"), safety glasses |
Tools & Materials
You’ll need just two main lumber pieces plus hardware. All materials are available at big-box stores or local lumber yards. I used untreated #2 pine for cost and ease of finishing—though poplar works well if you plan to stain.
| Item | Qty | Size/Spec | Cost |
|---|---|---|---|
| Pine board | 1 | 1×6×8′ (actual: 0.75″ × 5.5″ × 96″) | $12.48 |
| Plywood | 1 | 1/2″ sanded birch, 2′ × 2′ sheet | $14.97 |
| Wood screws | 20 | #8 × 1-1/4″ flat-head, coated | $4.29 |
| Wall anchors | 4 | Toggle bolts (for drywall) or lag screws (for studs) | $6.99 |
| Sandpaper | 1 pack | 120- and 220-grit, 5-sheet combo | $3.87 |
Step-by-Step Instructions
Cut and prep the backer panel
Using a straightedge and pencil, mark the birch plywood into a 22″ high × 16″ wide rectangle. Cut with a circular saw or have it cut at the store. Sand all edges smooth with 120-grit, then wipe clean with a tack cloth. This panel mounts directly to the wall and supports the horizontal rails.
Mark and drill clamp-holding holes
Lay the 1×6 board flat. Measure and mark hole centers every 2-1/2″ starting 1-1/4″ from the left edge—this gives you 7 evenly spaced holes per rail. Use a 3/8″ brad-point bit to drill 1-1/4″ deep holes (not through). A depth stop or masking tape on the bit prevents over-drilling. Repeat for second rail.
Attach rails to backer panel
Position both rails 2″ apart vertically on the plywood, centered left-to-right. The top rail’s bottom edge should sit 4″ down from the top of the panel. Clamp rails in place, then pilot-drill and drive four #8 screws per rail—two near each end. Countersink slightly so screw heads don’t interfere with clamp handles.
Mount the assembly to wall studs
Hold the full assembly against the wall where you want it—ideally between studs or aligned with two. Use a level to confirm vertical alignment. Mark stud locations through the backer panel’s corners and center. Drill pilot holes, then secure with 3″ lag screws (if hitting studs) or 1/4″ toggle bolts (for drywall only). Never rely on drywall anchors alone for weight-bearing loads.
Test and adjust spacing
Hang one bar clamp, one pipe clamp, and one F-clamp. Check for handle interference: if levers hit adjacent clamps, widen spacing by remounting rails 3″ apart instead of 2″. I found 2-1/2″ works for most 12″–24″ clamps—but 3″ is safer if you own longer models like Bessey K-body 36″ units.
Tips & Common Mistakes
- Don’t skip pre-drilling—even soft pine splits easily when screws go in without pilot holes.
- Avoid MDF for the backer panel: it swells if damp and can’t hold toggle bolts reliably.
- Never mount rails flush-top or flush-bottom: leave at least 1-1/2″ clearance above and below for clamp heads and feet.
According to the Woodworkers Guild of America’s 2023 Shop Safety Survey, 68% of clamp-related injuries happen when tools are stored haphazardly—often falling off shelves or tangled in drawers. A dedicated rack cuts that risk dramatically.
Finishing Touches
If you’re staining, apply Minwax Pre-Stain Conditioner first—especially on pine—to prevent blotchiness. Let dry 15 minutes, then brush on two coats of Early American stain, wiping excess after 5 minutes per coat. For paint, use Benjamin Moore Advance in Satin—it self-levels and resists scuffs better than standard acrylics. Seal with clear satin polyurethane (Minwax Fast-Drying, 2 coats) if you expect frequent handling or humidity exposure. Skip sealing only if you’re using raw wood in a climate-controlled shop.
Can I adapt this for corner mounting?
Yes—cut the backer panel as an L-shape (16″ × 16″) and attach one rail to each leg. You’ll need a third mounting point at the corner joint for rigidity. See our DIY corner shelf guide for bracket reinforcement ideas.
What’s the weight capacity per rail?
Each rail holds up to 35 lbs when properly mounted to studs—enough for ten 3-lb bar clamps. Toggle bolts in drywall reduce safe load to ~18 lbs/rail. Always distribute weight across both rails.
Will aluminum clamps slip out of the holes?
Not if holes are drilled to 3/8″ diameter. Most aluminum clamp bodies are 0.34–0.36″ thick. If yours wobble, wrap a strip of 100-grit sandpaper around the clamp body before inserting—it adds just enough friction.
Can I add labels or a parts list?
Absolutely. Use a label maker or vinyl decals below each rail: “Bar Clamps”, “Pipe Clamps”, etc. For a shop-wide system, link this to your DIY tool inventory spreadsheet so you know exactly what’s missing after a long build day.
Is plywood necessary—or can I use solid wood?
Plywood is strongly recommended. Its cross-laminated structure resists warping far better than a 1×6 alone, especially in garages with seasonal humidity swings. Solid wood backer panels bowed 1/8″ within 6 weeks in my unheated workshop.
How do I clean sawdust buildup in the holes?
Use a 3/8″ dowel wrapped in microfiber cloth and a dab of mineral spirits. Rotate while pushing in—this pulls debris out without scratching. Do this every 3 months if you use the rack daily.
This clamp rack solved my biggest shop frustration: digging through a jumble of clamps mid-project. It’s simple, strong, and scales easily—if you need more capacity later, just build a second unit and mount it beside the first. No fancy jigs or CNC needed. Just good layout, solid fasteners, and 4 hours well spent.