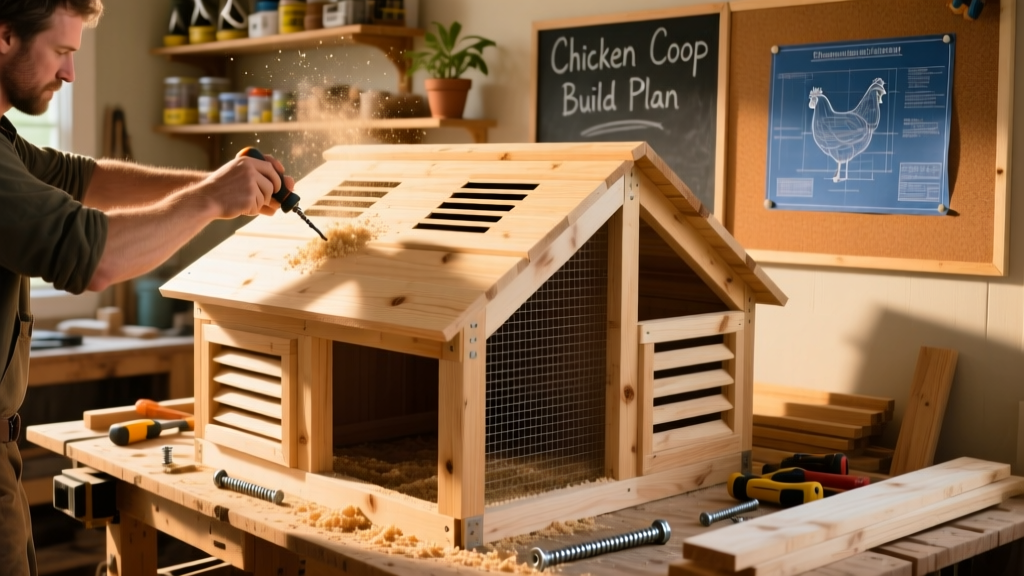
You’re building a 4-foot-by-6-foot, floor-standing chicken coop that houses 4–6 standard hens — fully insulated in colder zones, naturally ventilated in warmer ones, and built to resist raccoons, rats, and aerial predators. This is a weekend-plus project (12–16 hours total) requiring beginner-to-intermediate carpentry skills — think measuring twice, cutting once, and knowing when to pre-drill.
Project Overview
| Category | Details |
|---|---|
| Difficulty | Beginner-friendly with help; intermediate if working solo |
| Time Required | 12–16 hours over 2–3 days (including drying time for sealant) |
| Estimated Cost | $280–$410 (using pressure-treated base + cedar siding) |
| Tools Needed | Cordless drill, circular saw, level, tape measure, clamps, safety glasses |
Tools & Materials
Gather everything before cutting — this avoids mid-build trips to the hardware store. All lumber is untreated except the 4×4 skids (pressure-treated for ground contact). We specify actual dimensions (e.g., 1×6 = 0.75" × 5.5") so your cuts land true.
| Item | Qty | Specs | Cost |
|---|---|---|---|
| Pressure-treated 4×4 | 2 pcs | 8 ft long | $24.98 |
| Cedar 1×6 boards | 14 pcs | 8 ft long (siding & roosts) | $152.60 |
| Plywood (½" CDX) | 2 sheets | 4×8 ft (floor & roof sheathing) | $42.00 |
| Hardware cloth (¼" mesh) | 1 roll | 24" × 50' (predator-proofing) | $39.99 |
| Galvanized screws | 2 lbs | #8 × 1¼" & #8 × 2½" | $14.75 |
| Hinges & latch | 1 set | Heavy-duty galvanized, 2-hinge door kit | $18.49 |
| Total (low end) | $292.81 | ||
Step-by-Step Instructions
1. Build the base frame and attach skids
Start with two 4×4 skids cut to 72" (6 ft). Lay them parallel, spaced exactly 48" apart (inside-to-inside). Screw a 2×4 rim joist (48") across each end using three #8 × 3" screws per joint. Then add three 2×4 cross supports at 12", 36", and 60" along the length — these keep the plywood floor rigid. Pre-drill all screw holes to prevent splitting.
2. Install the floor and anchor to ground
Cut one 4×8 sheet of ½" CDX into two 48" × 72" panels. Place one panel on the frame, flush with all edges. Secure with #8 × 1¼" screws every 6" along joists. Drill pilot holes through the frame into the skids and drive 3" lag bolts at each corner — this prevents lateral shift. Level the entire assembly before anchoring.
3. Frame walls with proper vent placement
Build four wall frames: two 48"-wide side walls (height = 42") and front/back walls (72" wide × 42" tall). Use 2×3 studs spaced 16" on-center. Leave a 12" × 18" opening centered 18" up from the floor on *one* side wall — this becomes your passive intake vent. Cover it later with hardware cloth and a removable cedar baffle.
4. Sheathe, insulate, and add hardware cloth
Nail ½" CDX to exterior walls (not the floor or roof yet). Cut 2"-deep rabbets along top edges of side walls to accept roof overhang. Staple ¼" hardware cloth behind *every* exterior opening — windows, vents, and the pop door — using ½" staples every 2". According to the Predator-Proof Chicken Coop guide, raccoons can pull apart ½" mesh — so ¼" is non-negotiable.
5. Assemble walls, install roof, and hang door
Stand walls upright and screw them together with 3" screws at corners. Then lift the roof frame (2×4 rafters @ 24" OC, 12/12 pitch) and fasten with hurricane ties. Sheathe with second CDX sheet, then cover with 30-lb felt and asphalt shingles (or corrugated metal). Hang the 18" × 24" pop door with two heavy-duty hinges and a spring-loaded latch — test it 10 times before final tightening.
Tips & Common Mistakes
Avoid these pitfalls — they cause drafts, dampness, or escape routes:
- Never use chicken wire alone — it stops neither raccoons nor hawks. Always back it with hardware cloth or weld mesh.
- Don’t skip the 1" air gap between insulation and interior wall sheathing — trapped moisture causes rot in under 18 months.
- Roosts must be 2"–4" in diameter and mounted 12"–18" above floor — too low invites droppings on backs; too high strains legs.
- Bedding depth matters: minimum 3" pine shavings, refreshed weekly. Deep litter method requires 6"+ and monthly turning.
"Ventilation isn’t about open windows — it’s about consistent, low-level airflow *above* roost height. Aim for 1 sq ft of vent area per 10 sq ft of floor space, split evenly between intake (low) and exhaust (high)." — Dr. Karen Davis, University of Georgia Poultry Extension, 2022
Finishing Touches
Stain or paint only *exterior* surfaces — never interior walls or roosts. Cedar siding accepts oil-based semi-transparent stain best; apply two coats with a brush, letting dry 24 hours between. For longevity, seal all cut ends of pressure-treated skids with copper naphthenate (not regular paint). Add a 2" overhang to the roof’s front edge to shield the pop door from rain — extend rafters 2" beyond the front wall before sheathing.
- Use a water-repellent wood sealer on the floor’s top surface only — not the underside.
- Paint the door interior flat black — reduces glare and helps chickens recognize entry/exit.
- Attach a 12"-wide scrap-wood ramp with ¼" gaps between treads — prevents slipping in wet weather.
How many chickens fit in a 4×6 coop?
Four large breeds (Rhode Island Reds, Orpingtons) or six bantams. Never exceed 4 sq ft per standard hen inside — overcrowding spikes ammonia, pecking, and respiratory illness. If adding a run, provide at least 10 sq ft per bird outside.
Can I build this coop on concrete?
Yes — but skip the skids. Instead, bolt the base frame directly to anchor sleeves embedded in the slab. Use rubber gasket tape between frame and concrete to prevent wicking. You’ll still need the 1" air gap beneath flooring for airflow.
What’s the best roofing material for heat management?
White-painted corrugated metal reflects 75% of solar gain (U.S. Department of Energy, 2023), while asphalt shingles absorb ~90%. In zones with summer highs above 85°F, metal with 1" air gap underneath cuts internal temps by 12–15°F.
Do I need a heated coop in winter?
No — chickens generate ample body heat. Focus instead on draft-free ventilation and dry bedding. The Winter Chicken Care checklist shows that condensation, not cold, kills more birds than subzero temps.
How often should I clean the coop?
Spot-clean droppings daily. Replace all bedding and scrub roosts with vinegar solution every 2 weeks. Do a full deep-clean (remove all bedding, power-wash, disinfect with diluted bleach) twice yearly — spring and fall.
Can I convert this design for ducks?
Yes — but raise the pop door threshold to 6" off the floor (ducks won’t step up), widen the door to 24" wide, and replace roosts with floor-level nesting boxes filled with straw. Ducks need 50% more floor space than hens — max 3 ducks in this size.
Once you’ve hung the door, tested the latch, and watched your first hen hop onto her roost at dusk, you’ll know it was worth every splinter and screw. This coop isn’t just shelter — it’s the quiet center of your backyard rhythm. For next steps, check out our build chicken run guide to expand their world safely.