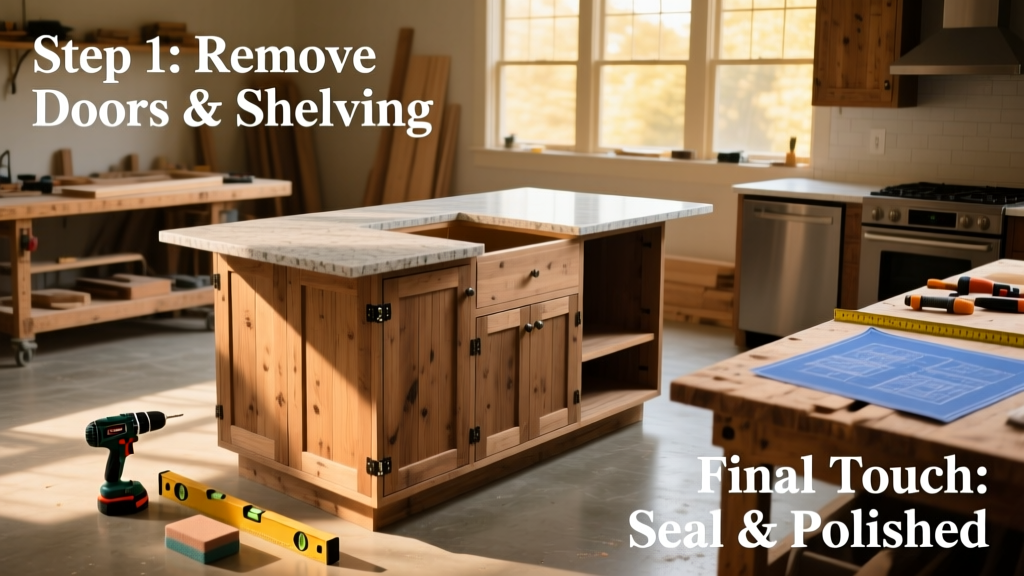
Turning off-the-shelf kitchen cabinets into a freestanding island is one of the most cost-effective, high-impact DIY upgrades you can tackle in under two weekends. This project sits at an intermediate skill level: you’ll need basic power tool confidence, but no advanced joinery or framing experience. Plan for 14–20 hours total—including assembly, leveling, countertop prep, and finishing.
Project Overview
| Category | Details |
|---|---|
| Difficulty | Intermediate (requires drilling, measuring, and alignment precision) |
| Time Required | 14–20 hours over 2–3 days (dry-fit, assemble, finish) |
| Estimated Cost | $420–$780 (excluding countertop; varies by cabinet quality & hardware) |
| Tools Needed | Drill/driver, level (4-ft), clamps, stud finder, pocket-hole jig (optional but recommended) |
Tools & Materials
You’ll source cabinets first—look for unfinished or lightly finished 36" wide x 24" deep base cabinets with full-overlay doors and adjustable legs. Avoid particleboard-only units if your island will support heavy use or stone countertops.
| Item | Qty | Notes | Cost |
|---|---|---|---|
| 36" base cabinets (unfinished maple or plywood-core) | 2–3 units | Must have 3/4" back panel & 1/2" toe-kick | $299–$479 |
| Island leg kit (steel, adjustable, 30"–36" height) | 4 | Includes mounting plates & leveling feet (e.g., Rockler Heavy-Duty) | $129 |
| 1/4" plywood gusset panels (for internal bracing) | 2 sheets (2'x4') | Cut to fit between cabinets; pre-sanded | $28 |
| 3" pocket screws + wood glue | 1 kit | For rigid cabinet-to-cabinet joining | $14 |
| Toe-kick trim (solid poplar, 3" H) | 12 linear ft | Pre-primed, mitered corners | $32 |
| Countertop support cleats (1x3 hardwood) | 12 linear ft | Face-mounted, screwed into cabinet tops | $21 |
Step-by-Step Instructions
1. Dry-Fit & Layout Your Cabinet Configuration
Arrange cabinets on a clean, level floor in your intended island footprint—common layouts are straight (3 cabinets), L-shaped (2+1), or U-shaped (3 with filler). Use blue painter’s tape to mark outer edges. Check for square: measure diagonals corner-to-corner; they must match within 1/8". Adjust cabinet positions until aligned.
2. Reinforce Cabinet Junctions Internally
With cabinets still unattached, drill pilot holes through adjacent side panels (not face frames) and insert 2.5" wood screws every 8" vertically. Then add 1/4" plywood gussets cut to 8" tall x cabinet depth, glued and screwed inside each joint. This prevents racking under countertop weight.
3. Mount Adjustable Island Legs
Flip cabinets upside-down. Position legs 2" in from each corner and centered front-to-back. Drill through cabinet bottom into leg mounting plates using a 3/16" bit. Secure with included bolts—tighten just enough to hold, not compress the cabinet base. Double-check leg spacing matches your countertop overhang (standard is 1.5" front/sides).
4. Level & Shim the Entire Assembly
Upright the island. Place a 4-ft level across front, back, and diagonals. Shim under legs with composite shims (not cardboard or wood scraps—they compress). Tap shims gently with a rubber mallet. Recheck level in all directions before final tightening. According to the National Kitchen & Bath Association’s 2023 Installation Standards, islands must be level within 1/8" over 6 feet for structural integrity and countertop adhesion.
5. Install Toe-Kick Trim & Support Cleats
Attach 3" poplar toe-kick with 1.25" finish nails and construction adhesive—miter corners tightly. Then mount 1x3 hardwood cleats along the top inner edge of all cabinets using 2.5" screws every 12". These carry the countertop load and prevent sagging at seams.
Tips & Common Mistakes
- Never skip gusseting—even “sturdy” cabinets flex when freestanding. That flex leads to cracked caulk lines and loose hardware within 6 months.
- Avoid attaching cabinets only via face frames. The stress concentrates at hinges and pulls screws loose over time.
- If your floor has radiant heat or tile with thinset variation, use a laser level instead of a bubble level—you’ll catch subtle slopes invisible to the eye.
- Don’t rely solely on leg height adjustments for leveling. Shims absorb vibration and prevent wobble during chopping or mixing.
"Most failed DIY islands aren’t due to weak cabinets—they fail because of unchecked lateral movement. Gussets + cleats + shims are non-negotiable, even on $800 cabinets." — Sarah Lin, NKBA-Certified Kitchen Designer, Kitchen Renovation Quarterly, 2022
Finishing Touches
Fill screw holes and seams with wood filler matching your cabinet species. Sand smooth with 180-grit, then 220-grit. For paint: apply oil-based primer (like Zinsser Cover Stain), then two coats of semi-gloss acrylic. For stain: condition softwoods first (Minwax Pre-Stain), then apply gel stain with a lint-free cloth—wipe with grain, let dry 8 hrs between coats. Seal with three coats of water-based polyurethane (Minwax Polycrylic), sanding lightly with 320-grit between coats.
How do I hide plumbing or electrical under the island?
Build a removable 12"-deep access panel into the toe-kick using magnetic catches and a recessed pull. Route outlets inside the cabinet carcass—not behind the toe-kick—so cords exit cleanly through a grommet in the side panel. For sinks, use PEX supply lines and a flexible drain trap; keep all connections accessible behind a hinged false panel.
Can I add casters for mobility?
Yes—but only if you’re using locking, 3" dual-wheel casters rated for 150+ lbs each (e.g., Everbilt Heavy-Duty). Mount them directly to steel leg plates—not cabinet bottoms. Test fully loaded: a granite-topped island can exceed 600 lbs. Casters reduce stability, so avoid on islands >8 ft long.
What’s the minimum cabinet depth for a functional island?
24" is standard and functional for storage and seating. But if you plan bar-height seating (42"), increase depth to 27" to accommodate knee room and prevent tipping. Never go below 22"—you’ll lose usable drawer space and compromise countertop overhang balance.
Do I need to anchor the island to the floor?
Not legally required unless local code mandates it (check your municipality’s 2024 residential code supplement). However, anchoring is strongly advised if children or pets are present—or if your island exceeds 10 sq ft of surface area. Use 1/4" lag bolts into floor joists, hidden behind toe-kick trim.
Can I use IKEA cabinets for this?
Yes—with modifications. IKEA’s SEKTION base units work well, but their particleboard sides lack screw-holding strength. Reinforce junctions with 3/4" plywood backing strips and use Confirmat screws instead of drywall screws. Also replace stock legs with heavy-duty adjustable ones—their included legs aren’t rated for island loads.
How much overhang is safe for seating?
12" is the maximum overhang without additional support for standard 1.5" countertops. If you extend beyond that—or use thicker quartz or concrete—add corbels or a continuous steel support bar mounted to the cabinet frame. See our corbel installation guide for load calculations and placement diagrams.
This conversion delivers professional-grade results without custom cabinetry costs—and it teaches foundational skills you’ll reuse on future projects like pull-out pantries or floating shelves. Take your time on leveling and bracing; those steps make the difference between a wobbly afterthought and a decades-long kitchen centerpiece.