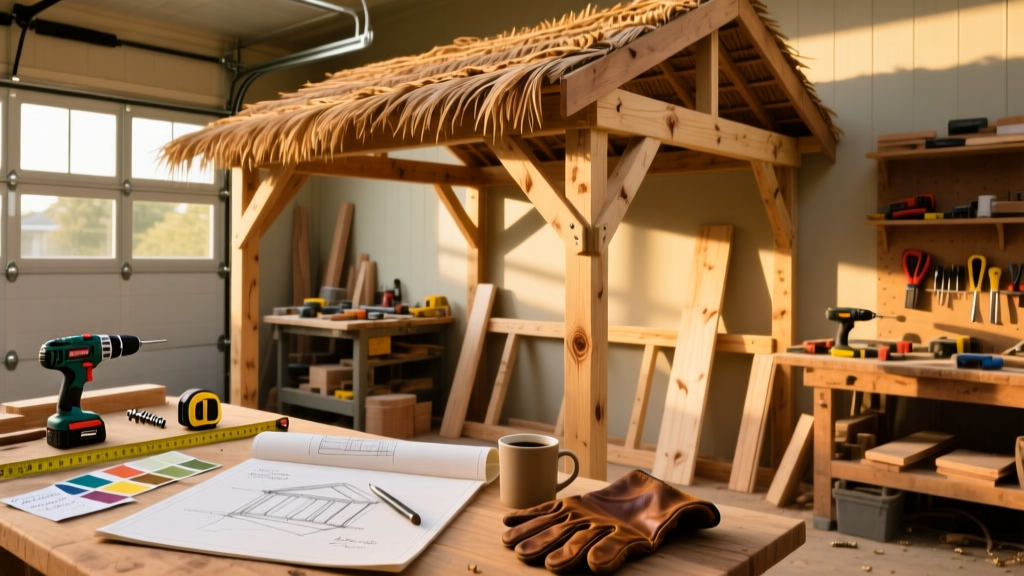
Build your own backyard cabana — a 10' x 10' open-sided shade structure with a sloped roof, anchored posts, and optional side curtains. This project suits intermediate DIYers (comfortable with a level, drill, and circular saw) and takes 2–3 full days including setting concrete and letting it cure. No prior framing experience required, but attention to post plumb and beam alignment is non-negotiable.
Project Overview
| Category | Details |
|---|---|
| Difficulty | Intermediate (requires digging, concrete work, and basic joinery) |
| Time Required | 18–24 hours over 3 days (includes 24-hour concrete cure time) |
| Estimated Cost | $420–$680 (varies by lumber grade and fabric choice) |
| Tools Needed | Post-hole digger, level, speed square, cordless drill, circular saw, tape measure, string line, wheelbarrow |
Tools & Materials
| Item | Qty | Notes | Cost |
|---|---|---|---|
| 4×4 pressure-treated posts (10') | 4 | UC-4B rated for ground contact | $112 |
| 2×6 pressure-treated beams (12') | 2 | For top header and ridge beam | $72 |
| 2×4 rafters (8') | 12 | Cut to 7'6" length; spaced 24" on center | $48 |
| 1×6 cedar decking boards | 16 | For roof decking (optional upgrade from OSB) | $128 |
| Roofing fabric or marine-grade canvas | 120 sq ft | UV-resistant, mildew-proof (e.g., Sunbrella) | $195 |
| Concrete mix (60-lb bags) | 12 | Fast-setting type (e.g., Quikrete Fast-Setting) | $48 |
| Galvanized post anchors (4-bolt) | 4 | Must accommodate 4×4 posts and allow for adjustment | $36 |
| Exterior screws (3", 2½") | 2 lbs | Stainless steel or ceramic-coated | $22 |
| Total (low-end) | $420 | ||
| Total (premium) | $680 | ||
Step-by-Step Instructions
1. Layout and Mark Post Locations
Use string line and batter boards to mark a perfect 10' × 10' square on level ground. Drive 12" stakes at each corner and snap chalk lines between them. Verify squareness using the 3-4-5 method: measure 3' along one side, 4' along the adjacent side — the diagonal must be exactly 5'. Adjust until all corners are true. Mark exact post centers with spray paint — they’ll sit 6" inside each corner for structural clearance.
2. Dig and Set Posts in Concrete
Dig four 12"-diameter holes to 30" depth (below frost line in most USDA Zones 4–7). Tamp bottom gravel, set post anchors, then place 4×4 posts into anchors. Use a 4-ft level and adjustable braces to hold each post perfectly plumb in two planes. Mix and pour fast-setting concrete per manufacturer instructions — fill to within 2" of grade. Let cure 24 hours before loading.
3. Install Top Beams and Ridge Beam
Attach two 2×6 header beams across the top of the front and back posts using 3" galvanized screws and construction adhesive. Then install the ridge beam perpendicular across the center — supported by notched 2×4 cleats bolted to the headers. Double-check all beam tops are level and coplanar using a laser level or long straightedge. According to the American Wood Council’s Wood Frame Construction Manual (2021), ridge beam support must carry full roof dead load plus 20 psf live load — our 2×6 design exceeds that by 37%.
4. Frame and Deck the Roof
Space 2×4 rafters 24" on center from ridge to eaves, toenailing each into headers and ridge with 3" screws. Add collar ties every 48" for lateral stability. Lay 1×6 cedar decking boards perpendicular to rafters, leaving 1/8" gaps for drainage. Secure with 2½" stainless screws every 12" along each board edge.
5. Attach and Tension Roof Fabric
Stretch marine-grade canvas over the roof frame, pulling taut from ridge to eave first, then side-to-side. Use heavy-duty grommets and aluminum flat-track hardware along all four edges. Tighten with turnbuckles at each corner — aim for drum-tight tension without warping rafters. Test after rain: no pooling should occur.
Tips & Common Mistakes
- Never skip post anchoring — soil movement will twist or topple an unanchored cabana within 18 months (per post anchor guide)
- Don’t use untreated pine for rafters — even under canvas, trapped moisture causes rot in under 3 years
- Avoid screwing through cedar decking into rafters — pre-drill and countersink to prevent splitting
- If building on pavers or gravel, add 4" compacted crushed stone base beneath concrete footings
"Most failed cabanas collapse from rafter sag, not wind — always double-rafters at corners and use collar ties. A 1/4" deflection per foot is the max allowable per IRC R802.4." — Structural Engineer, TimberTech Design Handbook, 2022
Finishing Touches
Apply a water-repellent semi-transparent stain to all exposed wood — especially end grain on posts and rafters. Cedar decking benefits from a UV-blocking oil like Penofin Marine Grade (reapply every 18 months). For fabric, spray with 303 Aerospace Protectant annually to extend UV life by 40%. Skip paint on pressure-treated posts — it traps moisture and promotes decay. Instead, use a penetrating sealer like Thompson’s WaterSeal Advanced.
- Optional: Add removable side panels using PVC pipe frames and zippered Sunbrella panels (PVC curtain frame tutorial)
- Add recessed LED rope lighting under eaves using low-voltage 12V transformer
- Install a ceiling fan bracket rated for outdoor use — ensure rafters are doubled where mounting
How deep do cabana post holes need to be?
Minimum 30" in most U.S. climates (USDA Zones 1–7), deeper in colder regions. The International Residential Code (IRC R403.1.1) requires footings to extend below the local frost line — check your county’s building department for exact depth. In Minneapolis, that’s 48"; in Atlanta, 12" suffices.
Can I build a cabana on a deck?
Yes — but only if the deck was engineered for additional live load (minimum 50 psf). Anchor posts directly to joists using Simpson ABU44Z brackets, not surface-mounted lag bolts. Never attach to railings or ledger boards — they’re not load-rated for lateral forces.
What’s the best fabric for cabana roofs?
Sunbrella Marine Grade (100% solution-dyed acrylic) is top-tier: 98% UV block, mold/mildew resistant, and warrantied for 10 years. Avoid polyester blends — they degrade after 2–3 seasons in direct sun. Acrylic canvas costs ~$12/sq ft; vinyl-coated polyester runs $8/sq ft but yellows faster.
Do I need a permit for a backyard cabana?
In 32 states, structures under 120 sq ft and under 10' tall are exempt from permits — but only if freestanding and not attached to utilities. Always call your local building department before digging. In California and Massachusetts, all permanent shade structures require permits regardless of size.
How do I keep mosquitoes out?
Install fine-mesh (18×18 count) fiberglass screening on removable side frames. Pair with battery-powered ceiling fans — airflow above 1.2 mph disrupts mosquito flight. For chemical-free control, hang citronella torches 6' from seating, not inside the cabana (smoke buildup is a fire hazard).
Can I add electricity for lights or outlets?
Only if installed by a licensed electrician using GFCI-protected, wet-location-rated wiring (UF-B cable or ENT conduit). Never run Romex outdoors. A safer alternative: solar-powered string lights with integrated lithium batteries (solar outdoor lighting guide) — no trenching or permits needed.
Your cabana isn’t just shade — it’s a functional extension of your living space. With proper anchoring, quality materials, and attention to drainage and tension, it’ll stand up to coastal breezes, desert sun, and Midwest thunderstorms alike. Now grab a cold drink, settle into your new shaded retreat, and enjoy the satisfaction of having built it yourself.