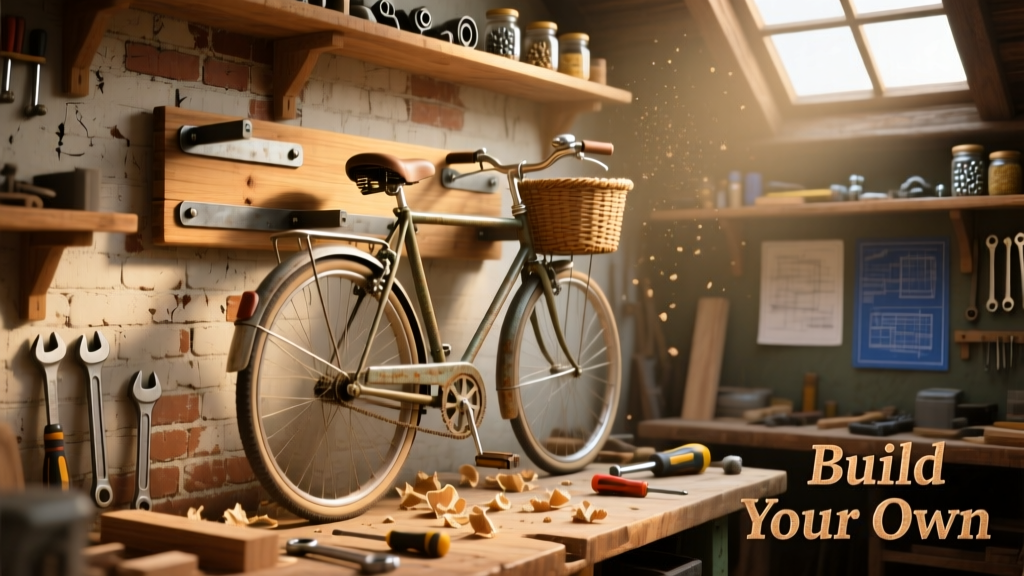
Build a clean, functional wall-mounted bicycle display that holds your bike securely while turning it into room-defining decor. This project suits beginners with basic power tool experience and takes under 6 hours across two evenings—including drying time for finish.
Project Overview
| Category | Detail |
|---|---|
| Difficulty | Beginner–Intermediate (requires accurate drilling and level alignment) |
| Time Required | 5–6 hours active build time + 12–24 hours for finish drying |
| Estimated Cost | $42–$78 (varies by wood grade and hardware choice) |
| Tools Needed | Drill/driver, speed square, stud finder, clamps, orbital sander (optional but recommended) |
Tools & Materials
| Item | Qty | Notes | Cost Range |
|---|---|---|---|
| 1×6×8′ pine board (select grade) | 1 | Smooth surface, minimal knots; avoid #2 or utility grade | $12.98–$18.49 |
| 1×3×6′ poplar board | 1 | For front support arms—lighter weight, easier to shape | $10.27–$13.97 |
| 2½″ pocket-hole screws (Kreg) | 20 | Use Kreg #7 or equivalent; coarse thread for softwood | $8.99 |
| 3″ lag bolts with washers (1/4″ × 3″) | 4 | Must anchor into wall studs—never drywall alone | $6.49 |
| Heavy-duty wall anchors (if stud spacing doesn’t align) | 2 | Toggle bolts rated ≥100 lbs each (e.g., WingIts) | $9.99 |
| Sanding supplies (120 & 220 grit) | 1 pack each | Or use sanding sponge for tight corners | $5.29 |
| Minwax Helmsman Spar Urethane (clear satin) | 1 qt | UV-resistant, water-tolerant—critical for garage environments | $17.99 |
Step-by-Step Instructions
1. Measure and cut the main shelf board
Using a speed square and pencil, mark a 36″ length on the 1×6 pine. Cut with a miter saw or circular saw. Sand edges with 120-grit until smooth—no splinters. Wipe away dust with a tack cloth. This becomes your load-bearing base; accuracy here prevents wobble later.
2. Build the cradle arms from poplar
Cut two 12″ pieces from the 1×3 poplar. On each, draw a gentle 3″ radius curve at one end using a can lid as a template. Cut curves with a jigsaw, then refine with a rasp and 120-grit sandpaper. Test-fit against your bike’s top tube: the curve should nestle snugly without forcing frame contact.
3. Attach arms to shelf with pocket holes
Clamp one arm flush to the front edge of the shelf board, centered 4″ in from each side. Drill two pocket holes per arm using a Kreg Jig set to 3/4″ depth. Drive 2½″ screws—don’t overtighten. Repeat for second arm. Check alignment with a straightedge: both arms must sit parallel and level.
4. Reinforce the back mounting rail
Cut a 36″ piece from leftover 1×3. Position it flush along the *back* underside of the shelf, spanning its full width. Secure with four 2½″ screws—two near each end, countersunk slightly. This rail spreads load across multiple studs and prevents shelf sag over time.
5. Locate and mark wall studs
Use a reliable stud finder (like the Zircon MetalliScanner i520) to locate at least two adjacent studs within your 36″ span. Mark their centers with pencil—and verify with a small pilot hole. According to the International Residential Code (IRC R602.3.1, 2021), lag bolts into solid framing must engage ≥1.5″ of wood depth for safe static load capacity.
6. Mount the display securely
Hold the assembly against the wall, aligning the back rail with your stud marks. Use a 4-ft level to confirm dead-level orientation. Drill pilot holes through the rail into each stud center. Drive 3″ lag bolts with washers—tighten until the washer seats fully, but stop before stripping threads. Double-check level after final torque.
7. Hang your bike and test stability
Rest the bike’s top tube gently into both cradle arms. The front wheel should hang freely; rear wheel clears floor by ≥2″. Apply light downward pressure on the saddle: no movement should occur at the wall interface. If the shelf shifts, loosen bolts, add shims behind the rail, and re-torque.
Tips & Common Mistakes
- Never mount into drywall alone—even with heavy-duty anchors. Bikes average 22–35 lbs, but dynamic loading during placement adds shock loads up to 3× static weight (per American Society of Mechanical Engineers Standard B56.1-2022).
- Skipping the back rail seems like a shortcut—but pine shelves longer than 30″ deflect noticeably under load. That 1×3 adds zero visual bulk and doubles rigidity.
- Using construction-grade pine with large knots near screw points invites splitting. Select boards labeled “Select” or “Premium”—they cost ~$3 more but save rework time.
"I’ve seen three failed DIY bike mounts this season—all used drywall anchors only. The fix? A $6 stud finder and five minutes of scanning. It’s not optional—it’s structural." — Carlos M., certified home inspector (InterNACHI, 2024)
Finishing Touches
Lightly scuff-sand the entire piece with 220-grit, then wipe with mineral spirits. For garages or sun-exposed walls, skip paint: apply two coats of Minwax Helmsman Spar Urethane, brushing with the grain and allowing 4 hours between coats. In living areas, stain first (e.g., Minwax Early American), let dry 8 hours, then seal with satin polyurethane. Avoid glossy finishes—they highlight dust and fingerprints faster.
Can I mount two bikes on one display?
No—this design supports one standard adult bike (up to 35 lbs). For dual-bike setups, build two separate units spaced 24″ apart vertically, or upgrade to a 1×8 shelf with doubled cradle arms and additional lag bolts into every stud.
What if my studs are 24″ apart instead of 16″?
That’s fine—the 36″ shelf spans two studs regardless. Just ensure your back rail is centered over both, and use 3″ lags in each. If you land mid-stud, toggle bolts rated for 100+ lbs (like WingIts) are acceptable backups—but never substitute for primary stud anchors.
Will this work for carbon fiber frames?
Yes—if cradle arms are fully sanded smooth and free of burrs. Add thin neoprene padding (1/16″ thick) to arm contact points using 3M 9448A VHB tape. Carbon layups vary; avoid pressure points near seat tube junctions.
How do I adjust for a step-through or women’s frame?
Lower the cradle arms by 1″ and shorten their length to 10″. The key is matching the arc to the frame’s lower top tube height—not the geometry of a diamond frame. Test-fit before final screwing.
Can I paint the wood instead of staining?
Absolutely—use a high-adhesion primer (e.g., Zinsser Bulls Eye 1-2-3) followed by acrylic latex paint. But skip paint on the cradle contact surfaces: urethane provides better grip and wear resistance where rubber meets wood.
Do I need to reinforce the wall itself?
Not unless your wall is plaster over lath or has visible cracks near outlets. Modern 2×4 stud walls with 1/2″ drywall handle this load easily. If mounting above a garage door opening, consult a structural engineer—header loads change everything.
This display keeps your ride accessible, protects floors from tire marks, and adds subtle craftsmanship to any space. Once installed, it’ll hold up through seasonal tune-ups and gear swaps alike. For related builds, see our floating wall shelf guide or modular pegboard system.