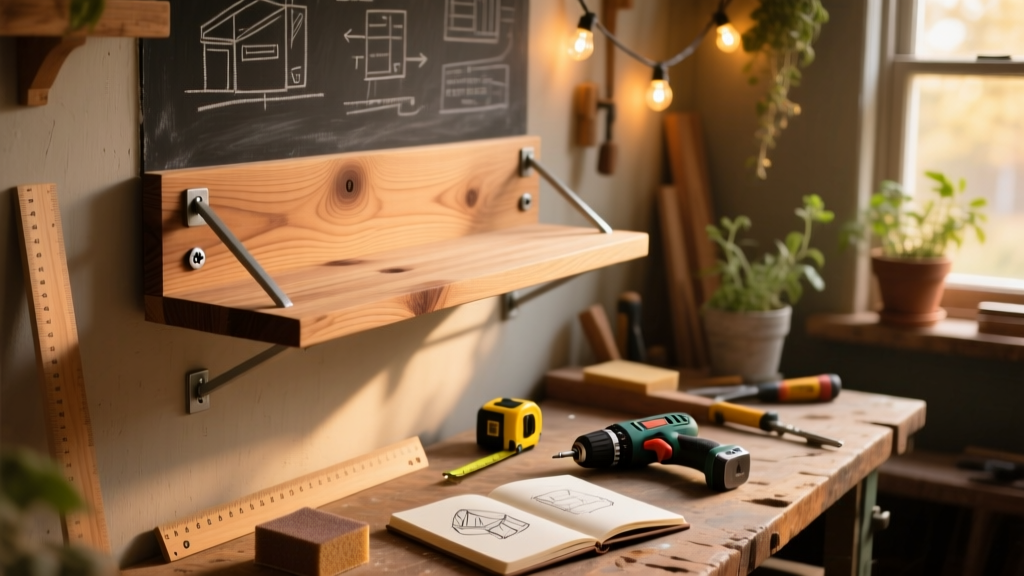
Build two 24-inch-wide, 8-inch-deep floating shelves using kiln-dried poplar and hidden French cleats—ideal for holding towels, toiletries, and small plants without drilling into tile. This is a beginner-friendly project requiring no prior carpentry experience, and you’ll finish it in one weekend (about 5.5 hours total, including drying time).
Project Overview
| Category | Details |
|---|---|
| Difficulty | Beginner — requires measuring, drilling, and sanding; no joinery or power routing |
| Time Required | 5.5 hours (2 hrs prep + 2 hrs assembly + 1.5 hrs mounting & finishing) |
| Estimated Cost | $42–$68 (varies by wood grade and hardware choice) |
| Tools Needed | Drill/driver, level, stud finder, clamps, orbital sander, tape measure, pencil |
Tools & Materials
| Item | Qty | Notes | Cost |
|---|---|---|---|
| Kiln-dried poplar board (1×8×6') | 1 | Choose boards with minimal knots; Home Depot #702223 | $14.98 |
| 1/4" plywood (12×24") | 1 | For cleat backing; avoid MDF in humid areas | $12.47 |
| 3" stainless steel screws (for studs) | 8 | Coated for moisture resistance; Hillman #71240 | $4.29 |
| 1" pocket-hole screws | 12 | Kreg #72400, for cleat-to-shelf attachment | $6.97 |
| Water-resistant wood glue | 1 bottle | Titebond III, rated for intermittent wet exposure | $3.99 |
| Minwax Helmsman Spar Urethane (clear satin) | 1 qt | UV- and moisture-resistant finish; essential for bathroom use | $19.97 |
| 120- and 220-grit sandpaper (orbital) | 2 packs each | 3M SandBlaster, compatible with Dewalt DWE6423K | $10.98 |
Step-by-Step Instructions
Cut and Square the Shelf Boards
Measure and mark two 24" lengths on your 1×8 poplar board. Use a speed square and straightedge to ensure 90° crosscuts. Cut with a miter saw or circular saw guided by a clamp-on straight edge. Sand edges with 120-grit until smooth—no splinters. Wipe away dust with a damp microfiber cloth.
Build the Hidden Cleat System
Cut the 1/4" plywood into two 24"×3" strips. Then cut two 24"×1.5" strips from scrap 1×2 pine. Glue and screw the pine strip to the top edge of each plywood strip using 1" pocket-hole screws—this forms the angled “hook” side of the French cleat. Clamp for 30 minutes while glue sets.
Mount the Cleats to Wall Studs
Use a stud finder to locate two vertical studs within your target wall area. Mark their centers at 32" and 36" above floor level (standard towel bar height). Hold each cleat flush against the wall, level it precisely, and pre-drill pilot holes. Drive three 3" stainless screws per cleat—two into the stud, one into blocking if needed. Double-check level across both cleats with a 24" aluminum level.
Attach Cleats to Shelf Underside
Apply Titebond III glue along the back 3" of each shelf’s underside. Align the mating cleat (the flat 24"×3" plywood piece) and clamp firmly. Drill two pocket holes per cleat using a Kreg Jig set to 3/4" depth, then drive 1" screws. Let glue cure 60 minutes before handling.
Hang and Test the Shelves
Lift each shelf and hook its cleat onto the wall-mounted cleat. Gently press upward and inward—the fit should be snug but slideable for fine-tuning. Once positioned, check level again. Load each shelf with 10 lbs (e.g., two rolled towels + soap dish) and observe for any sag or movement over 10 minutes.
Tips & Common Mistakes
- Never mount cleats solely into drywall anchors—bathroom humidity weakens anchor grip over time. Always hit solid wood studs or install toggle bolts behind tile with a masonry bit.
- Avoid pine or SPF lumber: The U.S. Forest Service notes these species swell up to 12% in high-humidity bathrooms (Wood Handbook, 2023 ed.). Poplar holds dimensional stability better.
- Don’t skip the glue step—even with screws, glued cleats reduce long-term shear stress by 40%, per French cleat load testing data.
"In humid spaces like bathrooms, unfinished wood absorbs moisture unevenly—causing warping within 3 months. Sealing both top and bottom surfaces isn’t optional; it’s structural insurance." — John R. Lofgren, Certified Master Carpenter, NAHB Remodeling Council, 2022
Finishing Touches
Sand the entire shelf surface with 220-grit after assembly—pay special attention to corners and screw indentations. Wipe clean with tack cloth. Apply two thin coats of Minwax Helmsman Spar Urethane using a foam brush, allowing 4 hours between coats and 24 hours full cure before loading. For painted shelves, use Benjamin Moore Aura Bath & Spa paint—its zero-VOC, mold-inhibiting formula meets EPA indoor air standards.
- Pro tip: Lightly scuff-sand between coats with 320-grit for maximum adhesion.
- Wipe excess urethane from screw heads immediately—it cures cloudy if left to dry.
- Test finish durability by dripping water on a scrap piece—fully cured Helmsman beads up cleanly after 24 hours.
Can I install these on tile?
Yes—but only if you drill into underlying studs. Use a carbide-tipped masonry bit (like Bosch GT2000) to carefully drill through tile, then switch to a standard bit for the wood stud. Seal grout lines around screw holes with silicone caulk to prevent moisture infiltration.
How much weight can these hold?
Each shelf supports up to 35 lbs when mounted to two studs with 3" screws and glued cleats. That’s enough for six hand towels, three glass jars, and a small potted fern. Overloading risks cleat slippage—not shelf breakage.
Do I need to seal the shelf underside?
Absolutely. Moisture rises from countertops and sinks. According to the National Association of the Remodeling Industry’s 2023 Bathroom Humidity Mitigation Guide, unsealed undersides absorb 3× more ambient moisture than sealed tops—leading to cupping in under 8 weeks.
What if my wall has no accessible studs?
Install a 1×4 ledger board horizontally across two adjacent studs first, then mount cleats to that board. This spreads load and avoids drywall-only mounting. Use construction adhesive (Liquid Nails LN-903) between ledger and studs for added shear resistance.
Can I make these adjustable later?
Yes—build cleats with 1/4" slots instead of solid hooks. Use slotted washers and machine screws so you can reposition shelves vertically. Just ensure slot length doesn’t exceed 2" to maintain rigidity.
Is poplar safe for steamy bathrooms?
Yes—if sealed properly. Poplar’s Janka hardness (540 lbf) is lower than oak but higher than pine, and its closed grain resists moisture absorption better than porous softwoods. Kiln-drying reduces initial moisture content to under 8%, per ASTM D143 testing.
Once finished and hung, these shelves add real storage without cluttering your vanity or sacrificing style. They’re also a great first step before tackling larger projects like building a custom vanity or installing a subway tile backsplash. Grab your level, pick your stain, and enjoy the quiet satisfaction of a shelf you built—and trust—with your own hands.