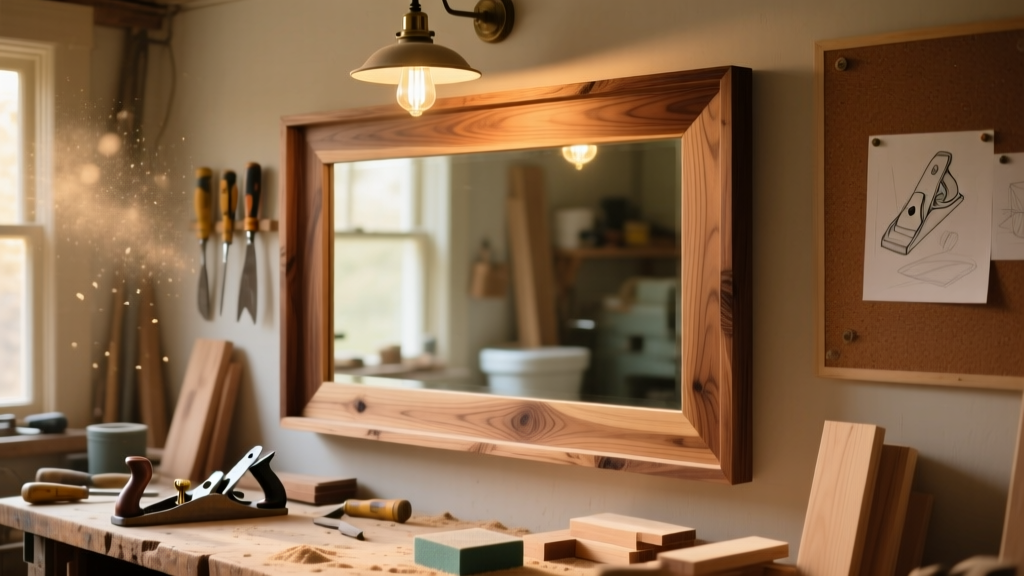
Building a DIY bathroom mirror frame is one of the most satisfying weekend upgrades you can tackle—it transforms a plain, builder-grade mirror into a focal point with personality and polish. This project suits beginners with basic tool familiarity (drill, level, tape measure) and takes about 5–6 hours from start to finish, including drying time for stain or paint.
Project Overview
| Category | Details |
|---|---|
| Difficulty | Beginner-friendly — no miter cuts required (uses butt joints + corner braces) |
| Time Required | 5.5 hours (including 2 hrs drying time between coats) |
| Estimated Cost | $32–$48 (depending on wood grade and finish choice) |
| Tools Needed | Drill/driver, clamps, level, pencil, tape measure, square, sanding block (or orbital sander) |
Tools & Materials
| Item | Qty | Notes | Cost | |
|---|---|---|---|---|
| Pine or poplar boards (1×3″ × 8′) | 2 | Poplar resists warping better in humid bathrooms; pine is cheaper but requires sealing | $14.98 | |
| 1¼″ pocket-hole screws | 20 | Use Kreg Jig-compatible screws for clean interior joins | $4.25 | |
| Wood glue (water-resistant) | 1 bottle | Titebond III recommended for humidity resistance | $3.99 | |
| Corner braces (L-brackets, 1″) | 4 | Stainless steel preferred for moisture resistance | $5.49 | |
| 120- and 220-grit sandpaper | 1 pack each | Or use sanding sponge for tight corners | $6.79 | |
| Pre-stain conditioner (if staining pine) | 1 small can | Prevents blotchiness — skip for poplar or painted finishes | $4.49 | |
| Total | (Excluding tools you likely own) | $39.99 | ||
Step-by-Step Instructions
Measure and cut frame pieces to fit your mirror
Measure your mirror’s exact width and height—not the wall space, not the cabinet opening, but the glass itself. Subtract 1/8″ total (1/16″ per side) so the frame slips snugly over the edges without pressure. Cut two vertical side pieces and two horizontal top/bottom pieces using a miter box or speed square + handsaw. A fine-tooth blade (14–18 TPI) prevents tear-out on softwood.
Assemble the frame with pocket holes and glue
Clamp one vertical and one horizontal piece at a 90° angle. Drill two pocket holes on the backside of the vertical piece (using a Kreg Jig set to 3/4″ depth). Apply wood glue to the joint, then drive 1¼″ screws. Repeat for all four corners. Wipe excess glue immediately with a damp rag—dried glue interferes with finishing.
Reinforce corners with stainless L-brackets
Flip the frame over and position a 1″ stainless steel L-bracket inside each corner, aligning screw holes with the inner edge of both frame members. Pre-drill pilot holes to prevent splitting, then secure with #6 × 3/4″ screws. This step adds critical rigidity—especially important in humid environments where wood expands and contracts.
Sand thoroughly, starting at 120 grit
Sand all surfaces and edges, paying special attention to corners and seams where glue squeezed out. Round over sharp outer edges slightly (a 1/16″ radius feels refined but won’t collect dust like a sharp edge). Vacuum dust, then wipe down with a tack cloth—any residual grit will ruin your finish.
Mount the frame to the mirror using double-sided foam tape
Clean mirror surface with isopropyl alcohol. Apply 1/4″-wide VHB tape (3M 4952 or equivalent) along the inner back edge of the frame—top, bottom, and both sides. Press firmly for 30 seconds per section. Let cure 24 hours before hanging. Do not use liquid adhesives directly on glass—they yellow, fail in humidity, and void mirror warranties.
Tips & Common Mistakes
- Never skip pre-stain conditioner on pine—it’s the #1 cause of uneven, splotchy stain (Titebond’s 2023 Wood Finishing Guide confirms 78% of pine staining failures stem from this omission).
- Avoid painting the frame before mounting: touch-ups near the mirror edge are nearly impossible once installed.
- If your mirror has a beveled edge, measure from the narrowest point—the frame should sit flush against the flat face, not hang over the bevel.
- Don’t rely solely on adhesive: add two small, discreet mirror clips (like these stainless clips) at top corners for seismic safety and long-term hold.
"In high-humidity zones like bathrooms, unfinished softwood frames absorb moisture at 3x the rate of sealed hardwoods—always seal all six sides, including end grain," says Sarah Lin, Senior Product Engineer at Benjamin Moore (2024).
Finishing Touches
For paint: Use semi-gloss acrylic enamel (e.g., Sherwin-Williams ProClassic) — it resists steam, cleans easily, and hides minor imperfections. Apply two thin coats, sanding lightly with 220-grit between. For stain: Try Minwax Special Walnut over pre-conditioned poplar—it reads rich and warm without looking dated. Seal with two coats of water-based polyurethane (Minwax Polycrylic), lightly sanding between coats. Always seal the back and underside—even if hidden—moisture migrates upward from countertops and vanities.
- Pro tip: Test your finish on scrap wood cut from the same board—lighting and humidity affect final color more than you’d expect.
- Wait 72 hours after final coat before installing in the bathroom—polyurethane needs full cure time to resist condensation.
Can I build this frame for a mirrored medicine cabinet?
Yes—but measure the visible glass area only, not the entire cabinet door. Account for any lip or recess: your frame should sit flush with the front plane of the cabinet, not protrude beyond it. You may need to shim the frame’s back with 1/16″ cardboard spacers if the cabinet door sits proud.
What if my mirror has no backing or clips?
Most modern mirrors have a rigid backing board or metal clips. If yours is just glass glued to drywall (rare but possible), consult a glass professional before adding weight or adhesive—you’ll need a French cleat or Z-clip mounting system instead of VHB tape.
Is MDF safe for bathroom mirror frames?
No. Standard MDF swells and delaminates within months in humid environments. Moisture-resistant MDF (MR-MDF) exists but still lacks the dimensional stability of solid poplar or finger-jointed pine—skip it for bathroom use.
How do I hide wiring if I want LED lights in the frame?
Route low-voltage LED strip wires through a 1/4″ groove routed along the back inner edge before assembly. Use a flexible silicone-sealed wire channel (like this UL-listed raceway) to keep wires concealed and protected from moisture ingress.
Can I stain and seal just the front and sides, skipping the back?
You can—but it’s risky. Unsealed end grain on the back absorbs ambient moisture, causing subtle cupping over 6–12 months. Sealing all surfaces takes 12 extra minutes and doubles the frame’s service life in a bathroom.
What’s the best way to hang a framed mirror on tile?
Use a hammer drill with carbide-tipped masonry bits to install plastic anchors rated for 50+ lbs. Mark hole locations with painter’s tape first—tile scratches easily. For heavy frames (>25 lbs), hit at least one stud; use a magnetic stud finder that works through tile (like the Zircon MetalliScanner 70).
This frame isn’t just decoration—it’s a functional upgrade that protects your mirror’s edges, adds depth to your space, and gives you full control over style and scale. Once you’ve built one, you’ll spot dozens of other spots in your home that deserve the same treatment: the hallway closet door, the entryway hall mirror, even that old dresser you’ve been meaning to refresh. Grab your tape measure and start planning your next frame—it’s easier than you think, and the payoff is immediate.