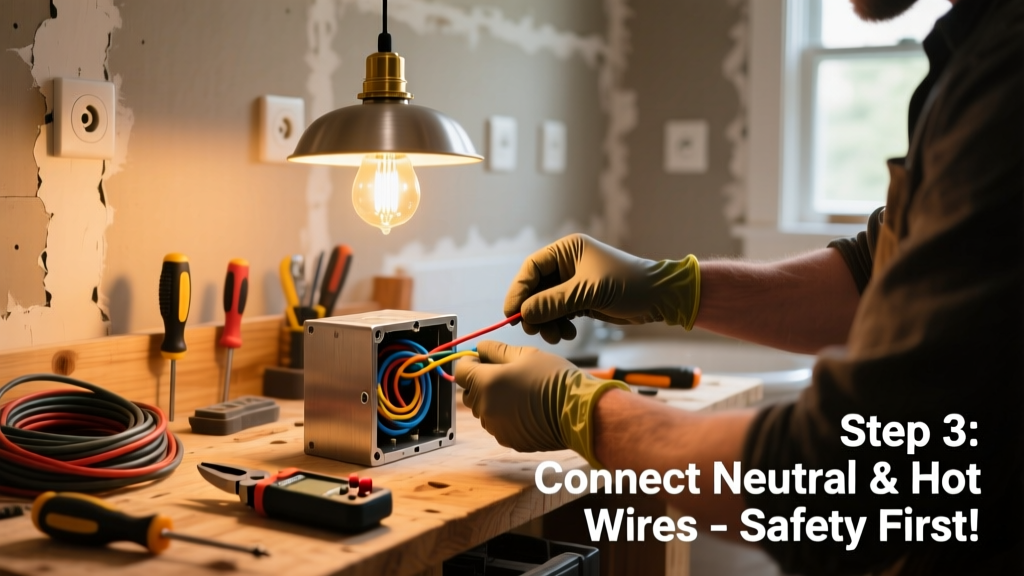
Installing custom bathroom lighting transforms both function and atmosphere—whether you’re upgrading a dated fixture, adding layered illumination, or wiring a new vanity light with dimmable LEDs. This project is rated intermediate: you’ll need comfort using a voltage tester, stripping wire, and mounting junction boxes, but no permit is required for simple replacements (per NEC Article 410.12, 2023 edition). Plan for 4–6 hours total, including drywall patching if relocating fixtures.
Project Overview
| Category | Details |
|---|---|
| Difficulty | Intermediate (basic electrical experience required) |
| Time Required | 4–6 hours (plus 24 hrs drying time if patching drywall) |
| Estimated Cost | $85–$220 (depending on fixture type and circuit upgrades) |
| Tools Needed | Voltage tester, wire stripper, screwdrivers, drill, fish tape, stud finder, drywall saw |
Tools & Materials
Buy all materials before starting—especially if ordering online. Fixture compatibility matters: verify your existing junction box supports the weight and depth of your new light (e.g., many LED vanity bars require ≥1.5" box depth).
| Item | Qty | Notes | Cost Range |
|---|---|---|---|
| LED vanity bar (24"–36") | 1 | UL-listed, damp-rated | $45–$120 |
| Recessed IC-rated can light kit | 2 | For insulated ceilings; includes trim & housing | $35–$85 each |
| Dimmer switch (MLV/ELV compatible) | 1 | Lutron Diva C-L or Leviton Decora Smart | $28–$42 |
| 14/2 NM-B cable (10 ft) | 1 | For extending circuits if needed | $4 |
| Wire nuts (red & yellow) | 6+ | UL-listed, twist-on connectors | $3/pack |
| Mounting hardware kit | 1 | Included with most fixtures—but verify | $0–$8 |
Step-by-Step Instructions
1. Turn off power and verify with a non-contact voltage tester
Flip the correct breaker (not just the light switch), then test every wire—including ground—before touching anything. According to the Electrical Safety Foundation International’s 2023 incident report, 12% of residential electrical injuries occur during DIY lighting work due to assumed de-energization.
2. Remove old fixture and inspect junction box
Unscrew mounting screws, disconnect wires (note hot/neutral/ground positions), and pull fixture away. Check box for rust, cracks, or undersized capacity (must be ≥16.25 cu in for three 14-gauge wires + device). Replace if compromised—use an old-work brace box like the Carlon B210U ($7.98) for retrofit installs.
3. Run new cable (if relocating or adding fixtures)
Drill 3/4" holes through top/bottom plates between studs, staying ≥1.25" from edges. Feed 14/2 NM-B cable using fish tape. For recessed cans, cut precise holes using the template included—measure twice, cut once. Avoid joists unless drilling within center third of span (per IRC R502.8.1).
4. Install recessed housings and vanity mount
Secure IC-rated housings flush to ceiling drywall with adjustable hangers. For vanity lights, level the mounting bracket using a laser level—misalignment causes uneven shadowing. Anchor into studs or use toggle bolts (e.g., WingIts 1/4" for hollow walls) rated for ≥3x fixture weight.
5. Wire connections inside junction boxes
Strip 3/4" insulation, twist same-color wires together clockwise, cap with UL-listed wire nuts (red for 3+ wires, yellow for 2). Tuck neatly into box—no exposed copper outside caps. Ground wires must connect to box (if metal) AND fixture grounding screw. Double-check polarity: black to black (hot), white to white (neutral).
6. Mount fixtures and attach trim
Align vanity bar with bracket, tighten mounting screws evenly to avoid warping. Snap recessed trims into place—don’t force them. If using integrated LED modules, confirm driver location matches manufacturer specs (some require remote mounting in attic space).
Tips & Common Mistakes
- Never daisy-chain more than 10 recessed lights on a single 15-amp circuit—NEC 210.23(A)(2) limits continuous loads to 80% capacity.
- Avoid placing vanity lights only above the mirror: shadows under eyes and chin result. Instead, flank the mirror at eye level (60–66" from floor) as recommended by the Illuminating Engineering Society (IES RP-27-22).
- Skipping the junction box cover plate? That’s a code violation—and a fire hazard. Always secure it with matching screws.
"Over 60% of bathroom lighting complaints stem not from brightness, but from poor placement and glare. Fix the geometry first—then upgrade the lumens." — Lighting Designer Maria Chen, Residential Lighting Handbook, 2022
Finishing Touches
After powering up and testing all functions, seal any drywall gaps around recessed cans with fire-rated caulk (e.g., 3M Fire Barrier Caulk CP 25WB). For painted surfaces, touch up with matching flat or eggshell paint—avoid gloss near fixtures, which reflects glare. If installing smart switches, follow manufacturer pairing steps via app (e.g., Lutron Caseta requires bridge setup before dimming syncs).
Can I install bathroom lighting without a permit?
In most U.S. jurisdictions, replacing like-for-like fixtures doesn’t require a permit—but adding new circuits, relocating outlets, or installing GFCI-protected lighting over tubs does. Check your local authority having jurisdiction (AHJ); for example, Portland, OR mandates permits for any wet-location circuit modification (Portland Bureau of Development Services, 2024).
What’s the best color temperature for bathroom tasks?
Stick to 3000K–4000K for balanced warmth and clarity. Below 2700K feels too yellow for shaving/makeup; above 4500K creates clinical, unflattering shadows. The U.S. Department of Energy notes that 3500K LEDs deliver optimal visual acuity for grooming tasks while minimizing eye strain.
Do I need GFCI protection for bathroom lights?
Not for hardwired fixtures—but required for any outlet within 3 feet of a sink, tub, or shower (NEC 210.8(A)(1)). If your vanity light plugs into an outlet (rare), that outlet must be GFCI-protected. Hardwired lights draw from the circuit’s breaker—not the outlet—so standard AFCI/GFCI combo breakers aren’t mandatory unless local code adds them.
How do I prevent condensation inside recessed fixtures?
Use only IC-rated, airtight, damp-location listed housings (look for “ICAT” or “AT” rating). Seal top flanges with silicone caulk before insulating. In high-humidity bathrooms, add a bath fan with ≥50 CFM (per ASHRAE 62.2-2022) to reduce ambient moisture—otherwise, thermal cycling will fog lenses and corrode drivers.
Why does my dimmer buzz or flicker with LED lights?
Most likely incompatible load type. Magnetic low-voltage (MLV) dimmers won’t work with electronic low-voltage (ELV) LED drivers—and vice versa. Match dimmer specs to fixture driver requirements. Also check minimum load: many LEDs draw <5W, below older dimmers’ 25W threshold. Upgrade to an ELV-compatible model like the Lutron Toggler TGCL-153P.
Can I mix different fixture types on one circuit?
Yes—as long as total wattage stays under 80% of circuit capacity (1440W max on 15A). A 36" LED vanity bar (~18W), two 12W recessed cans, and a 5W mirror light = 47W total. Plenty of headroom. Just ensure all are damp-rated and controlled by the same switch/dimmer if desired.
Once everything’s tested, labeled, and operating smoothly, step back and assess the layers: ambient (recessed), task (vanity), and accent (mirror backlighting, if added). Good bathroom lighting isn’t about brightness—it’s about direction, diffusion, and consistency. For more on integrating lighting with bathroom ventilation or choosing shower tile that complements your light temperature, explore those guides next.