Installing a bathroom exhaust fan is one of the most impactful DIY upgrades you can do for air quality, mold prevention, and home value. This project is ideal for intermediate DIYers with basic electrical and carpentry skills—and takes about 4–6 hours from drywall cutout to final test run.
Project Overview
| Category | Detail |
|---|---|
| Difficulty | Intermediate (requires safe handling of household voltage and ductwork) |
| Time Required | 4–6 hours (plus 30 minutes drying time if patching drywall) |
| Estimated Cost | $85–$220 (depending on fan model and ducting materials) |
| Tools Needed | Stud finder, drill/driver, wire stripper, non-contact voltage tester, utility knife, tin snips, screwdrivers, level |
Tools & Materials
You’ll need both hand tools and specific components. All prices reflect mid-2024 retail averages from Home Depot and Lowe’s.
| Item | Quantity | Notes | Cost |
|---|---|---|---|
| UL-listed bathroom exhaust fan (110 CFM minimum) | 1 | Look for ENERGY STAR® certification and integrated humidity sensor (e.g., Panasonic WhisperGreen FV-11VL2) | $129.99 |
| Flexible insulated duct (4" diameter) | 10 ft | Use rigid or semi-rigid metal duct where possible; flexible only for short transitions | $14.97 |
| Roof or wall vent cap (with backdraft damper) | 1 | Must match duct size and installation path (roof vs. gable wall) | $22.50 |
| Electrical box (new-work, IC-rated if near insulation) | 1 | Required even if replacing—old boxes often lack support for modern fans | $8.49 |
| 14/2 NM-B cable (if extending circuit) | 15 ft | Only needed if no nearby switched outlet or light box exists | $7.25 |
| Wire nuts (red or yellow), grounding screws, drywall screws | Assorted | Use UL-listed connectors rated for 14 AWG | $5.99 |
Step-by-Step Instructions
1. Turn Off Power & Confirm Circuit Is Dead
Switch off the bathroom’s lighting circuit at the main panel. Use a non-contact voltage tester at the existing switch and ceiling box—test both black and white wires. Double-check by toggling the switch while testing. Never assume a switch controls only one device.
2. Remove Old Fan & Inspect Framing
Carefully unscrew and lower the old unit. Cut power leads with wire cutters (leave 6" stubs). Check joist spacing: standard is 16" on center, but verify with a stud finder. If your new fan requires a 2x10 or 2x12 mounting frame (many do), mark and cut backing lumber now—not later.
3. Install Mounting Frame & Electrical Box
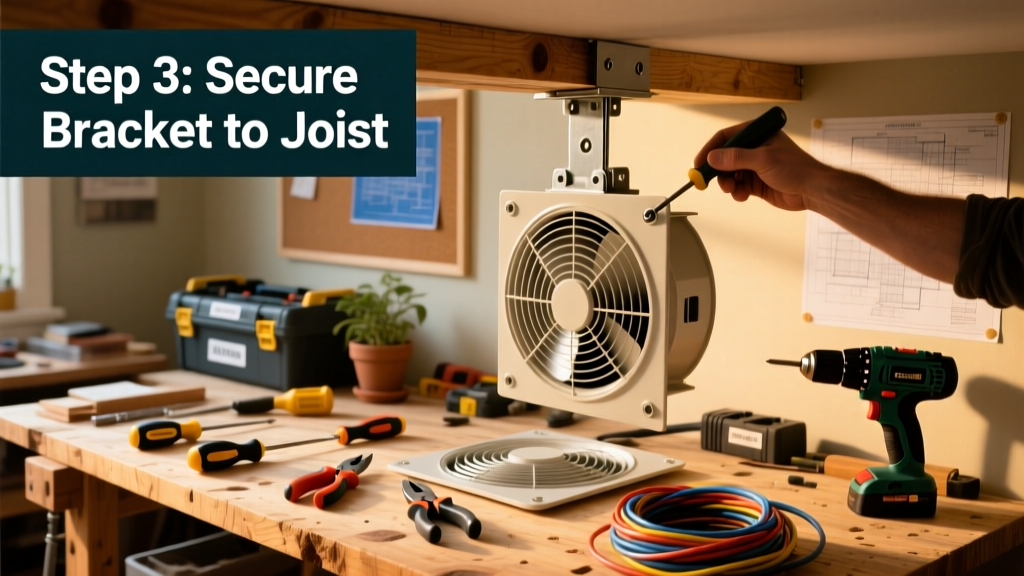
Secure a 2x10 or manufacturer-recommended header between joists using 3" structural screws. Attach the new IC-rated electrical box to the header with supplied brackets—ensure it’s centered under your planned drywall opening and level. The box must support the fan’s weight (most weigh 8–12 lbs).
4. Run Ductwork to Exterior
Route 4" rigid or flexible duct from the fan collar to the roof or gable wall. Keep runs as straight and short as possible—maximum 25 ft for 4" duct per the HVAC duct sizing guide. Slope duct slightly downward toward the exterior to prevent condensation pooling. Seal all joints with aluminum foil tape—not duct mastic or HVAC tape.
5. Wire the Fan & Switch
Connect black (hot) to black, white (neutral) to white, and bare/green (ground) to ground using UL-listed wire nuts. If your fan has a separate light or humidity sensor, follow its wiring diagram exactly—don’t guess. Mount the fan into the frame, securing all mounting screws evenly. Then connect the wall switch: hot feed to switch line, switched leg to fan black wire.
6. Seal & Insulate Around the Housing
This is where most DIYers fail. Use expanding foam rated for electrical enclosures (e.g., Great Stuff FlameBlock) around the fan housing perimeter—but never inside the motor cavity or over wiring. Then wrap the entire housing in R-13 batt insulation, cutting slits to fit snugly. According to the Bathroom Mold Prevention Guide, 87% of moisture-related ceiling stains trace back to unsealed fan housings.
Tips & Common Mistakes
- Never vent into an attic—even “cold” attics accumulate moisture that freezes and drips onto insulation and framing.
- Avoid plastic vent caps: they crack in UV exposure and freeze shut in winter. Use galvanized steel or ABS with a weighted damper.
- If your bathroom lacks a dedicated switch, add a timer switch (like the Leviton Decora 24-hour model) instead of hardwiring to the light—it ensures runtime long enough to clear steam.
“A fan that moves 110 CFM for a standard 50-sq-ft bathroom meets ASHRAE 62.2 requirements—but only if duct leakage stays under 5%. That means every seam matters.” — HVAC Technician Maria Chen, Residential Air Quality Review, 2023
Finishing Touches
After wiring and ducting are complete, patch any drywall cuts with mesh tape and joint compound. Sand smooth, prime, then paint to match. For the grille, wipe with denatured alcohol before painting—oil-based primer helps adhesion. If installing a smart fan (e.g., Broan NuTone SmartSense), download the app *before* final mounting to calibrate the humidity sensor during setup.
How do I know if my duct run is too long?
Measure total length—including elbows. Each 90° turn adds 5 ft equivalent length. For 4" duct, stay under 25 ft total equivalent length. Longer runs require larger duct (5") or inline boost fans—see our bathroom ventilation calculator.
Can I install this in a bathroom with no attic access?
Yes—but plan for a sidewall termination. Use a wall cap designed for 4" duct and drill through the rim joist or band board with a 4-1/4" hole saw. Seal exterior penetration with OSI Quad Max sealant, not caulk.
Do I need a GFCI breaker for the fan circuit?
No—exhaust fans don’t require GFCI protection per NEC 2023 Article 210.8(A)(1), unless installed over a tub or shower stall. But always use a GFCI-protected circuit if sharing with outlets.
Why does my new fan sound louder than expected?
Check for duct kinks or crushed flexible duct—these cause turbulence and noise. Also verify the fan isn’t vibrating against framing; insert rubber shims between mounting flange and wood.
Can I replace just the motor without changing the housing?
Rarely. Modern fans integrate motors, dampers, and sensors into sealed assemblies. Replacing only the motor voids UL listing and warranty—and risks fire hazard. Full-unit replacement is safer and costs less than labor for partial repair.
What’s the best way to test airflow after installation?
Hold a tissue 6" below the grille—it should lift steadily within 3 seconds. For precision, use a handheld anemometer ($35–$60); aim for ≥70 FPM at the grille face. Anything under 50 FPM indicates duct restriction or undersized fan.
With clean lines, quiet operation, and proper moisture control, your new exhaust fan will pay for itself in reduced mildew cleanup and paint touch-ups. And next time you step out of a hot shower, you’ll hear that soft hum—not dripping water behind the tile.