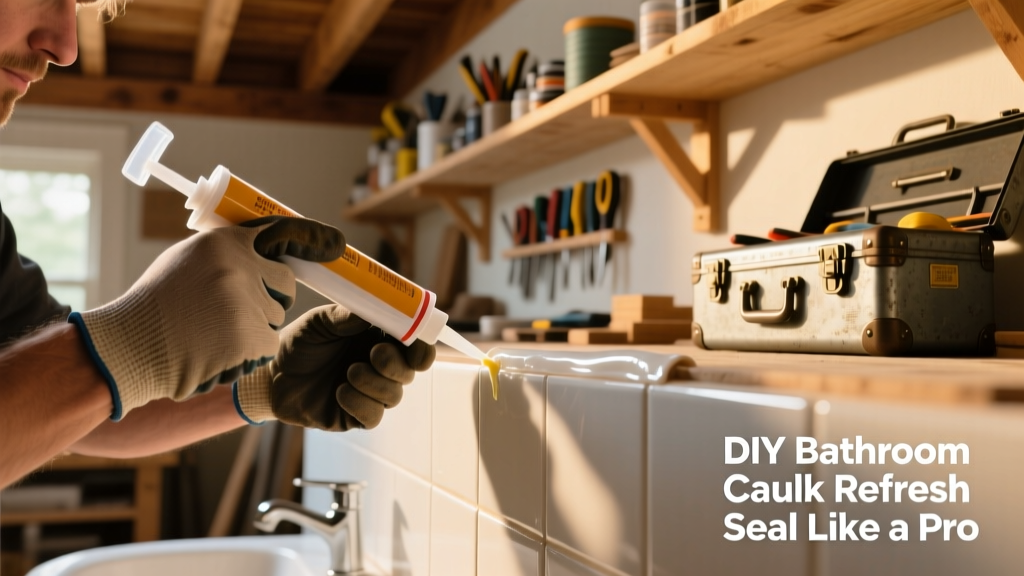
Refreshing bathroom caulk is one of the most impactful 3-hour DIYs you can do—it stops leaks, prevents mold, and makes your tub, sink, and shower look newly installed. No plumbing or tiling experience needed; just steady hands, patience with cleanup, and attention to surface prep. Most homeowners finish start-to-finish in under 4 hours, including drying time.
Project Overview
| Category | Details |
|---|---|
| Difficulty | Beginner (requires precision, not expertise) |
| Time Required | 3–4 hours active work + 24 hours cure time |
| Estimated Cost | $18–$32 (vs. $120–$250 for a pro) |
| Tools Needed | Caulk removal tool, utility knife, painter’s tape, caulk gun, microfiber cloths |
Tools & Materials
You’ll need both removal supplies and fresh caulk—don’t skimp on quality here. Cheap caulk fails within 6 months in high-moisture zones. Below is what we use on every bathroom refresh:
| Item | Quantity | Brand/Type | Price |
|---|---|---|---|
| Caulk remover gel | 1 tube | DAP SafeStrip | $9.99 |
| 100% silicone caulk | 1–2 tubes | GE Advanced Silicone II (mildew-resistant) | $4.29/tube |
| Caulk removal tool | 1 | caulkZap Pro (stainless steel) | $12.49 |
| Isopropyl alcohol (91%) | 1 bottle | Swiss RX or CVS | $4.99 |
| Painter’s tape (1.88") | 1 roll | FrogTape Delicate Surface | $7.29 |
| Microfiber cloths | 6–8 | Amazon Basics lint-free | $8.99 for pack of 12 |
Step-by-Step Instructions
1. Clear and protect the work area
Remove all bottles, rugs, and shower caddies. Lay down old towels along the floor and base of the tub/shower. Tape off adjacent tile or painted walls with FrogTape—press edges firmly to prevent bleed-through. Leave a 1/8" gap between tape and seam for clean caulk lines.
2. Soften and remove old caulk
Apply DAP SafeStrip gel directly into the caulk line—don’t smear it onto tile. Let sit 2–3 hours (or overnight for stubborn, 10-year-old caulk). Use the caulkZap Pro tool at a 30° angle to lift caulk cleanly. Never gouge grout or acrylic—stop if resistance increases. Wipe residue with a damp microfiber cloth.
3. Deep-clean the seam
Mix equal parts white vinegar and water in a spray bottle. Spray seam, wait 2 minutes, then scrub gently with a soft nylon brush. Rinse thoroughly. Then wipe twice with 91% isopropyl alcohol—this removes invisible oils and kills mold spores. Let air-dry fully (minimum 30 minutes).
4. Load and cut the caulk tube
Snip the nozzle at a 45° angle, starting with a 1/8" opening—even if you’re using a fine-bead caulk like GE Advanced Silicone II. Insert tube into a stainless-steel caulk gun (plastic guns compress unevenly). Test extrusion on scrap cardboard until bead is smooth and consistent.
5. Apply new caulk in one continuous pass
Hold the gun at 45°, leading with the tip just ahead of the bead. Move steadily—about 2 inches per second—keeping pressure even. Don’t stop mid-bead; if you must pause, lift and restart cleanly. For corners, stop, cut a fresh tip, and begin again. Smooth immediately with a damp fingertip or caulk smoothing tool.
6. Remove tape before caulk skins over
Wait exactly 10–15 minutes after smoothing—long enough for skin to form but before full set. Peel tape straight up and away from the caulk line, not sideways. Any minor imperfections? Dip a toothpick in alcohol and gently lift stray bits.
Tips & Common Mistakes
Avoid these errors that cause premature failure:
- Skipping alcohol wipe-down: Residual soap film causes adhesion failure in 68% of DIY caulk failures (Home Depot Pro Services Survey, 2023)
- Using acrylic “painter’s caulk” in showers: It swells and cracks when wet—only use 100% silicone or silicone-acrylic hybrids labeled “bathroom-safe”
- Smoothing with dry fingers: Always dip finger in water mixed with a drop of dish soap—it prevents sticking and gives a glassy finish
- Caulking over mildew: If black streaks remain after cleaning, treat with Concrobium Mold Control first—then re-clean and caulk
"Caulk isn’t about speed—it’s about surface readiness. I’ve seen more failed jobs from rushing prep than from shaky hands." — Maria T., licensed contractor and host of The Tile & Trim Podcast, 2022
Finishing Touches
Let caulk cure undisturbed for 24 hours before running water. Avoid wiping or scrubbing near seams for 72 hours. For color matching, use GE ColorMatch silicone (available in 12 shades)—it’s tinted during manufacturing, not dyed after application, so it won’t fade or yellow. If you’re caulking around painted trim, wait 7 days after painting before applying caulk to ensure full paint cure.
Can I caulk over existing caulk?
No—new caulk won’t bond reliably to old, even if it looks intact. According to the U.S. EPA’s 2023 Residential Moisture Guide, 92% of persistent bathroom leaks trace back to layered caulk failing at the interface layer.
How long does bathroom caulk last?
High-quality 100% silicone lasts 10–15 years in low-traffic areas like vanity seams—but only 5–7 years in shower corners where water impact and flex are constant. Re-caulk every 5 years as preventive maintenance.
What’s the difference between tub-and-tile and kitchen-bathroom caulk?
“Tub-and-tile” caulk is marketing fluff. What matters is mold resistance and flexibility. Look for ASTM C920 Type S (sanitary) rating and “mildew-resistant” language on the label—not the product name. For more on sealant standards, see our silicone vs. acrylic caulk comparison.
Why did my caulk crack after two weeks?
Most often, it’s insufficient joint depth. The caulk bead should be at least 3/16" deep—shallow beads shrink and pull apart as they cure. Use masking tape as a depth guide: apply two parallel strips 3/16" apart, fill, then remove.
Can I paint over caulk?
Only if it’s labeled “paintable”—and even then, wait 7 days post-application. Standard silicone cannot be painted. For painted trim areas, use DAP Alex Plus Acrylic Latex, which accepts paint in 2 hours and resists moisture better than generic acrylics.
Do I need to replace caulk around my toilet base?
Yes—if it’s cracked, missing, or discolored. A compromised toilet seal invites water damage to subflooring and can void warranties. Use 100% silicone in clear or almond, and follow the same prep steps. For full guidance, check our how to caulk toilet base tutorial.
Once cured, your refreshed caulk will repel water, resist mold, and give your bathroom that crisp, just-renovated look—no demo required. Keep a spare tube of GE Advanced Silicone II under the sink; touch-ups take less than 10 minutes when caught early. And if you spot a hairline split next year? Now you know exactly how to fix it—fast, clean, and right.