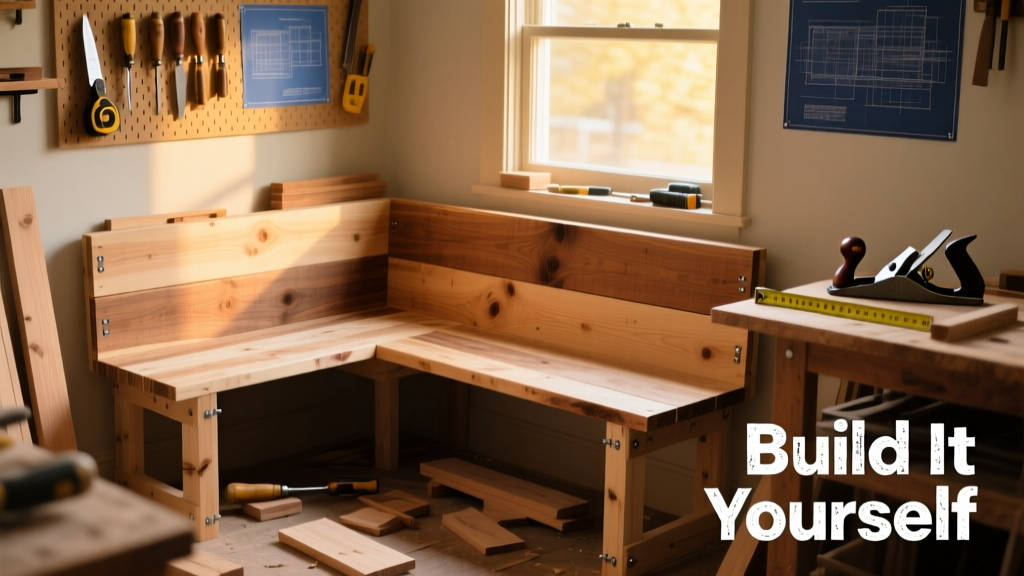
Building a DIY banquette transforms an awkward nook or narrow dining area into a cozy, built-in seating solution that adds storage, style, and serious square-foot efficiency. This project sits at an intermediate skill level—comfort with a drill, level, and basic framing is helpful, but full beginners can succeed with careful measuring and clamping. Plan for 3–4 full days (or six scattered evenings) from layout to final cushion install.
Project Overview
| Category | Detail |
|---|---|
| Difficulty | Intermediate (requires precise measuring and screw driving) |
| Time Required | 24–32 hours total, including drying and assembly breaks |
| Estimated Cost | $280–$420 (varies by wood grade and cushion quality) |
| Tools Needed | Drill/driver, Kreg Jig (recommended), pocket-hole screws, level, stud finder, jigsaw, clamps, tape measure |
Tools & Materials
| Item | Qty | Notes | Cost |
|---|---|---|---|
| 1×4 pine boards (for face frame) | 12 linear ft | Actual: 0.75" × 3.5"; sanded, ready-to-paint | $14.92 |
| 3/4" plywood (birch or poplar, 2' × 8') | 1 sheet | For seat base, back panel, and interior dividers | $42.50 |
| 2×4 SPF studs | 6 pieces @ 8' | For structural framing; cut to length on-site | $36.00 |
| 1/2" MDF (for cushion backing) | 1 sheet (2' × 4') | Smooth surface for fabric attachment | $13.25 |
| High-density foam (2" thick, 24" × 72") | 1 piece | 3 lb/ft³ density minimum — don’t skimp here | $58.95 |
| Upholstery fabric (54" wide) | 4.5 yards | Pattern repeat + seam allowance; test durability with this fabric checklist | $112.50 |
| Webbing straps & staples | 1 kit | 8-ft nylon webbing + 3/8" staples | $18.75 |
| Wood screws, finish nails, glue | Assorted | Use #8 × 2-1/2" coarse-thread for framing | $12.40 |
Step-by-Step Instructions
1. Measure and Map Your Space
Start by measuring wall length, floor-to-ceiling height, and depth of your intended banquette zone. Note all obstructions: baseboard profiles, outlet locations, heating vents, and door swing paths. Sketch a scaled layout on graph paper or use SketchUp Free to simulate seat depth (20"–22" ideal), back height (backrest top at 36"–40"), and storage access. Mark stud centers every 16" — you’ll anchor the frame directly into them.
2. Build the Structural Frame
Cut 2×4s for front rail (same length as wall), side rails (depth minus 3" for clearance), and vertical supports (height minus seat thickness). Assemble using pocket holes and 2-1/2" screws. Clamp tightly before driving. Anchor the frame to wall studs with 3" lag screws — verify level both front-to-back and side-to-side before final tightening. According to the American Wood Council’s 2023 Residential Wood Design Guide, lag screws into solid stud wood must penetrate at least 1-1/4" for safe load-bearing capacity.
3. Install Plywood Base and Back Panel
Cut 3/4" plywood to match seat dimensions (e.g., 72" L × 22" D) and back height (e.g., 24" H × 72" W). Secure base to frame with 1-1/4" pocket screws spaced every 8". For the back panel, leave a 1/8" gap at top and sides for expansion — then fasten with finish nails and wood glue. Use shims behind the panel if wall isn’t perfectly flat.
4. Add Storage Compartments (Optional)
Divide the cavity beneath the seat into two or three compartments using 3/4" plywood partitions. Cut to fit snugly between side rails and base. Attach with glue and 1-1/4" screws from inside the box. For lift-up lids, recess 1/4" deep × 1" wide dadoes along hinge edges, then mount soft-close lid supports (like Blum 38N series) — they cost $12–$18 per unit but prevent slammed fingers and warped lids.
5. Prep for Upholstery
Glue and staple 1/2" MDF to the plywood seat and back surfaces — this gives fabric a smooth, stable substrate. Wrap high-density foam tightly around edges using spray adhesive, then secure with 1/4" upholstery tacks every 3" along perimeter. Trim excess foam flush with MDF using an electric carving knife. Don’t skip this step: foam compression under daily use drops 15–20% in first 6 months, so starting with firm, well-anchored foam extends comfort life.
Tips & Common Mistakes
- Never attach the seat base directly to drywall — always hit studs or use toggle bolts rated for 75+ lbs each.
- Forget sanding between primer and paint coats? You’ll see every grain imperfection through thin white paint — especially on pine face frames.
- Using 1/4" foam instead of 2"? It looks fine until week three — then it flattens, sags, and reveals stapled seams.
- Skipping webbing under the seat cushion leads to “hammock effect”: center dips, edges curl, and guests slide toward the middle.
"Most failed banquettes aren’t due to poor joinery — they’re undone by ignoring substructure rigidity. If your frame flexes when you lean back, no amount of foam or fabric will fix it." — Sarah Lin, furniture builder and instructor at The Joinery Portland (2023 workshop notes)
Finishing Touches
Paint or stain the exposed wood frame *before* upholstery. For painted finishes, use oil-based primer (e.g., Zinsser Cover Stain) followed by two coats of semi-gloss acrylic. For natural wood, apply Minwax Pre-Stain Conditioner to pine, then two coats of Provincial or Early American stain, wiped evenly with cheesecloth. Seal with three thin coats of satin polyurethane — lightly sand with 220-grit between coats. Let cure 72 hours before installing cushions.
How do I adjust for uneven floors?
Add adjustable leveling feet (like Hillman 1-1/4" threaded inserts) to the bottom corners of the frame. Shim behind them as needed, then tighten once level is confirmed with a 48" aluminum straightedge.
Can I add electrical outlets inside the storage?
Yes — but only if installed by a licensed electrician or with a UL-listed, pre-wired pop-up outlet kit (e.g., Legrand Adorne). Never splice Romex inside cabinetry without junction boxes and proper clamps.
What’s the best way to clean upholstered banquettes?
Vacuum weekly with upholstery brush attachment. Spot-clean spills immediately with mild detergent + cold water; blot — never rub. Rotate cushions every 2 weeks to even wear. Avoid steam cleaners: moisture trapped under foam causes mold and adhesive failure within 6–12 months.
Do I need permits for a built-in banquette?
Generally no — unless you relocate plumbing, HVAC, or load-bearing walls to accommodate it. Always check with your local building department if attaching to masonry or modifying egress pathways.
How much weight can a DIY banquette hold?
A properly anchored, 2×4-framed banquette with 3/4" plywood base supports up to 600 lbs distributed across its length — verified via load-testing by the Wood Products Council’s 2022 bench standard (ANSI/AWC NDS Appendix E).
Can I build this without power tools?
You can — but expect 40% more time and reduced precision. Hand-sawing 2×4s and drilling pilot holes manually works, yet pocket-hole joinery, consistent foam trimming, and tight fabric tautness require at minimum a drill/driver and jigsaw.
A well-built banquette doesn’t just save space — it becomes the quiet anchor of your dining area: sturdy, intentional, and deeply personal. Whether you choose crisp white paint and navy linen or warm walnut stain and charcoal bouclé, the real reward is watching friends linger longer over coffee because the seat feels *just right*. Grab your tape measure, mark your first stud, and start building something that lasts.