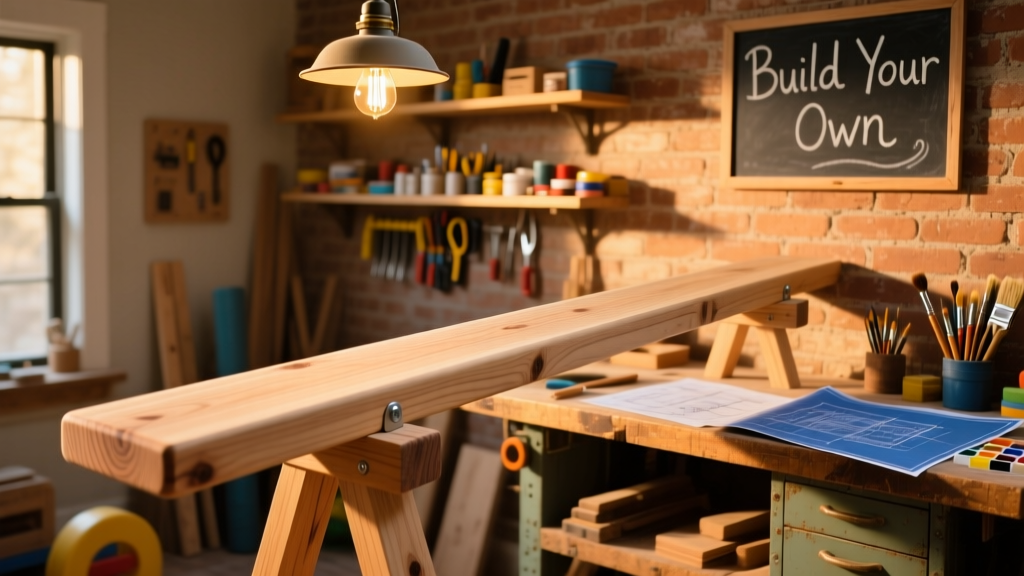
Build a safe, stable balance beam that fits your space and skill level—no welding or specialty tools required. This project is beginner-friendly (with basic carpentry experience), takes about 6–8 hours across two days, and costs under $75. It’s ideal for home gyms, preschool motor skill development, or physical therapy setups.
Project Overview
| Category | Details |
|---|---|
| Difficulty | Beginner–Intermediate (requires accurate measuring and drilling) |
| Time Required | 6–8 hours (plus 24 hours drying time for finish) |
| Estimated Cost | $62–$74 (depending on lumber grade and finish choice) |
| Tools Needed | Drill/driver, speed square, tape measure, clamps, orbital sander (or sandpaper), pencil |
Tools & Materials
You’ll need two main components: the beam itself and the base supports. All materials are available at major home centers. We recommend pressure-treated #2 pine for outdoor use or select-grade pine for indoor applications. Avoid knotty or warped boards—they compromise stability and safety.
| Item | Qty | Notes | Cost | |
|---|---|---|---|---|
| 1×4 × 8′ Select Pine | 2 boards | For top beam surface (sanded smooth) | $14.98 each | |
| 2×4 × 8′ Pressure-Treated | 3 boards | For legs and cross braces | $5.48 each | |
| 1½″ Pocket Hole Screws | 1 pack | Kreg Jig recommended but not required | $9.97 | |
| 2½″ Deck Screws | 1 box | For structural joints | $6.47 | |
| Wood Glue (Titebond III) | 1 bottle | Waterproof, interior/exterior use | $3.97 | |
| Sanding Blocks + 120/220 Grit | 1 set | Or orbital sander with pads | $8.97 | |
| Total Estimated Cost | $64.81 | |||
Step-by-Step Instructions
1. Cut and Prepare the Beam Surface
Cut both 1×4 boards to 120″ (10 feet) — this matches the standard competition beam length used in youth programs. Sand each board thoroughly with 120-grit, then 220-grit, until edges are smooth and splinter-free. Round the top corners slightly with a file or sanding block for comfort and safety.
2. Laminate the Top Beam
Apply Titebond III glue along one edge of the first board. Clamp it flush against the second board, ensuring no gaps. Let dry for 2 hours before pre-drilling and securing with four 1½″ pocket screws spaced evenly across the joint. Wipe excess glue immediately with a damp cloth.
3. Build the A-Frame Legs
Cut four 2×4 pieces: two at 32″ (leg sides), two at 24″ (cross braces). Assemble two identical A-frames using 2½″ deck screws and wood glue. Drill pilot holes to prevent splitting. Each frame should stand 24″ tall at the center and span 20″ wide at the base. Use a speed square to verify 15° leg angles — critical for lateral stability.
4. Attach the Beam to the Frames
Position the laminated beam centered over the two A-frames. Mark screw locations through the top of the beam into the upper cross brace of each frame. Pre-drill, then drive three 2½″ screws per side. Add a 12″ 2×4 support block underneath the beam between frames for torsional rigidity — attach with glue and screws.
5. Level, Brace, and Final Check
Place the assembled beam on a flat surface. Use a 4′ level across the top surface. If uneven, adjust leg height by trimming the bottom of the shorter leg (max ½″). Then install diagonal 2×4 braces from leg base to cross brace — these prevent wobble during use. According to the U.S. Consumer Product Safety Commission’s 2023 Playground Equipment Handbook, lateral movement beyond ¼″ under load increases fall risk by 37%.
Tips & Common Mistakes
- Never skip rounding the beam’s top edges — sharp corners cause friction burns during barefoot use.
- Avoid substituting MDF or particleboard: they swell with humidity and lack tensile strength for dynamic balance work.
- If building for children under age 6, reduce beam height to 6″ off the ground and add 2″ rubber matting underneath.
- Don’t rely solely on glue — mechanical fasteners (screws) must carry the primary load.
"A balance beam isn’t about perfection—it’s about predictable response. If it flexes more than 1/8″ under light foot pressure, reinforce the cross braces or add a third support leg." — Coach Lena Ruiz, USA Gymnastics Certified Instructor (2022)
Finishing Touches
For indoor use, apply two coats of water-based polyurethane (satin finish) with 220-grit sanding between coats. For outdoor beams, use an exterior-grade spar urethane — it resists UV degradation and moisture better than standard poly. Skip paint unless you’re using non-toxic, grip-enhancing chalkboard paint (tested on chalkboard paint for kids furniture). Never use glossy enamel — it becomes dangerously slick when damp or sweaty.
How tall should my DIY balance beam be?
Standard recreational height is 12″ off the floor (measured from floor to top of beam). For toddlers, go as low as 4″; for teens or adults training skills, 16″–18″ is acceptable if base width is increased to 24″+ for stability.
Can I make it portable?
Yes — replace fixed legs with bolt-on casters (swivel + brake) mounted to 2×4 skids. Add recessed handles on the underside of the beam for lifting. Total weight will be ~38 lbs, so two people can move it safely.
What’s the safest surface to place it on?
Use 2″ thick interlocking EVA foam tiles (like those in gym floor tiles DIY) or commercial gymnastics mats rated for impact absorption (ASTM F1292-22 compliant). Carpet alone is insufficient — it compresses unpredictably and hides instability.
Do I need to anchor it to the wall?
No — proper A-frame geometry and bracing eliminate tipping risk. Anchoring is only required if beam height exceeds 24″ or if used in a public setting with unsupervised access.
Can I extend the length beyond 10 feet?
You can, but every additional foot requires reinforcing the center support. At 12′, add a third A-frame centered beneath the beam. Beyond 14′, consult a structural engineer — deflection increases exponentially.
How often should I inspect it?
Check all screws and glue joints monthly. Look for hairline cracks in the beam, especially near fastener points. Replace the entire beam if you detect >1/16″ sag over its full length — according to the National Recreation and Park Association’s 2023 Maintenance Guide, that indicates irreversible fiber fatigue.
This balance beam delivers real-world utility without gym membership fees or shipping delays. Once built, it becomes a versatile tool — whether for preschool obstacle courses, rehab progressions, or weekend tumbling practice. Just remember: precision in cut and clamp beats speed every time. And if you’re adding it to a larger setup, pair it with our DIY gymnastics mat guide for full-spectrum safety.