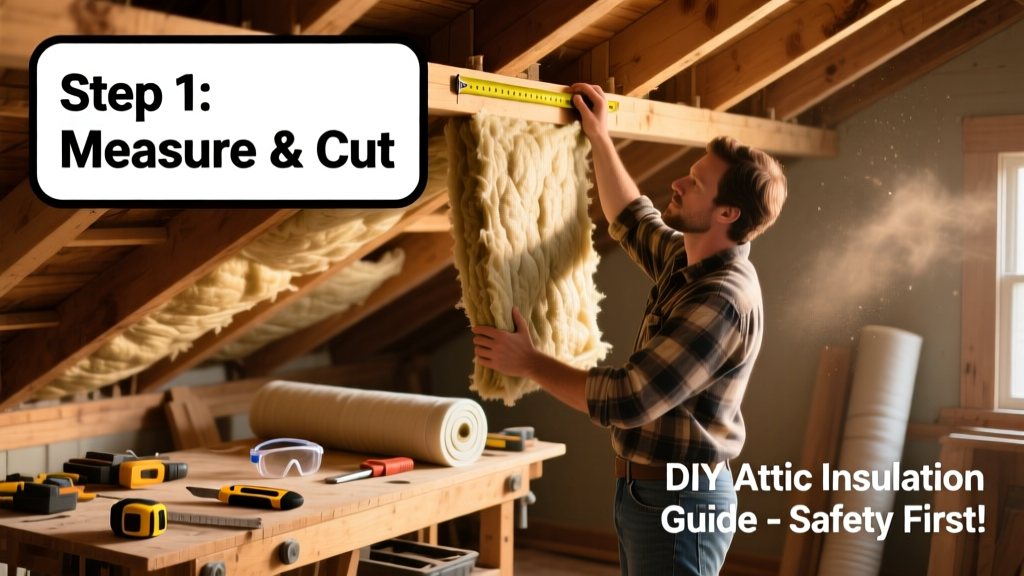
Installing attic insulation is one of the highest-return DIY energy upgrades you can tackle—especially if your home has less than R-30 in the ceiling. This project suits beginners with basic tool-handling skills and takes a full weekend (12–16 hours) across two days, including air sealing prep and cleanup.
Project Overview
| Category | Details |
|---|---|
| Difficulty | Beginner–Intermediate (requires working in tight spaces and lifting 30–40 lb bags) |
| Time Required | 12–16 hours (split over 2 days; day one for prep/sealing, day two for installation) |
| Estimated Cost | $280–$520 (R-38 blown cellulose for 1,200 sq ft attic) |
| Tools Needed | Utility knife, respirator (N95 minimum), headlamp, caulk gun, blower machine (rental), measuring tape |
Tools & Materials
You’ll need both safety gear and installation supplies. Renting a cellulose blower saves $180 vs. buying—and most hardware stores offer same-day pickup with reservation. Fiberglass batts are simpler for small, open attics but deliver ~20% less effective coverage due to compression and gaps, per the U.S. Department of Energy’s 2023 Residential Energy Efficiency Guide.
| Item | Quantity | Cost Range |
|---|---|---|
| Cellulose insulation (R-3.2 per inch) | 28–32 bags (for R-38 @ 12" depth) | $320–$440 |
| Expanding foam sealant (low-expansion) | 3–4 cans | $35–$48 |
| N95 respirator + safety goggles | 1 set | $18–$26 |
| Attic floor ventilation baffles | 8–12 pcs (for soffit vents) | $24–$36 |
| Rent-a-Blower (cellulose) | 1 weekend | $55–$75 |
Step-by-Step Instructions
1. Assess current insulation and air leaks
Measure existing depth with a ruler stuck vertically into the insulation. If it’s under 10 inches (R-30), you’re due for an upgrade. Use a smoke pencil or incense stick near top plates, recessed lights, and plumbing stacks to spot airflow—leaks often hide behind kneewalls or around chimney chases.
2. Seal all air leaks before insulating
This step alone improves performance by 25%, according to the Insurance Institute for Business & Home Safety’s 2023 report. Fill gaps >1/8" with low-expansion spray foam; use caulk for cracks <1/8". Don’t cover recessed can lights unless rated IC (Insulation Contact)—otherwise install airtight covers first.
3. Install ventilation baffles at eaves
Without these rigid channels, new insulation will block soffit vents and trap moisture. Staple them firmly to rafters, extending at least 2 inches past the top plate. Confirm they’re clear of insulation after blowing—use a flashlight to verify airflow paths.
4. Lay down a vapor barrier (if needed)
In cold climates (Zones 5–8), add 6-mil polyethylene over joists *before* blowing—seal seams with acoustical sealant. Skip this in mixed/hot-humid zones (Zones 1–3); the U.S. EPA’s 2022 Moisture Control Guidance warns it can trap condensation in walls.
5. Blow in cellulose to target depth
Set your blower to medium density (~2.5–3.0 lbs/cu ft). Work from farthest corner toward the hatch, overlapping passes by 30%. Use a depth gauge (a marked stick or broom handle) every 4 sq ft—R-38 requires ~12 inches of settled cellulose. Don’t walk on joists barefoot—wear boots with grippy soles.
Tips & Common Mistakes
- Never compress fiberglass batts to fit between joists—they lose R-value fast; R-13 compressed into 2×4 walls drops to R-9.5.
- Don’t insulate over whole-house fans or attic exhaust fans unless labeled “insulation-compatible.”
- Leave 3 inches of clearance around chimneys—even noncombustible ones—per NFPA 211 (2023 edition).
- If your attic has knob-and-tube wiring, call an electrician before insulating. Covering it violates NEC Article 324.12.
“Most homeowners underestimate attic air leakage—it accounts for nearly 40% of total heat loss in older homes. Sealing first delivers more savings than adding extra inches of insulation.” — Dr. Lena Torres, Building Science Advisor, Building Science Corporation, 2022
Finishing Touches
After blowing, smooth the surface with a rake board (2×4) dragged across joists—not pressed down—to maintain uniform depth. Label your new R-value on the attic hatch frame with permanent marker. Replace the hatch cover with an insulated one (R-5 minimum) if yours is thin plywood or particleboard. Finally, snap photos before closing up—you’ll thank yourself during next year’s tax filing for the federal 25C tax credit (30% up to $2,000, IRS Form 5695).
How much insulation do I really need?
R-value targets depend on climate zone. For example: Zone 4 (e.g., Nashville, Richmond) needs R-38 minimum; Zone 6 (Minneapolis, Fargo) requires R-49. Use the DOE’s interactive R-value map to confirm your ZIP code’s recommendation.
Can I add insulation over existing material?
Yes—if the old layer is dry, pest-free, and not moldy. Test for moisture with a moisture meter (<20% reading). Never lay fiberglass over wet cellulose; it traps vapor and invites rot. Always air-seal first, even over existing insulation.
What’s better: cellulose or fiberglass?
Cellulose wins for whole-attic coverage: higher density blocks air movement, contains 75% recycled paper, and settles predictably. Fiberglass batts suit irregular framing or small storage areas where precise cutting matters—but require meticulous fitting to avoid thermal bridging.
Do I need a building permit?
Most jurisdictions exempt insulation-only upgrades—but check with your local building department if you’re altering ventilation, adding electrical, or installing rigid foam over roof sheathing. Permits cost $45–$120 and take 2–5 business days to approve.
How do I know if it worked?
Track your HVAC runtime with a smart thermostat or utility bill comparison. A successful R-38 upgrade typically reduces winter gas use by 12–15% and cuts summer AC runtime by 18–22%, based on PNNL’s 2021 field study of 317 retrofitted homes.
Should I insulate the attic stairs or hatch?
Absolutely. An uninsulated attic hatch loses as much heat as a 2-ft² window. Upgrade to a pre-insulated metal or foam-core hatch (R-5 minimum), or build a simple box from rigid foam and attach it with Velcro strips. Seal edges with weatherstripping.
Done right, your attic insulation pays for itself in under five years through lower utility bills—and keeps your upstairs bedrooms comfortable year-round. If you hit a snag with baffles or wiring, revisit our air sealing guide or recessed light retrofit tutorial. Now go enjoy that quiet, draft-free attic—and maybe store those holiday decorations without shivering.