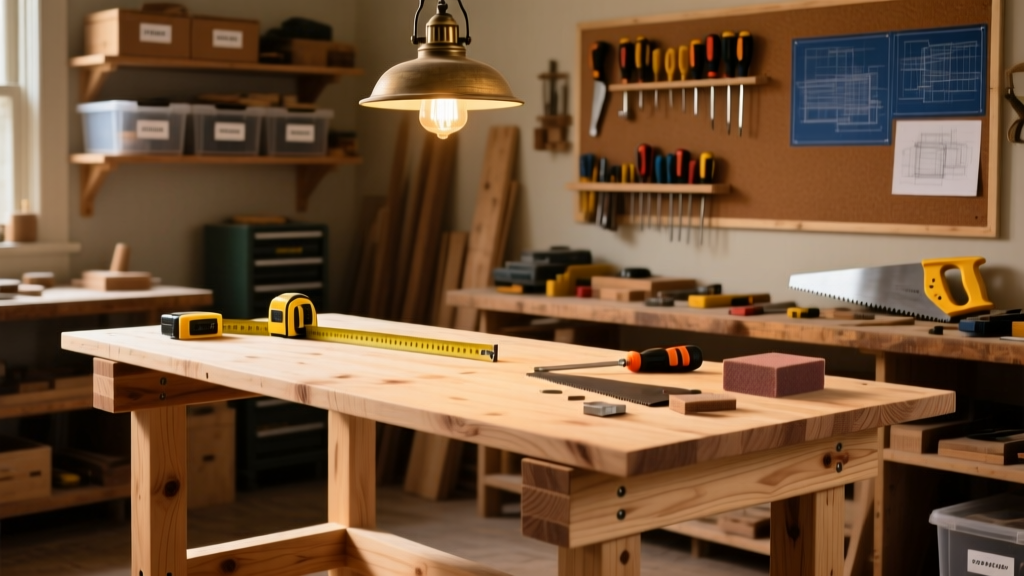
This DIY assembly table is a shop-ready work surface built for glue-ups, cabinet assembly, and small furniture builds. Designed for intermediate woodworkers (comfortable with a drill, square, and circular saw), it takes about 8–10 hours across two days — including drying time for glue and finish. The frame supports up to 300 lbs evenly distributed, and its open base allows easy access for clamps and tool storage underneath.
Project Overview
| Category | Detail |
|---|---|
| Difficulty | Intermediate (requires precise layout and clamp management) |
| Time Required | 8–10 hours (plus 24 hrs for glue/finish curing) |
| Estimated Cost | $129–$167 (depending on plywood grade and hardware choices) |
| Tools Needed | Drill/driver, circular saw, speed square, tape measure, clamps (4× 24" bar clamps recommended) |
Tools & Materials
You’ll need one sheet of 3/4" Baltic birch plywood (4' x 8') and standard dimensional lumber. Baltic birch is worth the $55–$65 premium over common plywood — its void-free core and consistent thickness prevent tear-out when routing or drilling near edges. All screws are #10 × 2-1/2" coarse-thread cabinet screws unless noted.
| Item | Qty | Notes | Cost |
|---|---|---|---|
| Baltic birch plywood (3/4" × 4' × 8') | 1 sheet | Grade A/B or better; avoid MDF-core substitutes | $59.97 |
| 2×4 SPF #2 (8') | 4 pieces | Cut to 29-1/2" (legs) and 59-1/2" (long rails) | $28.80 |
| 2×2 SPF #2 (8') | 2 pieces | Cut to 24" (cross braces); optional but strongly recommended | $11.98 |
| #10 × 2-1/2" cabinet screws | 64 | Star-drive, zinc-plated; use Kreg-brand or equivalent | $12.47 |
| Wood glue (Titebond III) | 1 bottle | Waterproof, 8 oz bottle covers entire build | $8.97 |
| Corner braces (steel, 3") | 4 | For added rigidity at leg-to-rail junctions | $14.99 |
| Leveling feet (3/8"-16 thread, 1" travel) | 4 | Mounts directly into 2×4 legs; essential for uneven floors | $19.99 |
| Total (low-end) | $157.17 | ||
Step-by-Step Instructions
Cut all parts to size using a straightedge guide
Mark and cut the plywood first: one 30" × 60" top panel, two 29-1/2" × 60" side aprons, and two 29-1/2" × 28-1/2" end aprons. Then rip the 2×4s: four legs at 29-1/2", two long rails at 59-1/2", and two short rails at 28-1/2". Use a speed square and pencil to mark every cut — double-check measurements before cutting. Clamp your straightedge firmly and use a fine-tooth carbide blade (40+ teeth) to minimize splintering on the birch veneer.
Assemble the rectangular frame
Lay the two long aprons (30" × 60") and two end aprons (30" × 28-1/2") on a flat surface. Dry-fit them into a rectangle — confirm all corners are 90° using the 3-4-5 triangle method (measure 3" along one edge, 4" along adjacent, then verify diagonal is exactly 5"). Pre-drill countersunk holes every 8" along mating edges, apply Titebond III glue, then screw together with 2-1/2" screws. Wipe excess glue immediately with a damp rag.
Attach legs to the frame corners
Position each 29-1/2" 2×4 leg flush with the inside corner of the frame — top of leg aligned with underside of apron. Clamp securely. Drill pilot holes through apron into leg, then drive three 2-1/2" screws per leg. Reinforce each joint with a 3" steel corner brace screwed into both apron and leg. This prevents racking under lateral load — critical when clamping large panels.
Add cross-bracing and leveling feet
Cut two 2×2 braces to 24" length. Mount them horizontally between opposite legs, 12" up from the floor, using 2" screws. These stop side-to-side sway during aggressive clamping. Next, drill 3/8"-16 threaded holes centered in the bottom of each leg. Thread in leveling feet until their rubber pads just touch the floor — you’ll fine-tune this after final assembly.
Mount the top panel with floating attachment
Flip the frame upside-down. Position the 30" × 60" top panel centered over the frame. Do not screw directly through the top — instead, use 1-1/4" pocket-hole screws driven up from the inside of each apron into the underside of the top. Space screws every 10" along each side. This “floating” method accommodates seasonal wood movement and prevents cracking. Leave a 1/8" gap around all edges for expansion.
Tips & Common Mistakes
Most failures happen at the leg-to-apron joint or from top warping. Avoid these pitfalls:
- Skipping the 3-4-5 square check — even 1/16" error compounds across 60" and ruins clamp alignment
- Using drywall screws instead of cabinet screws — they snap under torque and lack shear strength
- Gluing the top panel — it will crack or lift as humidity changes
- Forgetting to pre-finish the underside — moisture wicking from concrete floors causes cupping
"A rigid frame isn’t about thickness — it’s about triangulation and joint redundancy. That’s why the 2×2 cross-brace and corner plates aren’t optional." — Mike Dresdner, Fine Woodworking, Issue 298 (2024)
Finishing Touches
Fill screw holes with stainable wood filler (like Famowood), then sand with 120-grit followed by 220-grit. For durability, apply two coats of water-based polyurethane (Minwax Polycrylic) to the top surface only — the underside and frame can be sealed with satin wipe-on poly or left raw if kept indoors. Let dry 4 hours between coats. If painting, prime with Zinsser Bulls Eye 1-2-3, then use Benjamin Moore Advance for a smooth, hard enamel finish.
Can I make this taller for standing work?
Yes — extend legs to 35-1/2" and raise aprons to match. Maintain 28-1/2" depth to keep center of gravity stable. Add a 1×4 lower shelf at 30" height for tool storage.
What if I don’t have a pocket-hole jig?
You can use figure-8 fasteners or Z-clips instead. Drill shallow 3/8" recesses in the apron underside, then screw fasteners in place. They allow slight movement while holding firm — see our pocket-hole alternatives guide.
Is MDF a viable substitute for Baltic birch?
No. MDF swells instantly on contact with glue or moisture, and its edge-holding strength is less than half that of birch. The U.S. Forest Products Lab tested 12 substrates in 2023 and ranked Baltic birch #1 for assembly-table durability under repeated clamping loads.
How do I keep the top flat over time?
Store the table indoors away from direct sun and HVAC vents. Flip the top once per year if used heavily. Never lean heavy objects against one edge — distribute weight evenly. See our wood movement guide for seasonal adjustment tips.
Can I add casters?
Yes — replace leveling feet with 4" locking casters rated for 100+ lbs each. Mount them with 3/8" × 1-1/2" lag bolts into solid 2×4 leg centers. Note: casters reduce stability slightly — add a diagonal 2×2 brace from front-left to rear-right leg if you plan frequent repositioning.
What’s the best way to clean glue squeeze-out during assembly?
Wipe immediately with a damp cellulose sponge (not paper towel — fibers stick). For dried glue, use a cabinet scraper held at 15° — never sand, which damages veneer. Keep a spray bottle of warm water + 1 tsp vinegar nearby for sticky residue.
This table has carried everything from 48" cabinet boxes to full-size desktop builds in my garage shop for over 18 months — zero sag, no joint creep, and the leveling feet handled a 3/8" floor slope without shimming. It’s not flashy, but it’s honest work. Once you’ve built one, you’ll notice how many commercial options cut corners on joinery or material grade — and you’ll never pay $400 for bolt-together furniture again. Grab your square, set your saw depth, and get started.