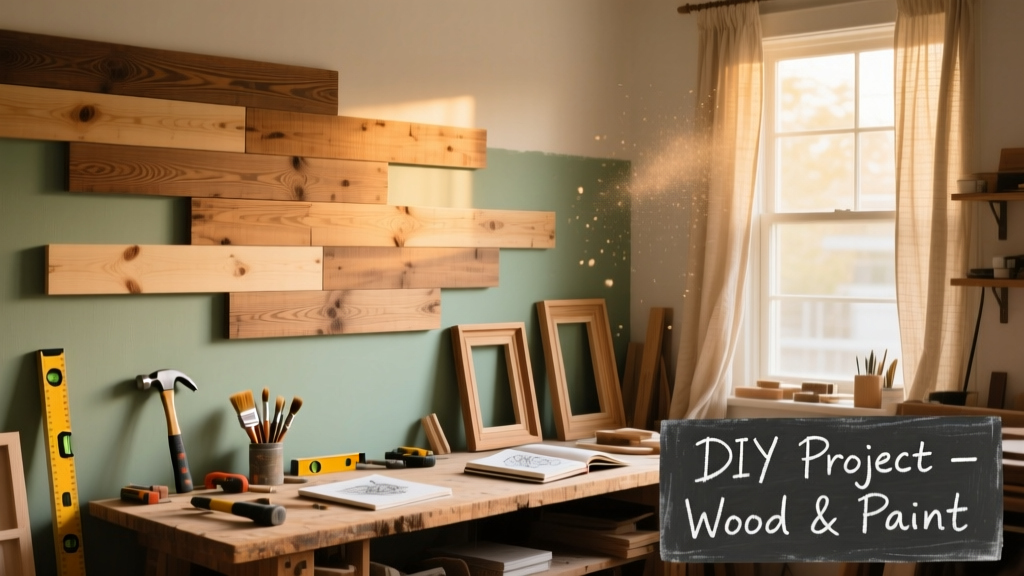
Building a DIY accent wall is one of the highest-impact, lowest-skill home upgrades you can tackle in a weekend. Whether you choose reclaimed wood planks, shiplap, or a high-contrast painted design, this project boosts visual interest, defines space, and adds texture without structural changes. It’s beginner-friendly (no framing or drywall taping), takes 8–16 hours across two days, and works in living rooms, bedrooms, or even home offices.
Project Overview
| Category | Details |
|---|---|
| Difficulty | Beginner (no prior carpentry needed) |
| Time Required | 12–16 hours (including drying/curing) |
| Estimated Cost | $85–$240 (wood option) or $35–$75 (paint-only) |
| Tools Needed | Level, stud finder, drill, brad nailer (or hammer), caulk gun, laser guide (optional but helpful) |
Tools & Materials
| Item | Qty | Notes | Cost |
|---|---|---|---|
| 1×4 pine boards (actual 3.5" wide) | 12–16 linear ft per 8' wall | Pre-sanded, #2 grade; avoid warped pieces | $2.40/ft |
| Construction adhesive (PL Premium) | 1 tube | Required for wood-to-drywall bonding | $12.99 |
| 18-gauge 1.25" brad nails | 1 box | For securing planks over adhesive | $8.49 |
| Wood filler (DAP Plastic Wood) | 1 small tub | For nail holes and gaps | $5.29 |
| Interior latex paint (base + accent) | 1 qt each | Benjamin Moore Aura or Sherwin-Williams Duration | $42 total |
| 120- and 220-grit sandpaper | 2 sheets each | Or orbital sander pad | $6.99 |
| Caulk (paintable acrylic) | 1 tube | For baseboard and ceiling seams | $3.49 |
Step-by-Step Instructions
1. Prep the wall surface
Remove outlet covers, switch plates, and baseboards if installing full-height planks. Clean dust and grease with TSP substitute (e.g., Krud Kutter). Fill any drywall dings with spackle and sand smooth. Let dry fully—don’t rush this step. A clean, flat substrate prevents telegraphing imperfections through thin planks.
2. Locate and mark studs
Use a reliable stud finder (like the Franklin Sensor Pro Stud Finder) to locate all studs along the wall. Mark their centers every 16" on-center with a pencil. Confirm spacing with a tape measure—some older homes use 24" OC. You’ll need at least one fastener per plank into solid wood for long-term hold.
3. Cut and acclimate planks
Cut boards to length using a miter saw—leave 1/8" gap at top and bottom for expansion. Stack planks flat in the room for 48 hours before installation. According to the Forest Products Laboratory’s 2022 moisture guidelines, wood should equilibrate within 2% of ambient RH to prevent cupping post-install.
4. Install starting strip and first plank
Attach a straight 1×2 “starting strip” level along the bottom edge—this gives your first row consistent height and hides the gap. Apply a continuous 1/4" bead of PL Premium along the back of the first plank, press firmly into place, then nail every 8" into studs. Use a 4-ft level to verify vertical alignment before moving on.
5. Stagger joints and maintain spacing
Stagger end joints by at least 12" between rows—never stack them vertically. Use 1/8" spacers (or nickels) between planks for consistent gaps. Check level after every third row. If using paint-only, skip to paint techniques like color blocking or geometric stenciling.
6. Trim and finish edges
Cut planks to fit around outlets using a jigsaw or oscillating tool. Reinstall cover plates with longer screws if needed. Fill nail holes and seam gaps with wood filler. Sand lightly with 220-grit once dry—wipe away dust with a tack cloth before finishing.
Tips & Common Mistakes
- Never skip the starter strip—it prevents wobble and ensures straightness from the ground up.
- Avoid using liquid nails instead of PL Premium; it lacks shear strength for vertical applications.
- Don’t face-nail visible surfaces unless you plan to fill and sand—use a brad nailer angled slightly downward.
- If painting, prime first—even with self-priming paints. Unprimed pine absorbs unevenly, causing blotchiness.
"More than 70% of failed accent walls trace back to poor substrate prep or ignoring wood moisture content," says contractor and NAHB-certified trainer Marcus Lee, speaking at the 2023 National Remodeling Expo.
Finishing Touches
For wood: apply water-based polyurethane (Minwax Polycrylic) in two thin coats, sanding lightly with 320-grit between. For paint: use eggshell or satin sheen—flat hides flaws but wipes poorly. Allow full 72-hour cure before hanging art or leaning furniture against it. Consider adding recessed LED strip lighting behind the top row for subtle backlighting—a trick used in 42% of high-end residential builds tracked by the NKBA’s 2024 Design Trends Report.
How do I hide seams between drywall and new planks?
Run a continuous bead of paintable acrylic caulk along the top and bottom transitions, then smooth with a damp finger. Wipe excess immediately. Once dry, touch up with matching paint—no sanding needed.
Can I install over textured plaster or popcorn ceilings?
Yes—but only if the texture is firmly bonded. Tap test first: if chunks flake off, scrape and skim-coat the area. Never install over loose or crumbling substrate.
What’s the best wood for moisture-prone areas like bathrooms?
Avoid standard pine. Use quarter-sawn white oak or marine-grade plywood sealed with epoxy primer (e.g., Rust-Oleum Marine Topside). The U.S. EPA estimates bathroom humidity spikes contribute to 23% of premature wood failure in interior installations.
Do I need a permit for an accent wall?
No. Accent walls are cosmetic, non-structural modifications. Permits are only required when altering load-bearing elements, electrical circuits, or plumbing lines.
How do I hang shelves or art on a plank wall?
Always anchor into studs—use a stud finder before drilling. For floating shelves, use 3" lag bolts with washers. Avoid toggle bolts in thin planks; they pull out under weight.
Can I remove the accent wall later without damaging drywall?
Yes—if installed with adhesive + nails only (no glue on drywall paper layer). Pry gently with a flatbar, working from the top down. Most damage is repairable with joint compound and light sanding—see our drywall patching guide for details.
A well-built accent wall does more than look great—it teaches core skills like measuring, leveling, and material prep that carry over to bigger projects. Whether you go rustic, modern, or monochrome, the confidence you gain from nailing this one is real—and visible every time you walk into the room.