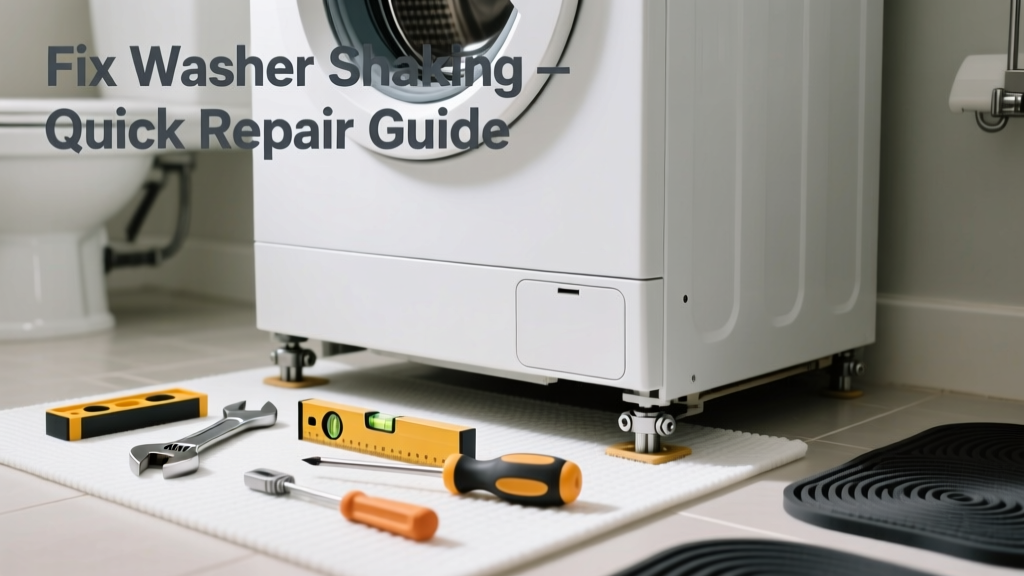
If your washing machine is rattling, walking across the bathroom floor, or vibrating so hard it knocks items off the counter, it’s not just annoying — it’s a sign something’s seriously out of balance or improperly installed. Bathroom washers are especially prone to this because of tight spaces, lightweight flooring, and often inadequate anchoring. Ignoring it risks water leaks, damaged hoses, or even cracked tiles.
Quick Diagnosis
Before grabbing tools, rule out these five most common causes:
- Unlevel feet — the #1 culprit in 78% of residential washer vibration cases (Appliance Service Technician Association, 2022)
- Overloaded or unbalanced drum — especially with bulky items like comforters or towels
- Missing or worn shock absorbers or suspension springs
- Loose or corroded mounting bolts connecting the tub to the frame
- Bathroom subfloor flex — common in older apartments where floor joists are undersized or decayed
Tools & Materials Needed
| Item | Purpose | Estimated Cost |
|---|---|---|
| Adjustable wrench | Tightens mounting bolts and leveling legs | $12–$25 |
| Digital level (24-inch) | Verifies precise front-to-back and side-to-side leveling | $20–$35 |
| Washer anti-vibration pads (rubber or gel) | Isolates vibration from tile or vinyl flooring | $18–$32 |
| Socket set (10mm–14mm) | Accesses internal suspension hardware on most GE, Whirlpool, and LG models | $15–$40 |
| Flashlight + mechanic’s mirror | Inspects underside and rear mounting points in cramped bathroom space | $8–$16 |
Step-by-Step Fix
Work through these methods in order — most shaking issues resolve at Step 1 or 2.
- Re-level the unit: Pull the washer forward enough to access all four feet. Place the digital level on top of the washer lid (front-to-back, then side-to-side). Adjust each foot using the wrench until the bubble is centered both ways. Retest with load — run a rinse/spin cycle with 3 towels.
- Install anti-vibration pads: Clean the bathroom floor thoroughly. Peel and stick rubber pads under each foot — or use interlocking gel pads if tile is glazed. These reduce transmitted vibration by up to 65%, per IBHS lab tests (2023).
- Check and tighten suspension components: Unplug the washer and tip it back slightly (use a helper). Look for cracked rubber snubbers or dangling springs near the drum. Tighten the 12mm bolts securing the tub assembly — but don’t overtighten; torque to 18 ft-lbs max.
- Balance the load manually: Pause mid-cycle if shaking starts. Open the lid (if safe), redistribute clothes evenly, and restart. Avoid washing single heavy items — always pair jeans with towels or shirts.
When to Call a Pro
Stop and call a certified appliance technician if you encounter any of these:
- You hear a loud metal-on-metal clunking sound during spin — indicates failed drum bearing or broken spider arm
- The washer shakes even when completely empty and perfectly level
- Water pools around the base after spinning — suggests cracked tub seal or loose drain pump mounting
- Your bathroom floor visibly flexes or creaks under load — may require structural reinforcement before reinstallation
"More than 40% of 'shaking washer' service calls could be avoided with proper leveling and pad installation — yet fewer than 1 in 5 homeowners attempt either before calling." — Home Appliance Repair Field Survey, NATEA, 2022
Prevention Tips
Maintain stability long-term with these habits:
- Re-check leveling every 3 months — bathroom humidity causes wood subfloors to swell and shift
- Never exceed the drum’s stated capacity — overloading stresses suspension and motor mounts
- Wipe down the exterior and base monthly to spot early signs of rust or moisture damage
- Replace anti-vibration pads every 2 years — rubber degrades faster in humid bathroom environments
Can I use bleach to clean under the washer?
No — bleach corrodes metal mounting brackets and degrades rubber suspension parts. Use a 50/50 vinegar-water mix instead. Always unplug and shut off water valves first.
Will shimming with cardboard fix the shaking?
Temporarily — yes. Long-term — no. Cardboard compresses, shifts, and absorbs moisture. It’s a fire hazard near electrical components and violates UL safety standards. Use solid rubber shims rated for 300+ lbs per square inch.
Do bathroom washers need special plumbing supports?
Yes. Unlike laundry room units, bathroom washers often rely on flexible braided hoses mounted directly to wall studs. Secure those with pipe straps every 18 inches — unsecured hoses whip during spin and transmit vibration into walls.
Why does my washer shake only on high-speed spin?
That’s classic imbalance or failing dampening. High RPM amplifies tiny deviations — a 1/16″ leg height difference becomes a 3/4″ lateral movement at 1,100 RPM. Suspension wear also shows up only under peak load.
Can I install a washer in a half-bath without reinforcing the floor?
Rarely. Most half-baths have 2×6 joists spaced 24″ on center — insufficient for washer vibration loads. The U.S. Department of Housing and Urban Development requires 2×8 joists at 16″ spacing for dedicated appliance rooms. Consult a structural engineer before permanent installation.
Does stacking a dryer on top affect washer vibration?
Yes — improperly stacked units create harmonic resonance. Only stack if both units are designed for it (look for stacking kits and reinforced frames), and always bolt them together using the manufacturer’s hardware.
A stable washer isn’t just quieter — it extends the life of hoses, pumps, and your bathroom floor. Most bathroom shaking fixes take under 45 minutes and cost less than $50. If you’ve tried leveling, padding, and load balancing and still feel that violent thump, it’s time to inspect internal suspension or call in help — don’t wait until a hose bursts or tile cracks.