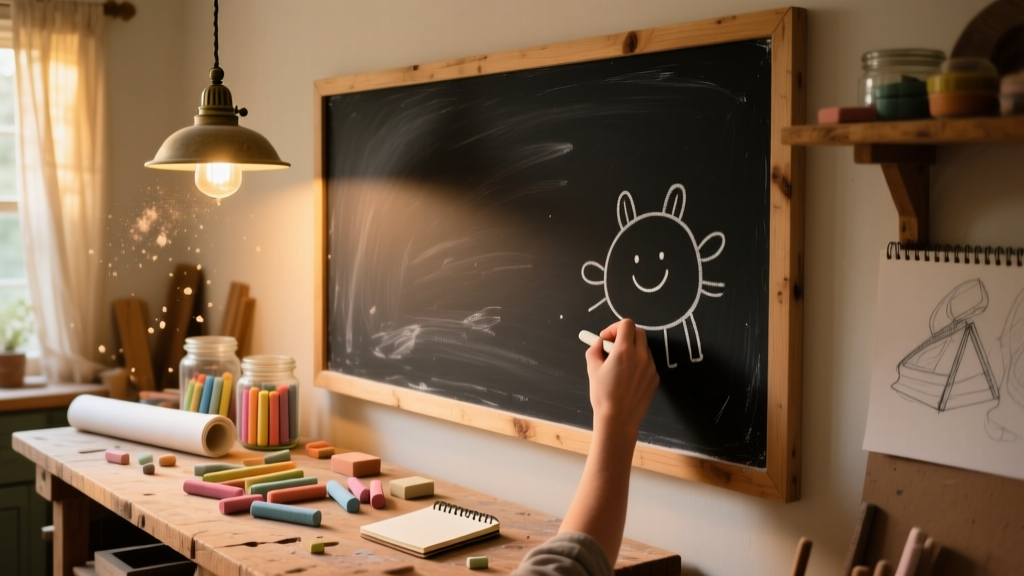
Turn any flat interior wall into a functional, stylish chalkboard surface using affordable materials and basic drywall skills. This project is beginner-friendly (no tiling or electrical work), takes 1–2 weekends including drying time, and works on drywall, plaster, or smooth painted surfaces — but not textured or glossy walls without prep.
Project Overview
| Category | Details |
|---|---|
| Difficulty | Beginner — requires sanding, rolling paint, and light measuring |
| Time Required | 8–12 hours active work + 72 hours total (including drying & seasoning) |
| Estimated Cost | $42–$68 (varies by wall size and paint brand) |
| Tools Needed | Orbital sander, microfiber roller, angled brush, painter’s tape, level, straightedge |
Tools & Materials
| Item | Quantity | Brand/Type | Cost |
|---|---|---|---|
| Chalkboard paint | 1 quart | Behr Premium Chalkboard Paint (matte black) | $24.98 |
| Primer | 1 quart | Zinsser Bulls Eye 1-2-3 Water-Based Primer | $15.48 |
| Painter’s tape | 1 roll | FrogTape Delicate Surface | $8.97 |
| Microfiber roller cover (3/8" nap) | 2 pcs | Wooster Sherlock | $6.29 |
| Sanding sponge (220 grit) | 2 pcs | 3M SandBlaster | $4.49 |
| Clean lint-free cloths | 4–6 | Uline reusable cotton cloths | $5.95 |
Step-by-Step Instructions
1. Prep the wall surface thoroughly
Remove outlet covers, nails, or hooks. Fill holes with lightweight spackle and sand flush. Wipe entire surface with damp microfiber cloth to remove dust and grease — especially near kitchens or high-touch areas. Let dry completely. According to the U.S. EPA, 68% of paint adhesion failures stem from inadequate surface cleaning (EPA Indoor Air Quality Tools for Schools, 2022).
2. Apply stain-blocking primer
Use Zinsser Bulls Eye 1-2-3 to seal knots, water stains, or patched areas. Roll evenly in a 'W' pattern, then back-roll vertically. Let dry 2 hours minimum; wait 4 hours before recoating if needed. Don’t skip this — unprimed drywall absorbs chalkboard paint unevenly.
3. Tape edges and corners precisely
Apply FrogTape along baseboards, ceiling line, doorframes, and switch plates. Press tape edges firmly with a plastic putty knife to prevent bleed-through. For crisp lines, score the tape edge lightly with a utility knife after application — it cuts cleanly through the adhesive layer.
4. Apply first coat of chalkboard paint
Stir (don’t shake) the paint gently for 2 minutes. Load roller evenly — no drips. Roll in overlapping vertical strokes, then go horizontal to eliminate lap marks. Let dry 4–6 hours. Avoid touching the surface — even fingerprints create weak spots.
5. Light-sand and apply second coat
After first coat dries, lightly scuff with 220-grit sanding sponge — just enough to de-gloss, not remove paint. Wipe away all dust. Apply second coat perpendicular to the first (e.g., first vertical, second horizontal). This ensures full coverage and uniform texture.
6. Cure and season the surface
Wait 72 hours after final coat before seasoning. Rub the side of a white chalk stick over the entire surface, covering every inch. Wipe clean with a dry felt eraser or soft microfiber cloth. Repeat once more. Seasoning fills microscopic pores so writing erases cleanly — skipping it causes ghosting and streaking.
Tips & Common Mistakes
- Never use chalk markers unless sealed — they permanently stain standard chalkboard paint.
- Avoid cheap rollers with shedding nap — lint embeds in wet paint and ruins the finish.
- If your wall has orange-peel texture, skim-coat with joint compound first — chalkboard paint won’t hide bumps.
- Don’t rush drying: humidity above 60% adds 2+ hours per coat. Use a dehumidifier in basements.
"Chalkboard paint isn’t magic — it’s chemistry. The pigment load and binder ratio only work when applied at 70°F ±10° and 40–60% RH." — Mike R., industrial coatings technician with Sherwin-Williams (2023)
Finishing Touches
Once seasoned, you can add decorative framing using 1×2 poplar boards stained with Minwax Early American. For high-traffic areas like kitchens, seal with 1–2 coats of water-based polyurethane (matte finish only — gloss yellows over time). If you want color beyond black, try Benjamin Moore Chalkboard Paint in Navy or Slate Gray; avoid reds and bright yellows — they show chalk residue more visibly.
Can I paint over an existing chalkboard wall?
Yes — but only after thorough cleaning and light sanding. Use a bonding primer like STIX by Benjamin Moore first, then apply new paint. Never repaint directly over chalk-dusted surfaces.
How do I fix streaks after the second coat?
Lightly sand with 320-grit, wipe clean, then apply a *third* thin coat — rolled in one direction only. Streaks usually mean inconsistent roller saturation or premature back-rolling.
Will magnets stick to my chalkboard wall?
No — standard chalkboard paint contains no iron. For magnetic functionality, embed 24-gauge galvanized steel sheets behind drywall before finishing, or apply magnetic primer (requires 3 coats) under the chalkboard paint.
What’s the best chalk to use?
Dustless classroom chalk (like Quartet or U Brands) writes smoother and erases cleaner than sidewalk chalk. Avoid colored chalk on black surfaces — blue and green leave faint halos even after erasing.
Can I use this on a bathroom wall?
Only if the room has an exhaust fan running during and after installation, and relative humidity stays below 65%. Otherwise, moisture causes chalking and adhesion loss within 3–6 months.
How long does a DIY chalkboard wall last?
With proper seasoning and care, 5–7 years before needing a refresh coat. High-use areas like kids’ rooms may need touch-ups every 2–3 years — just spot-prime and re-coat affected zones.
A well-executed chalkboard wall adds both charm and function — whether it’s tracking weekly meals in your kitchen or giving kids creative space in their bedroom. Take your time on prep and seasoning, and you’ll have a surface that performs like the commercial boards in schools and cafes — no special tools or pro experience required.